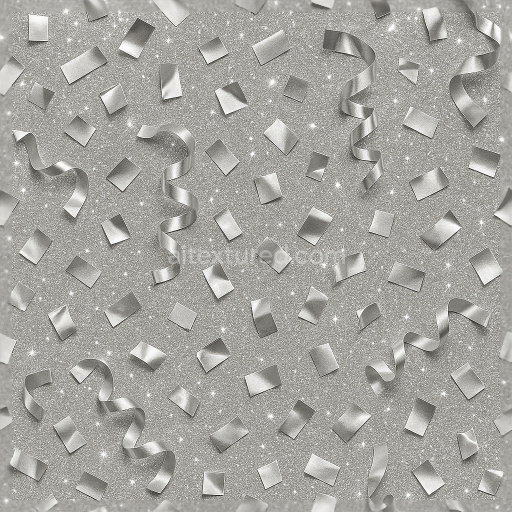
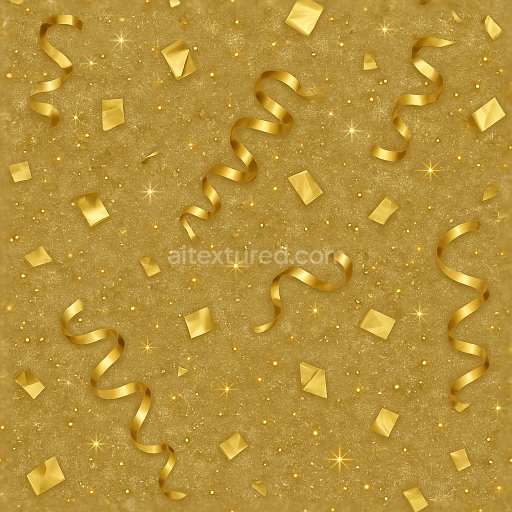
Sparkling Ribbons And Party Popper With Celebration Spark For New Year
Seamless texture (tileable) · PNG, WEBP, PBR ZIP. License: AITextured Free Commercial License (FCL) v1.1. Free personal and commercial use. Raw resale, standalone redistribution, mirroring/scraping, competing asset packs, and AI/ML training are not allowed without written permission. Attribution is not required, but appreciated..

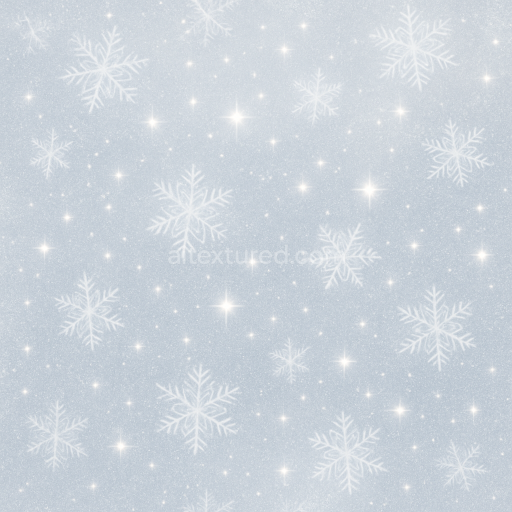
| ID | seamless-3d-texture-pbr-8k-snowflakes-and-icicles-with-frost-patterns-for-winter-new-year |
|---|---|
| Category | New Year |
| Formats | PNG, WEBP, PBR ZIP |
| Size | 1k (1024x1024px), 2k (2048x2048px), 4k (4096x4096px), 8k (8192x8192px) |
| Color | sRGB |
| Tileable | Yes |
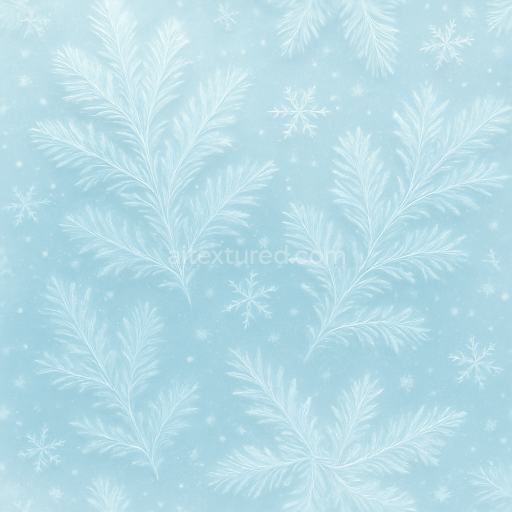
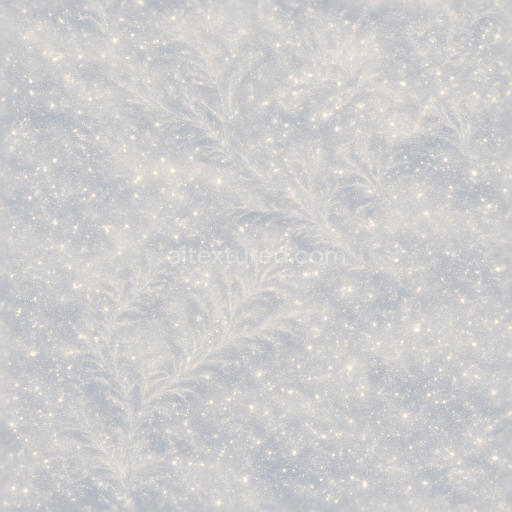
This seamless 3D texture, rendered in ultra-high 8K resolution, captures an intricate winter scene featuring detailed snowflakes and elongated icicles intertwined with delicate frost patterns. The base material emulates a naturally formed icy surface composed primarily of compacted crystalline ice with embedded frost deposits. The substrate mimics a translucent frozen layer, with subtle variations in opacity and thickness that create depth. Fine ice crystals act as natural aggregates, while the frost patterns resemble thin, intricate dendritic formations adhering to the icy base. This results in a slightly porous surface where frost accumulates unevenly, giving an authentic weathered winter appearance.
The geometric form relies on a repeating tile of overlapping snowflake motifs combined with vertical icicle shapes, creating a harmonious blend of organic fractal patterns and elongated crystalline structures. The snowflakes display symmetrical radial geometry, while the icicles exhibit tapered, elongated forms with smooth gradients. The frost patterns overlay as fine filigree veining, enhancing surface complexity. This combination forms a tessellated layout suitable for large-scale environmental applications without visible seams.
From a materials perspective, the texture simulates a natural ice matrix with a high degree of translucency and subtle subsurface scattering effects. The binders can be understood as the molecular bonds within frozen water, holding the crystalline structure together, while finer frost patterns act like delicate surface embellishments. The surface finish is glossy yet irregular, reflecting a polished icy sheen interrupted by frost’s matte diffusion. Colorants are minimal, primarily relying on natural light refraction and reflection within the ice, with slight bluish and white hues representing the cold winter frost and the glow of holiday ornaments. Sparkle dust and sparkle effects are incorporated as microfacet highlights, adding a subtle scintillation reminiscent of light glinting off icy surfaces.
Mapping to PBR channels, the BaseColor (Albedo) layer contains soft gradients of white and pale blue, replicating natural snow and ice coloration without strong pigmentation. The Normal map encodes the fine relief of snowflake edges, icicle ridges, and frost filigree, providing pronounced surface detail and depth. Roughness varies across the texture; icicles and polished ice areas are smooth with low roughness values, while frost-covered regions exhibit higher roughness to simulate diffuse reflection. The Metallic channel remains near zero, consistent with non-metallic ice materials. Ambient Occlusion enhances the perception of depth within crevices and overlapping crystals. Height/Displacement maps capture the relief of protruding snowflakes and icicles for enhanced parallax and tessellation effects.
Designed for seamless tiling, this texture integrates effortlessly into 3D workflows using Blender, Unreal Engine, and Unity, providing realistic winter frost ambiance for holiday-themed projects. For optimal results, it is recommended to adjust the UV scale to maintain the delicate details of snowflakes and icicles visible without repetition artifacts. Fine-tuning the roughness map can balance the glossy and matte areas to suit different lighting environments. Additionally, blending height and normal maps can enhance the tactile feel of the icy surfaces, adding realism in close-up renders or interactive scenes.
Import the texture maps into Blender with sRGB color space for albedo/base color and Non-Color for normal, roughness, metallic, AO, height, and ORM maps. Connect normal maps through a Normal Map node, then adjust UV scale with a Mapping node so the material repeats naturally on your model.
For the full step-by-step setup, see How to Use Seamless Textures in Blender. Browse related material examples in wood, concrete, and metal.
Yes. This texture is designed as a seamless tileable PBR material, so it can repeat across large surfaces without visible borders.
You can download PNG/WEBP versions and use 1K, 2K, 4K and 8K download options when available on the page.
Yes. The download options and engine-mapped ZIP workflow are designed for Blender, Unreal Engine, Unity Standard, URP and HDRP material pipelines.
Yes. The texture is available under the AITextured free commercial license. Review the license page for redistribution and AI-training restrictions.

Build, preview, and export seamless PBR materials. Generate full map sets from a single image, inspect them in a real-time WebGL viewer, and re-package maps for Unreal, Unity, and Blender—directly in your browser.
AI text-to-texture: type a prompt and get a seamless, tileable base image ready for PBR workflows (great starting point for materials).
Create a full PBR set (Normal, Roughness, AO, Metallic, etc.) from a single image. Seamless and tiling-friendly.
Instant WebGL viewer: inspect materials on a sphere, plane, and cube. Check tiling and lighting in real time.
Re-packages maps per engine: Unreal (BaseColor + ORM), Unity (Mask/MetallicSmoothness), Blender (separate channels).
PNG ↔ JPG ↔ SVG: fast convert, SVG rasterize, embed/trace options, quality & background controls.