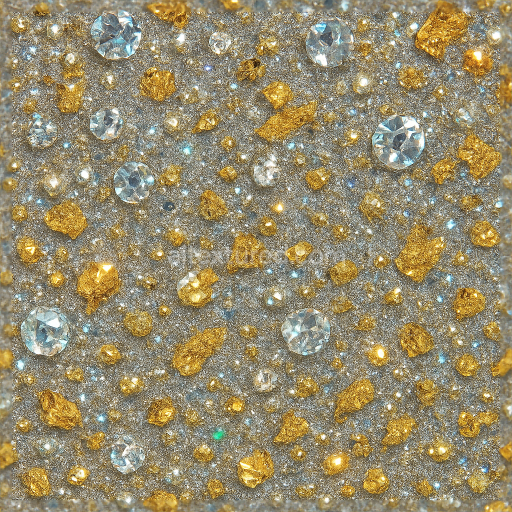
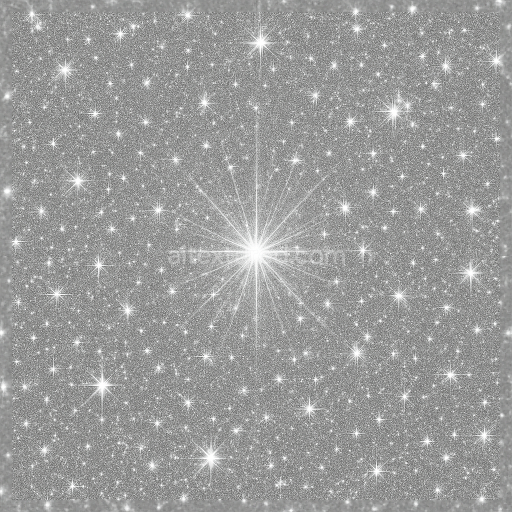
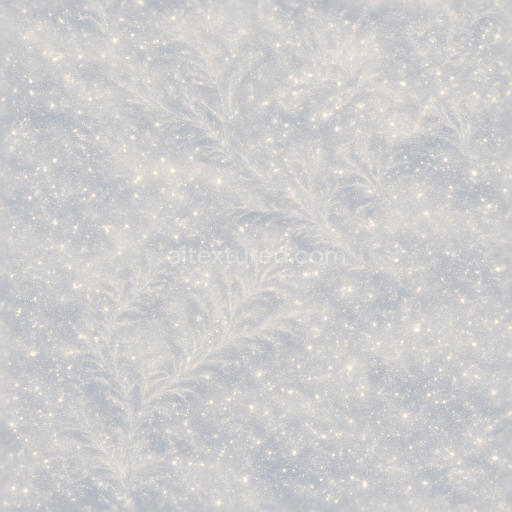
Sparkling Gems Reflective Glitter Metallic Flakes
Seamless texture (tileable) · PNG, WEBP, PBR ZIP. License: AITextured Free Commercial License (FCL) v1.1. Free personal and commercial use. Raw resale, standalone redistribution, mirroring/scraping, competing asset packs, and AI/ML training are not allowed without written permission. Attribution is not required, but appreciated..

| ID | seamless-3d-texture-pbr-8k-matte-black-embossed-foil-holiday-sparkle-dust |
|---|---|
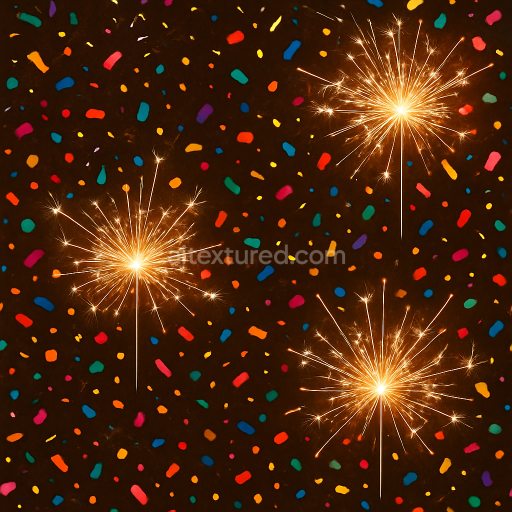
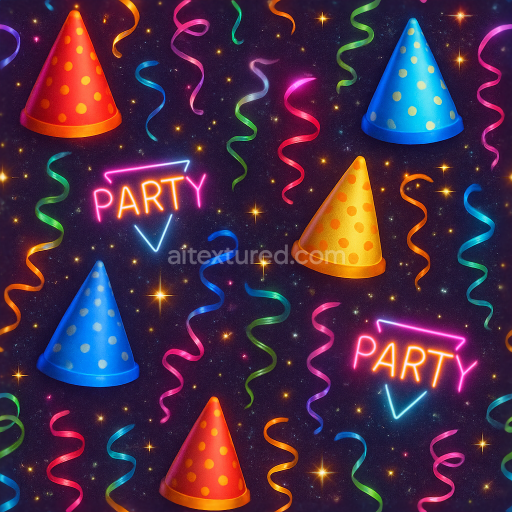
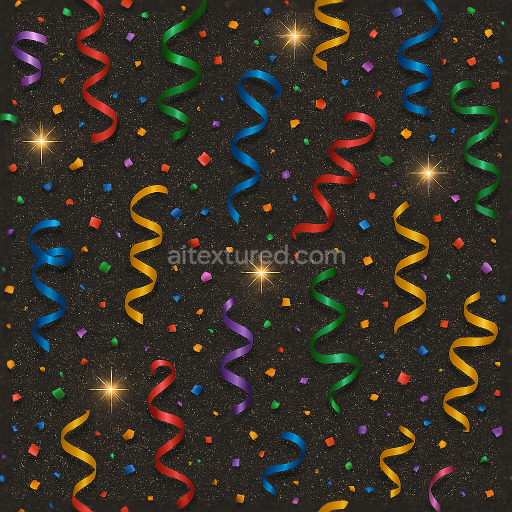
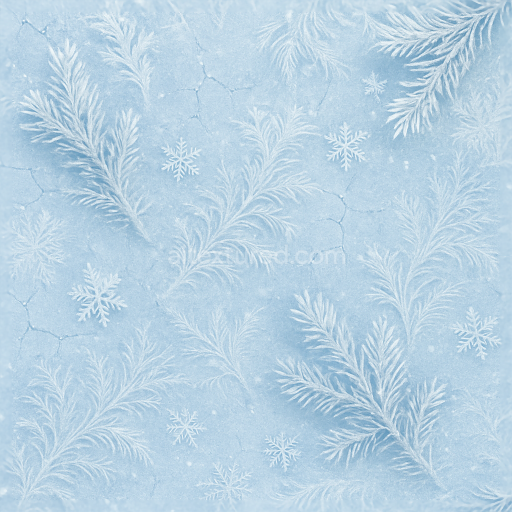
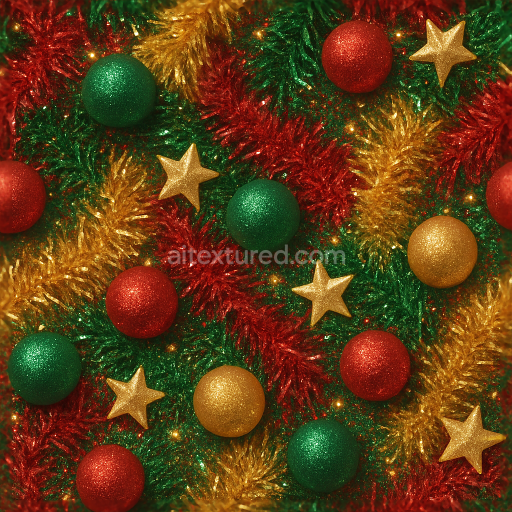
| Category | New Year |
| Formats | PNG, WEBP, PBR ZIP |
| Size | 1k (1024x1024px), 2k (2048x2048px), 4k (4096x4096px), 8k (8192x8192px) |
| Color | sRGB |
| Tileable | Yes |
This seamless 3D texture showcases a sophisticated matte black surface that expertly combines embossed foil details with delicate holiday sparkle dust accents creating a luxurious and festive visual effect. The base substrate mimics a finely crafted polymer composite layered with metallic foil elements where microscopic embossing simulates a raised pattern of subtle dots and intricate surfaces. This composition results in a richly textured finish that balances a deep dark matte tone with shimmering highlights achieved through carefully calibrated pigments and oxide layers that enhance the foil’s reflective qualities without overpowering the overall subdued aesthetic. The texture’s porosity is minimal reflecting a smooth yet tactile surface reminiscent of high-end packaging materials or premium holiday cards while binders and adhesives in the material ensure durability and crisp embossing that withstand subtle wear and weathering.
Rendered at an ultra-high 8K resolution this PBR texture excels in delivering unparalleled detail and realism across all its material channels. The BaseColor/Albedo channel captures the pure matte black pigment infused with subtle metallic foil hues while the Normal map defines the embossed foil’s raised patterns and the fine granularity of the sparkle dust. Roughness is finely tuned to produce a soft non-glossy finish on the matte areas contrasting with slightly lower roughness on the foil embossing to simulate its delicate reflective nature. The Metallic channel highlights the foil’s metal-like properties enhancing light interaction and shimmer whereas Ambient Occlusion adds depth to the recessed embossing and dust accents. Height and Displacement maps provide additional surface relief giving the texture a convincing three-dimensional feel that responds realistically to lighting within rendering engines.
Optimized for seamless tiling this texture is fully compatible and Unreal Blender and Unity ready ensuring effortless integration into any 3D or digital design workflow. Its 8K resolution guarantees crisp detail even in close-up views making it ideal for elegant holiday-themed projects such as luxury packaging design refined digital backgrounds and high-end greeting cards. For practical application adjusting the UV scale to emphasize the embossed foil details while fine-tuning roughness can enhance the interplay between matte and metallic finishes allowing designers to control the subtle shimmer without disrupting the dark refined aesthetic. This balance ensures the holiday sparkle dust adds just enough eye-catching brilliance to elevate festive luxury designs without overwhelming the sophisticated black matte base.
Import the texture maps into Blender with sRGB color space for albedo/base color and Non-Color for normal, roughness, metallic, AO, height, and ORM maps. Connect normal maps through a Normal Map node, then adjust UV scale with a Mapping node so the material repeats naturally on your model.
For the full step-by-step setup, see How to Use Seamless Textures in Blender. Browse related material examples in wood, concrete, and metal.
Yes. This texture is designed as a seamless tileable PBR material, so it can repeat across large surfaces without visible borders.
You can download PNG/WEBP versions and use 1K, 2K, 4K and 8K download options when available on the page.
Yes. The download options and engine-mapped ZIP workflow are designed for Blender, Unreal Engine, Unity Standard, URP and HDRP material pipelines.
Yes. The texture is available under the AITextured free commercial license. Review the license page for redistribution and AI-training restrictions.

Build, preview, and export seamless PBR materials. Generate full map sets from a single image, inspect them in a real-time WebGL viewer, and re-package maps for Unreal, Unity, and Blender—directly in your browser.
AI text-to-texture: type a prompt and get a seamless, tileable base image ready for PBR workflows (great starting point for materials).
Create a full PBR set (Normal, Roughness, AO, Metallic, etc.) from a single image. Seamless and tiling-friendly.
Instant WebGL viewer: inspect materials on a sphere, plane, and cube. Check tiling and lighting in real time.
Re-packages maps per engine: Unreal (BaseColor + ORM), Unity (Mask/MetallicSmoothness), Blender (separate channels).
PNG ↔ JPG ↔ SVG: fast convert, SVG rasterize, embed/trace options, quality & background controls.