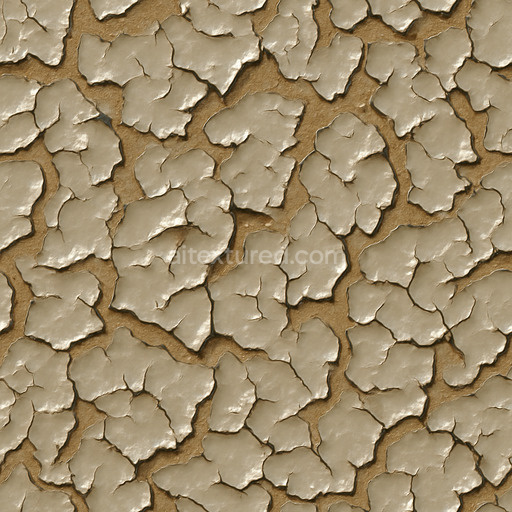
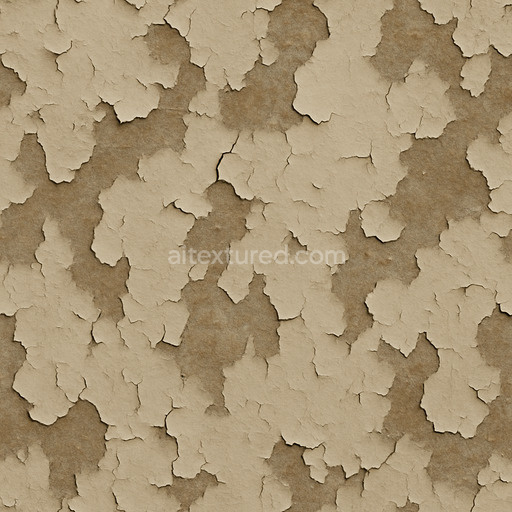
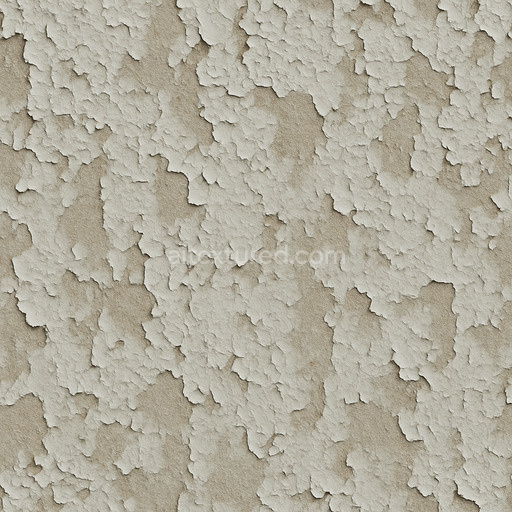
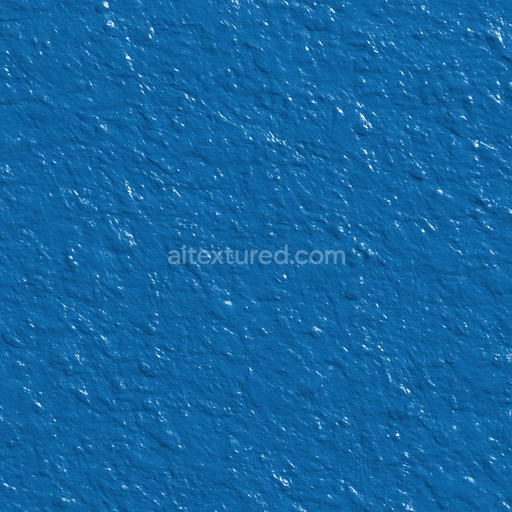
Shiny Peeling Paint Seamless Texture
Seamless texture (tileable) · PNG, WEBP, PBR ZIP. License: AITextured Free Commercial License (FCL) v1.1. Free personal and commercial use. Raw resale, standalone redistribution, mirroring/scraping, competing asset packs, and AI/ML training are not allowed without written permission. Attribution is not required, but appreciated..

| ID | dirty-matte-paint-texture-seamless |
|---|---|
| Category | Paint-coating |
| Formats | PNG, WEBP, PBR ZIP |
| Size | 1k (1024x1024px), 2k (2048x2048px), 4k (4096x4096px), 8k (8192x8192px) |
| Color | sRGB |
| Tileable | Yes |
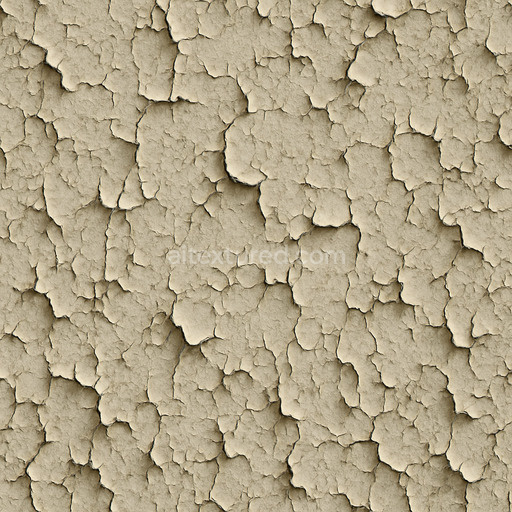
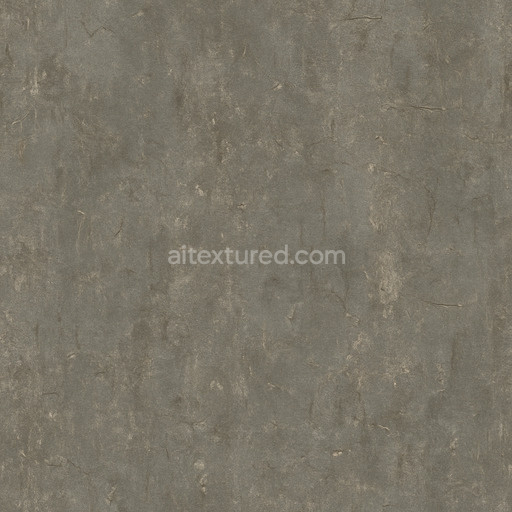
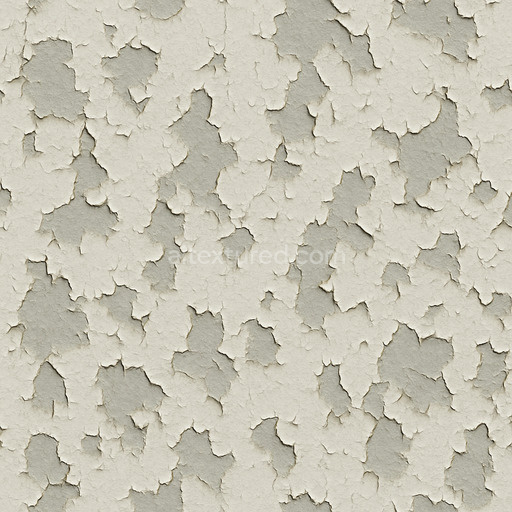
The Dirty Matte Paint Texture Seamless high resolution up to 8K is crafted to replicate a weathered paint-coating surface with exceptional fidelity. Its base substrate resembles a polymer or mineral composite providing a sturdy yet slightly porous foundation that evokes authentic wear and subtle surface irregularities. The matte finish is achieved through finely balanced binders and pigments that diffuse light softly avoiding gloss while preserving a natural muted color palette. Aggregates and microfibers embedded within the coating lend a tactile grain orientation visible in micro-scratches and abrasion marks conveying realistic age and usage. This carefully engineered composition results in a paint surface that is neither polished nor shiny but distinctly matte with a rich interplay of subtle dirt accumulation and textured roughness that enhances visual depth and realism.
In physically based rendering workflows this tileable dirty matte paint texture seamless high resolution up to 8K excels by delivering clean and stable mapping across all PBR channels. The BaseColor or Albedo map captures the nuanced pigment variations and dirt deposits while the Normal map encodes fine surface undulations and scratches that influence light interaction. The Roughness channel is calibrated to maintain a soft diffuse reflection typical of matte paint avoiding specular highlights but preserving detailed shading contrasts. The Metallic map is minimal or null reflecting the non-metallic nature of the paint surface. Ambient Occlusion enhances shadowing in recessed or worn areas adding realism to crevices and edges. Height or Displacement maps subtly emphasize surface depth and wear patterns ideal for parallax effects or micro-relief enhancements in 3D environments. Optimized at up to 8k resolution this texture is perfectly suited for high-quality cinematic renders real-time scenes and level dressing in Blender Unreal Engine and Unity.
For best results maintain consistent texel density when applying this dirty matte paint texture seamless high resolution up to 8K to 3D models ensuring the pattern scales naturally without distortion or stretching. Adjusting the Roughness input can fine-tune the matte appearance depending on lighting and scene requirements. Additionally leveraging the Height map in parallax or displacement workflows can significantly enhance the perception of depth and surface complexity especially on close-up views or architectural visualizations. This texture’s seamless tiling capability guarantees predictable and repeatable results across large surfaces making it a versatile asset for material studies and realistic paint-coating simulations. Its balance of clarity stability and subtle weathering artifacts sets it apart from many auto-generated textures providing a dependable foundation for diverse creative projects.
This generated dirty matte paint texture offers a seamless high-resolution up to 8k paint-coating texture with accurate PBR appearance and includes a detailed 3D preview for precise material evaluation.
Import the texture maps into Blender with sRGB color space for albedo/base color and Non-Color for normal, roughness, metallic, AO, height, and ORM maps. Connect normal maps through a Normal Map node, then adjust UV scale with a Mapping node so the material repeats naturally on your model.
For the full step-by-step setup, see How to Use Seamless Textures in Blender. Browse related material examples in wood, concrete, and metal.
Yes. This texture is designed as a seamless tileable PBR material, so it can repeat across large surfaces without visible borders.
You can download PNG/WEBP versions and use 1K, 2K, 4K and 8K download options when available on the page.
Yes. The download options and engine-mapped ZIP workflow are designed for Blender, Unreal Engine, Unity Standard, URP and HDRP material pipelines.
Yes. The texture is available under the AITextured free commercial license. Review the license page for redistribution and AI-training restrictions.
Generate, preview, and export seamless PBR materials for Blender, Unity, and Unreal Engine—directly in your browser.
AI text-to-texture: type a prompt and get a seamless, tileable base image ready for PBR workflows (great starting point for materials).
Create a full PBR set (Normal, Roughness, AO, Metallic, etc.) from a single image. Seamless and tiling-friendly.
Instant WebGL viewer: inspect materials on a sphere, plane, and cube. Check tiling and lighting in real time.
Re-packages maps per engine: Unreal (BaseColor + ORM), Unity (Mask/MetallicSmoothness), Blender (separate channels).
PNG ↔ JPG ↔ SVG: fast convert, SVG rasterize, embed/trace options, quality & background controls.