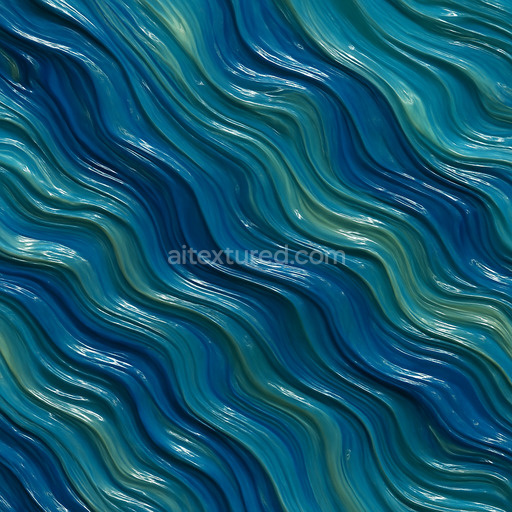
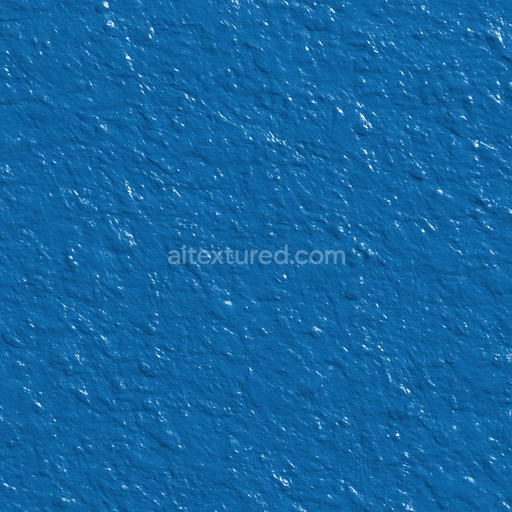
Natural Glossy Paint Seamless Texture
Seamless texture (tileable) · PNG, WEBP, PBR ZIP. License: AITextured Free Commercial License (FCL) v1.1. Free personal and commercial use. Raw resale, standalone redistribution, mirroring/scraping, competing asset packs, and AI/ML training are not allowed without written permission. Attribution is not required, but appreciated..

| ID | stucco-paint-heavy-body |
|---|---|
| Category | Paint-coating |
| Formats | PNG, WEBP, PBR ZIP |
| Size | 1k (1024x1024px), 2k (2048x2048px), 4k (4096x4096px), 8k (8192x8192px) |
| Color | sRGB |
| Tileable | Yes |
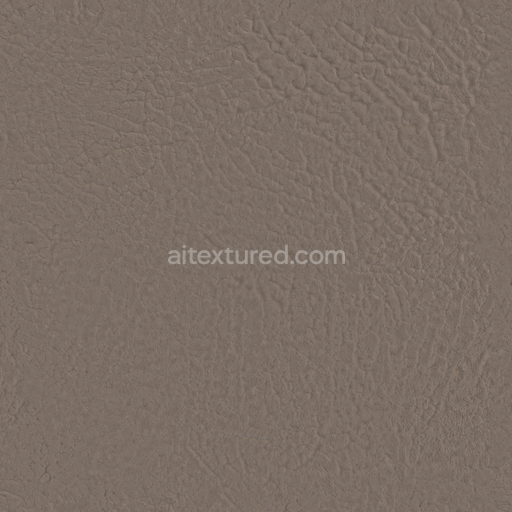
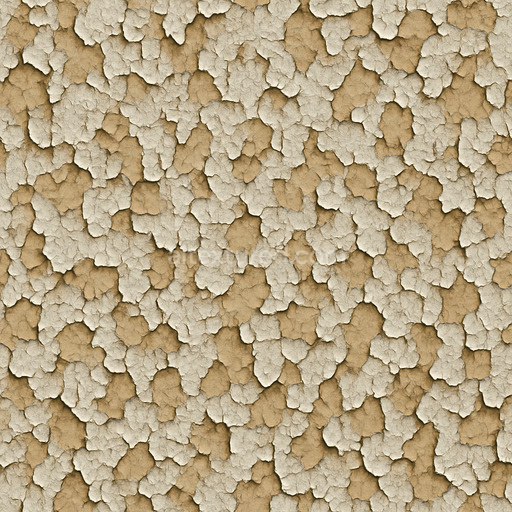
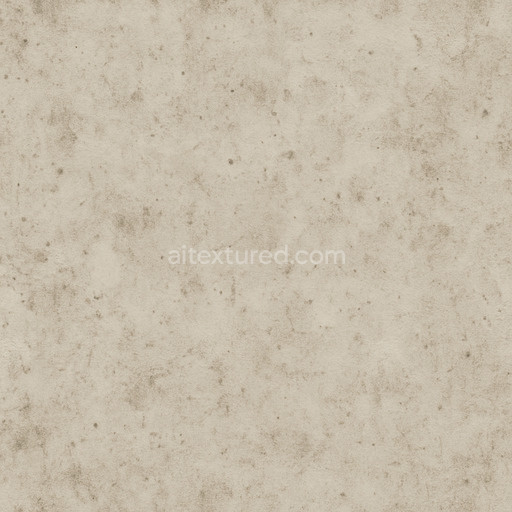
The stucco paint heavy body texture authentically replicates the intricate composition and tactile depth of traditional heavy-bodied stucco finishes presenting a seamless tileable format ideal for realistic paint-coating applications. At its core this texture simulates a mineral-based substrate typically composed of lime cement and sand aggregates. These elements combine to form a dense yet breathable base which is firmly bound by hydraulic or organic adhesives to ensure long-lasting durability while preserving essential porosity and micro-roughness. The texture captures the coarse grain orientation and fine fibrous inclusions that naturally arise from the hand-applied brush or trowel techniques used in heavy-bodied stucco contributing to its layered complexity and weathered appearance over time. Natural colorants such as mineral pigments and oxide layers imbue the surface with muted earthy tones characteristic of authentic architectural stucco finishes enhancing the matte and slightly rough surface without any artificial gloss or shine.
Within physically based rendering (PBR) workflows this texture stucco paint heavy body is expertly mapped to highlight its material realism across essential channels. The BaseColor or Albedo map reveals subtle pigment variations and organic color shifts inherent to mineral-based paint surfaces while the Normal map reproduces fine ridges brush strokes and micro-textural undulations that add depth without altering the geometry. Roughness values are calibrated to emphasize the texture’s matte non-reflective quality accurately simulating light diffusion on porous weathered stucco surfaces. The Metallic map remains near zero reflecting the non-metallic nature of this paint-coating texture. Ambient Occlusion enhances the realistic shading within crevices and grain and Height or Displacement maps allow for improved surface relief and parallax effects crucial for high-detail renders that demand tactile authenticity. Together these maps form a cohesive high-fidelity representation suitable for detailed environment art and large-scale architectural visualizations.
Available in resolutions up to 8K this seamless stucco paint heavy body texture delivers exceptional clarity and detail making it ideal for both close-up renders and expansive surface applications without visible tiling artifacts. It integrates smoothly with industry-standard 3D software such as Blender Unreal Engine and Unity providing artists and designers with a production-ready asset that enhances the authenticity of paint-coating textures. For optimal visual realism adjusting the UV scale can help maintain the heavy tactile effect by controlling texture density while fine-tuning roughness values allows the material to respond naturally to varying lighting conditions. These practical adjustments ensure the texture’s intricate layering and subtle grain characteristics remain true to life whether applied to exterior walls interior ceilings or other architectural elements in both real-time and offline renders.
Import the texture maps into Blender with sRGB color space for albedo/base color and Non-Color for normal, roughness, metallic, AO, height, and ORM maps. Connect normal maps through a Normal Map node, then adjust UV scale with a Mapping node so the material repeats naturally on your model.
For the full step-by-step setup, see How to Use Seamless Textures in Blender. Browse related material examples in wood, concrete, and metal.
Yes. This texture is designed as a seamless tileable PBR material, so it can repeat across large surfaces without visible borders.
You can download PNG/WEBP versions and use 1K, 2K, 4K and 8K download options when available on the page.
Yes. The download options and engine-mapped ZIP workflow are designed for Blender, Unreal Engine, Unity Standard, URP and HDRP material pipelines.
Yes. The texture is available under the AITextured free commercial license. Review the license page for redistribution and AI-training restrictions.

Generate, preview, and export seamless PBR materials for Blender, Unity, and Unreal Engine—directly in your browser.
AI text-to-texture: type a prompt and get a seamless, tileable base image ready for PBR workflows (great starting point for materials).
Create a full PBR set (Normal, Roughness, AO, Metallic, etc.) from a single image. Seamless and tiling-friendly.
Instant WebGL viewer: inspect materials on a sphere, plane, and cube. Check tiling and lighting in real time.
Re-packages maps per engine: Unreal (BaseColor + ORM), Unity (Mask/MetallicSmoothness), Blender (separate channels).
PNG ↔ JPG ↔ SVG: fast convert, SVG rasterize, embed/trace options, quality & background controls.