Synthetic Pvc Seamless Texture
Seamless texture (tileable) · PNG, WEBP, PBR ZIP. License: AITextured Free Commercial License (FCL) v1.1. Free personal and commercial use. Raw resale, standalone redistribution, mirroring/scraping, competing asset packs, and AI/ML training are not allowed without written permission. Attribution is not required, but appreciated..

| ID | playground-rubber-mulch-safety-surfacing-tiles-free-pbr |
|---|---|
| Category | Plastic |
| Formats | PNG, WEBP, PBR ZIP |
| Size | 1k (1024x1024px), 2k (2048x2048px), 4k (4096x4096px), 8k (8192x8192px) |
| Color | sRGB |
| Tileable | Yes |
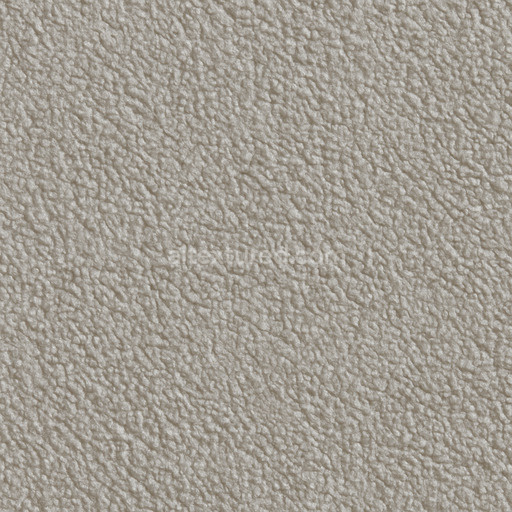
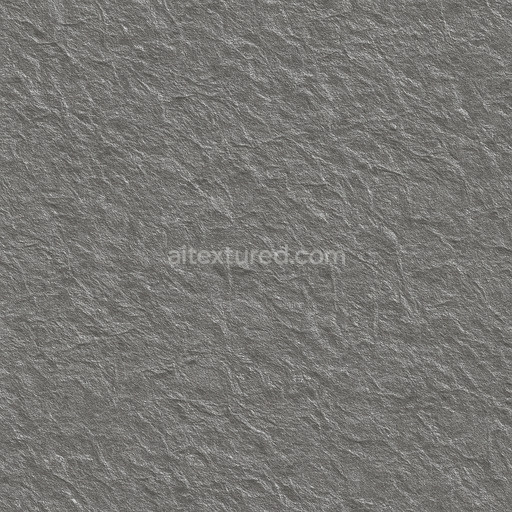
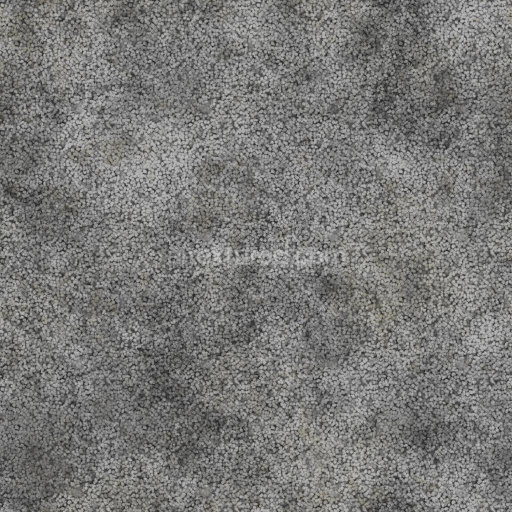
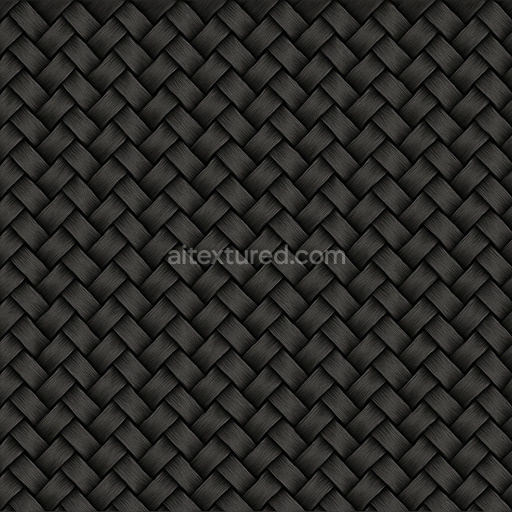
These playground rubber mulch safety surfacing tiles are expertly crafted from a durable polymer base combined with recycled rubber granules, delivering an eco-friendly and resilient composition ideally suited for outdoor playground environments. The material integrates specialized binders that securely hold the rubber aggregates together, providing essential flexibility and superior impact absorption while maintaining consistent structural integrity over time. Its surface features a slightly porous texture designed to enhance grip and facilitate efficient drainage, preventing water accumulation and improving safety underfoot. Finished with a subtle matte appearance, the tiles exhibit natural color variations created by embedded pigments and oxide layers within the recycled rubber, contributing to a visually rich and authentic look that withstands prolonged exposure to weathering, UV radiation, and mechanical wear.
The seamless PBR (Physically Based Rendering) texture maps capture the complex characteristics of this safety surfacing material across multiple channels for highly realistic digital representation. The BaseColor or Albedo map showcases the nuanced dark and muted tones typical of rubber mulch, revealing subtle shifts in pigmentation that reflect the organic nature of the recycled components. Normal and Height maps emphasize the granular, uneven surface created by shredded rubber pieces, adding depth and tactile detail to 3D models. Roughness maps highlight the non-reflective, matte quality of the tiles, ensuring accurate light diffusion without unwanted glossiness, while the Metallic channel remains minimal or absent, aligning with the organic polymer composition. Ambient Occlusion enhances shading around the aggregates and crevices, lending increased depth and realism in rendered scenes.
Rendered at resolutions up to 8K, these textures are optimized for seamless use in Blender, Unreal Engine, and Unity, supporting detailed close-up views and efficient real-time rendering without sacrificing quality. For optimal results, it is recommended to adjust the UV scale moderately to preserve the natural granule size and detail inherent to the rubber mulch, ensuring the texture maintains a realistic appearance. Additionally, fine-tuning the roughness values slightly lower can simulate a wetter or more polished surface finish if desired, allowing flexibility for different artistic or environmental conditions. This texture set provides a versatile and accurate solution for visualization and simulation of playground safety surfacing tiles in various digital projects.
Import the texture maps into Blender with sRGB color space for albedo/base color and Non-Color for normal, roughness, metallic, AO, height, and ORM maps. Connect normal maps through a Normal Map node, then adjust UV scale with a Mapping node so the material repeats naturally on your model.
For the full step-by-step setup, see How to Use Seamless Textures in Blender. Browse related material examples in wood, concrete, and metal.
Yes. This texture is designed as a seamless tileable PBR material, so it can repeat across large surfaces without visible borders.
You can download PNG/WEBP versions and use 1K, 2K, 4K and 8K download options when available on the page.
Yes. The download options and engine-mapped ZIP workflow are designed for Blender, Unreal Engine, Unity Standard, URP and HDRP material pipelines.
Yes. The texture is available under the AITextured free commercial license. Review the license page for redistribution and AI-training restrictions.


Build, preview, and export seamless PBR materials. Generate full map sets from a single image, inspect them in a real-time WebGL viewer, and re-package maps for Unreal, Unity, and Blender—directly in your browser.
AI text-to-texture: type a prompt and get a seamless, tileable base image ready for PBR workflows (great starting point for materials).
Create a full PBR set (Normal, Roughness, AO, Metallic, etc.) from a single image. Seamless and tiling-friendly.
Instant WebGL viewer: inspect materials on a sphere, plane, and cube. Check tiling and lighting in real time.
Re-packages maps per engine: Unreal (BaseColor + ORM), Unity (Mask/MetallicSmoothness), Blender (separate channels).
PNG ↔ JPG ↔ SVG: fast convert, SVG rasterize, embed/trace options, quality & background controls.