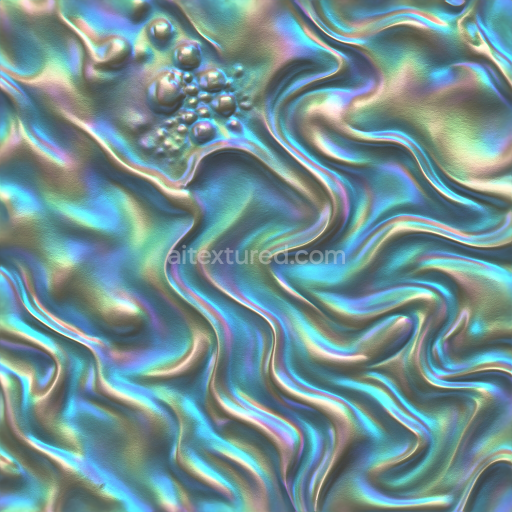
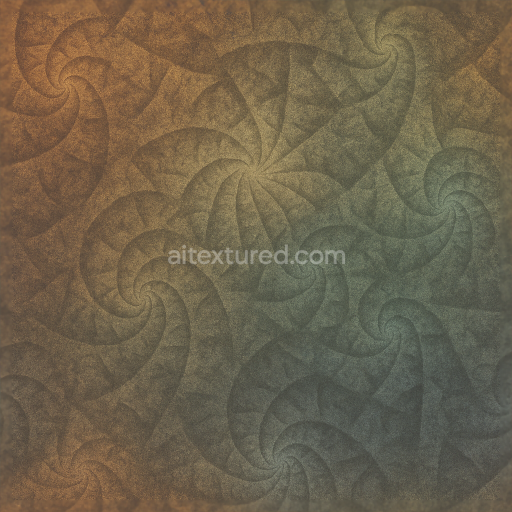
This seamless 3D texture is crafted to simulate a complex abstract surface combining liquid metal with smoky and ink-like formations, rendered in ultra-high 8K resolution for detailed photorealism. The underlying substrate appears as a highly reflective, molten metal base, characterized by smooth yet dynamically undulating vortex patterns that evoke fluid motion. These swirling forms are interlaced with translucent smoky wisps and deep charcoal ink flows, creating layered depth reminiscent of double exposure photography. The surface finish mimics a polished metallic sheen with subtle areas of diffuse glow, giving the impression of neon light leaks softly illuminating the texture’s intricate contours.
From a material composition standpoint, the texture suggests a metallic alloy substrate infused with organic pigment deposits resembling ink or charcoal particles suspended within a thin, glossy binder. The base metal provides the metallic PBR channel with strong reflectivity and low roughness, while the pigment-laden inclusions introduce localized variations in roughness and ambient occlusion, simulating porous or slightly oxidized regions. The charcoal tones serve as colorants in the BaseColor map, contrasting with the vibrant neon highlights that appear as emissive elements or subtle color overlays. Normal and height maps emphasize the vortex’s three-dimensional depth and the fluid ridges of the smoke and ink, enhancing the perception of physical layering and surface undulation.
In PBR terms, the BaseColor (Albedo) channel presents a balanced mix of dark charcoal and luminous neon hues, while the Metallic map is predominantly high to replicate the liquid metal base. Roughness values vary to differentiate between the polished metal areas and the matte, diffuse ink-like regions. Ambient Occlusion adds subtle shadowing within the vortex crevices and smoky folds, increasing realism. The Height/Displacement map captures the flowing relief of the swirling forms, allowing for convincing parallax effects. Normal maps meticulously define the intricate surface geometry, ensuring crisp light interaction on both large and fine details.
This texture is optimized for seamless tiling, making it ideal for use in Blender, Unreal Engine, and Unity projects that require sophisticated abstract materials with high fidelity. For practical application, adjusting the UV scale can help control the perceived size and density of the vortex pattern to suit different models and environments. Additionally, fine-tuning roughness values in shader settings will balance the reflective metal’s glow with the muted texture of the smoky ink areas, while blending height and normal maps can enhance the illusion of depth without excessive geometry.
Using This PBR Texture in Blender
Import the texture maps into Blender with sRGB color space for albedo/base color and
Non-Color for normal, roughness, metallic, AO, height, and ORM maps. Connect normal maps
through a Normal Map node, then adjust UV scale with a Mapping node so the material repeats naturally on
your model.
- Albedo -> Principled BSDF Base Color
- Roughness -> Roughness, Metallic -> Metallic
- Normal -> Normal Map node -> Normal
- Height -> Bump or Displacement depending on render setup
For the full step-by-step setup, see
How to Use Seamless Textures in Blender.
Browse related material examples in
wood,
concrete, and
metal.
FAQ
Is this texture seamless and tileable?
Yes. This texture is designed as a seamless tileable PBR material, so it can repeat across large surfaces without visible borders.
Which resolutions and formats are available?
You can download PNG/WEBP versions and use 1K, 2K, 4K and 8K download options when available on the page.
Can I use it in Blender, Unreal Engine and Unity?
Yes. The download options and engine-mapped ZIP workflow are designed for Blender, Unreal Engine, Unity Standard, URP and HDRP material pipelines.
Is commercial use allowed?
Yes. The texture is available under the AITextured free commercial license. Review the license page for redistribution and AI-training restrictions.