Splatter Drip Marks Charcoal Strokes Distressed Scuffed Scratches Grunge Brush Strokes
Seamless texture (tileable) · PNG, WEBP, PBR ZIP. License: AITextured Free Commercial License (FCL) v1.1. Free personal and commercial use. Raw resale, standalone redistribution, mirroring/scraping, competing asset packs, and AI/ML training are not allowed without written permission. Attribution is not required, but appreciated..

| ID | seamless-3d-texture-pbr-8k-spirals-swirls-vortex-symmetry-asymmetry-fractals-kaleidoscope-wave-pattern |
|---|---|
| Category | Abstract |
| Formats | PNG, WEBP, PBR ZIP |
| Size | 1k (1024x1024px), 2k (2048x2048px), 4k (4096x4096px), 8k (8192x8192px) |
| Color | sRGB |
| Tileable | Yes |
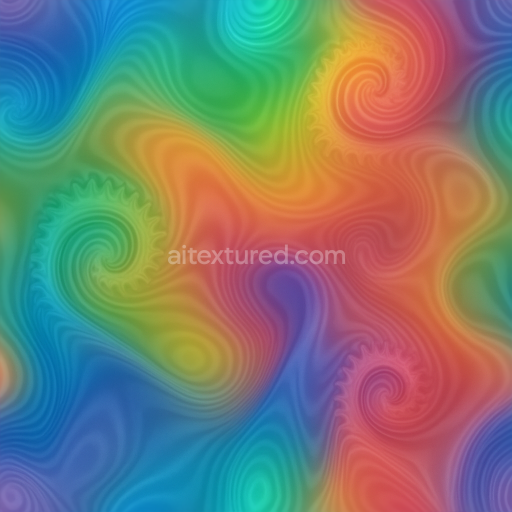
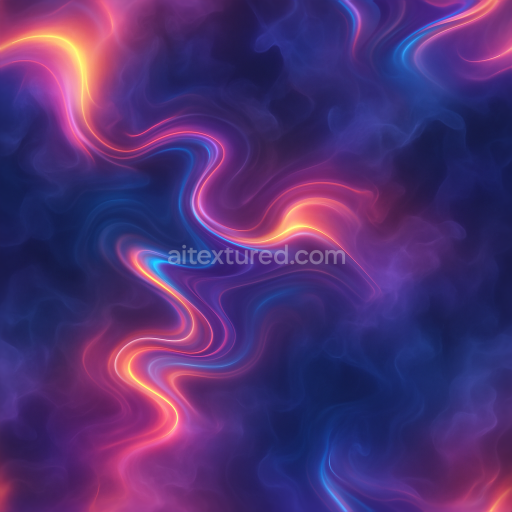
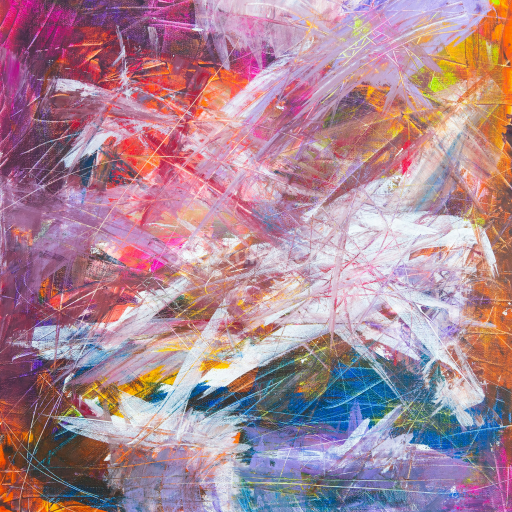
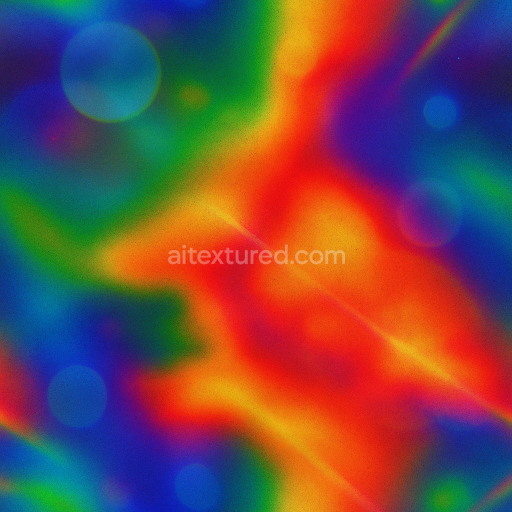
This seamless 8K 3D texture features a complex interplay of spirals, swirls, and vortex-like formations that combine both symmetry and controlled asymmetry to create a dynamic abstract wave pattern. The underlying material evokes a high-quality polished ceramic or resin substrate, providing a smooth and slightly reflective base that accentuates the intricate fractal and kaleidoscopic details. The geometric form is characterized by fluid, continuous curves that flow organically, forming layered concentric rings and interwoven spiral motifs. These elements are arranged to maintain seamless tiling, ensuring an uninterrupted visual rhythm across large surfaces.
The composition suggests a multi-layered construction where a dense polymer or ceramic base is combined with fine aggregate inclusions that enhance surface texture and depth. Pigments or colorants are carefully blended to produce subtle gradients and soft tonal variations, especially in the BaseColor (Albedo) channel, mimicking natural mineral veining and iridescent shifts. The Normal map captures the delicate undulations and raised spiral ridges, giving the pattern pronounced three-dimensional relief. Roughness values are finely tuned to reflect a partially polished finish, balancing glossiness and matte areas to simulate wear and subtle surface imperfections. The Metallic channel remains minimal or null, indicating a non-metallic material, while Ambient Occlusion enhances shadow depth within the vortex folds. Height and displacement maps provide additional sculptural detail, emphasizing the wave-like elevations and recesses for realistic parallax effects.
Designed for high-fidelity rendering engines such as Blender, Unreal Engine, and Unity, this texture leverages its 8K resolution to maintain crispness and detail even on close-up views or large-scale applications. The seamless nature allows it to be applied repeatedly without visible borders, making it suitable for artistic backgrounds, environmental surfaces, or decorative panels in virtual scenes. The fractal and kaleidoscope-inspired patterns generate visual complexity that responds well to varied lighting conditions, enhancing realism across different PBR workflows.
For practical implementation, it is recommended to adjust the UV scaling to moderate values, preventing excessive repetition that could diminish the pattern’s natural flow. Additionally, fine-tuning the roughness map can help adapt the surface reflectivity to specific lighting environments, from soft indoor illumination to harsher outdoor scenes. When combining height and normal maps, blending them carefully can avoid exaggerated depth effects while preserving the texture’s intricate detail and smooth transitions.
Import the texture maps into Blender with sRGB color space for albedo/base color and Non-Color for normal, roughness, metallic, AO, height, and ORM maps. Connect normal maps through a Normal Map node, then adjust UV scale with a Mapping node so the material repeats naturally on your model.
For the full step-by-step setup, see How to Use Seamless Textures in Blender. Browse related material examples in wood, concrete, and metal.
Yes. This texture is designed as a seamless tileable PBR material, so it can repeat across large surfaces without visible borders.
You can download PNG/WEBP versions and use 1K, 2K, 4K and 8K download options when available on the page.
Yes. The download options and engine-mapped ZIP workflow are designed for Blender, Unreal Engine, Unity Standard, URP and HDRP material pipelines.
Yes. The texture is available under the AITextured free commercial license. Review the license page for redistribution and AI-training restrictions.


Generate, preview, and export seamless PBR materials for Blender, Unity, and Unreal Engine—directly in your browser.
AI text-to-texture: type a prompt and get a seamless, tileable base image ready for PBR workflows (great starting point for materials).
Create a full PBR set (Normal, Roughness, AO, Metallic, etc.) from a single image. Seamless and tiling-friendly.
Instant WebGL viewer: inspect materials on a sphere, plane, and cube. Check tiling and lighting in real time.
Re-packages maps per engine: Unreal (BaseColor + ORM), Unity (Mask/MetallicSmoothness), Blender (separate channels).
PNG ↔ JPG ↔ SVG: fast convert, SVG rasterize, embed/trace options, quality & background controls.