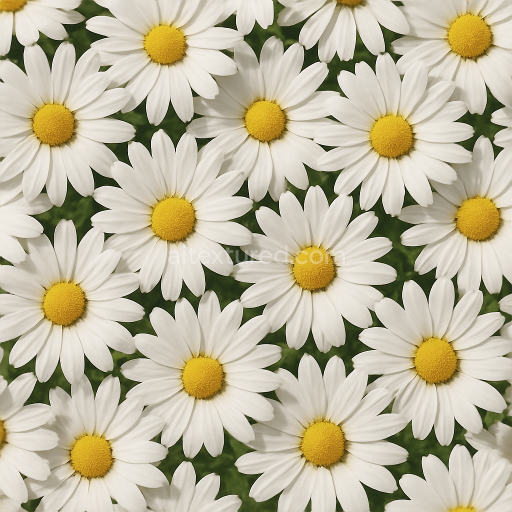
Daisy Cluster Flower Garden Flower Petals Closeup Photorealistic
Seamless texture (tileable) · PNG, WEBP, PBR ZIP. License: AITextured Free Commercial License (FCL) v1.1. Free personal and commercial use. Raw resale, standalone redistribution, mirroring/scraping, competing asset packs, and AI/ML training are not allowed without written permission. Attribution is not required, but appreciated..

| ID | seamless-3d-texture-pbr-8k-of-bright-sunflower-face-capturing-natural-flower-surface-and-pollen-detail |
|---|---|
| Category | Flowers |
| Formats | PNG, WEBP, PBR ZIP |
| Size | 1k (1024x1024px), 2k (2048x2048px), 4k (4096x4096px), 8k (8192x8192px) |
| Color | sRGB |
| Tileable | Yes |
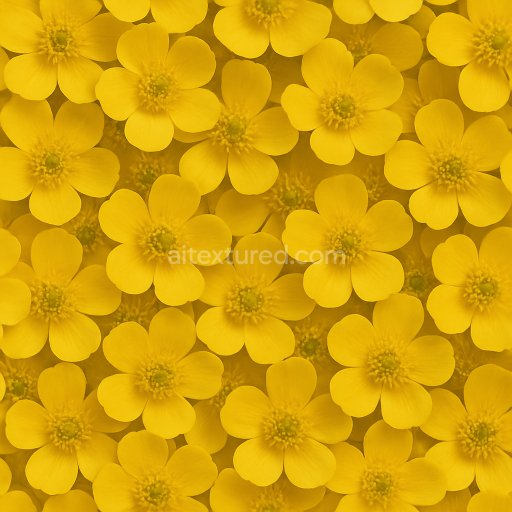
This seamless 8K PBR texture captures the vibrant sunflower face with exceptional material fidelity, focusing on the natural flower surface and intricately detailed pollen grains. The primary base material is the organic, soft tissue of the sunflower petals, characterized by a delicate, slightly translucent cellular structure. This substrate exhibits subtle variations in thickness and density, contributing to the realistic translucency and light scattering visible in the petals. The central disc of the flower consists of tightly packed pollen grains arranged in a geometric spiral pattern, creating a complex microstructure that adds depth and tactile interest. The pollen itself acts as a fine granular aggregate, with a matte, powdery finish that contrasts with the smoother petal surfaces, enhancing the overall textural complexity.
The flower surface demonstrates a natural roughness derived from the micro-variations and fibrous veins running through each petal. These fibers provide a directional grain that influences light reflection, creating soft highlights and shadows that emphasize the flower’s form. The petals’ edges are gently curved and layered, resulting in a laminated geometric form that adds dimensionality and volume. This texture’s roughness channel reflects this subtle variation, ranging from the softer, smoother petal faces to the slightly coarser pollen clusters. The normal and height maps effectively replicate the intricate embossing of veins and pollen granules, enhancing the three-dimensional appearance without requiring baked lighting or shadows. Ambient occlusion brings out the natural shading in crevices between petals and pollen clusters, ensuring depth and realism even under dynamic lighting conditions.
Color variations in this texture are carefully represented within the BaseColor (Albedo) channel, showcasing the sunflower’s bright yellows and warm oranges with natural gradients and subtle pigment shifts caused by cell structure and light transmission. The petals’ translucency is achieved by simulating subsurface scattering effects through the texture’s diffuse color and roughness interplay, allowing rendered light to softly penetrate and diffuse, mimicking the flower’s delicate softness. The surface finish is matte with a slight satin sheen, avoiding any excessive specularity while maintaining a lifelike vibrancy. The metallic channel remains minimal or zero, as the flower material is non-metallic, focusing on organic reflectance properties.
Designed for high-end workflows, this texture is optimized for use in Blender, Unreal Engine, and Unity, ensuring compatibility with physically based rendering pipelines and real-time applications. The 8K resolution provides ample detail for close-up shots or large-scale environmental renders without visible repetition or pixelation. For practical use, adjusting the UV scale to maintain natural petal proportions is recommended, especially when applying the texture over curved geometry. Additionally, fine-tuning the roughness map can help achieve the desired balance between petal softness and pollen granularity, while blending height and normal maps allows for enhanced surface relief effects, adding realism in close-up flower petals and central disc features.
Import the texture maps into Blender with sRGB color space for albedo/base color and Non-Color for normal, roughness, metallic, AO, height, and ORM maps. Connect normal maps through a Normal Map node, then adjust UV scale with a Mapping node so the material repeats naturally on your model.
For the full step-by-step setup, see How to Use Seamless Textures in Blender. Browse related material examples in wood, concrete, and metal.
Yes. This texture is designed as a seamless tileable PBR material, so it can repeat across large surfaces without visible borders.
You can download PNG/WEBP versions and use 1K, 2K, 4K and 8K download options when available on the page.
Yes. The download options and engine-mapped ZIP workflow are designed for Blender, Unreal Engine, Unity Standard, URP and HDRP material pipelines.
Yes. The texture is available under the AITextured free commercial license. Review the license page for redistribution and AI-training restrictions.


Build, preview, and export seamless PBR materials. Generate full map sets from a single image, inspect them in a real-time WebGL viewer, and re-package maps for Unreal, Unity, and Blender—directly in your browser.
AI text-to-texture: type a prompt and get a seamless, tileable base image ready for PBR workflows (great starting point for materials).
Create a full PBR set (Normal, Roughness, AO, Metallic, etc.) from a single image. Seamless and tiling-friendly.
Instant WebGL viewer: inspect materials on a sphere, plane, and cube. Check tiling and lighting in real time.
Re-packages maps per engine: Unreal (BaseColor + ORM), Unity (Mask/MetallicSmoothness), Blender (separate channels).
PNG ↔ JPG ↔ SVG: fast convert, SVG rasterize, embed/trace options, quality & background controls.