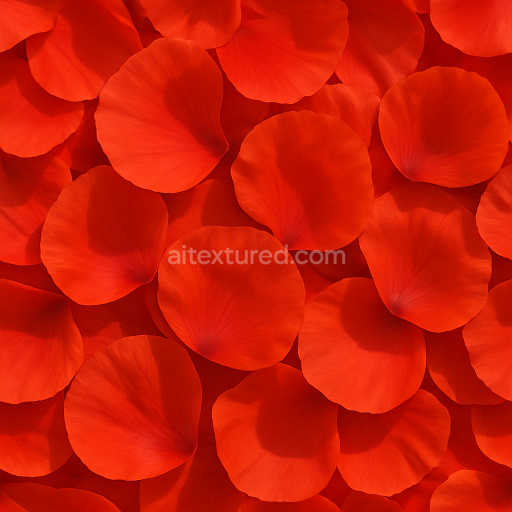
Poppy Petals Flower Meadow Flower Petals Closeup Natural Lighting
Seamless texture (tileable) · PNG, WEBP, PBR ZIP. License: AITextured Free Commercial License (FCL) v1.1. Free personal and commercial use. Raw resale, standalone redistribution, mirroring/scraping, competing asset packs, and AI/ML training are not allowed without written permission. Attribution is not required, but appreciated..

| ID | seamless-3d-texture-pbr-8k-of-sharp-gladiolus-spikes-with-detailed-flower-surface-and-color-variations |
|---|---|
| Category | Flowers |
| Formats | PNG, WEBP, PBR ZIP |
| Size | 1k (1024x1024px), 2k (2048x2048px), 4k (4096x4096px), 8k (8192x8192px) |
| Color | sRGB |
| Tileable | Yes |
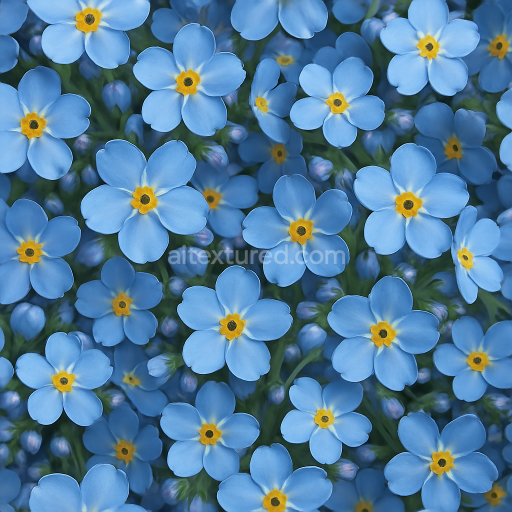
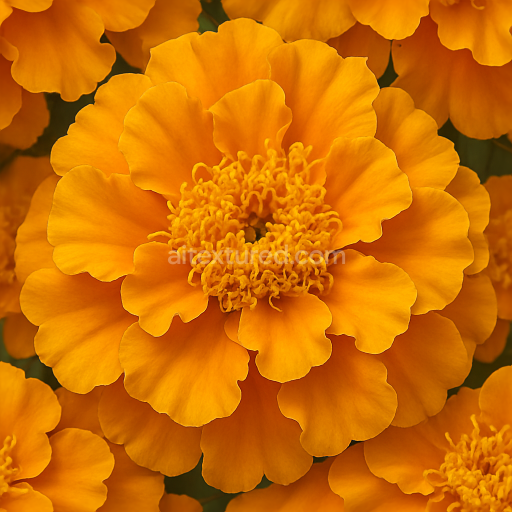
This seamless 8K PBR texture showcases the sharp, elongated spikes of gladiolus flowers, focusing on the intricate surface details of each petal and the subtle color variations that naturally occur across the floral structure. The material composition reflects a delicate, semi-translucent organic substrate typical of fresh flower petals, composed primarily of thin cellulose fibers bound by natural pectins and water content. This combination results in a soft, slightly waxy surface finish that captures light diffusely, enhancing the perception of translucency and depth. The geometric form is characterized by elongated, lanceolate petals arranged in overlapping layers, creating a repeating veined pattern that emphasizes the natural flow and curvature of gladiolus spikes.
The texture’s albedo map accurately reproduces the complex gradients of flower color variations—from creamy whites and soft pinks to deep reds—achieved through layered pigmentation embedded within the petal structure. The normal map highlights fine surface irregularities such as vein ridges and subtle undulations, providing a tactile sense of the petal’s natural roughness and softness. Roughness values are calibrated to represent the semi-matte finish of the petals, balancing light absorption and reflection without metallic sheen, as indicated by a metallic map set to near zero. Ambient occlusion enhances subtle shadows within overlapping petal layers, while the height/displacement map adds dimensionality by simulating the delicate raised veins and edges, crucial for close-up renders.
Designed for high-fidelity workflows in Blender, Unreal Engine, and Unity, this texture is fully tileable, allowing for seamless repetition across large surfaces or detailed closeups without visible seams or distortion. The neutral lighting conditions under which the texture was captured ensure compatibility with various scene illuminations, avoiding baked-in shadows or highlights that could limit its versatility. This makes it suitable for photorealistic 3D flower visualizations, botanical studies, or environmental decorations in virtual production.
For optimal results, it is recommended to fine-tune the UV scale to maintain the natural size of gladiolus petals relative to your 3D model, avoiding unnatural stretching or compression. Adjusting the roughness map can help tailor the petal softness to different lighting scenarios, while blending height and normal maps can enhance the perceived depth and detail of the flower surface, especially in close-up renders where subtle surface features are critical for realism.
Import the texture maps into Blender with sRGB color space for albedo/base color and Non-Color for normal, roughness, metallic, AO, height, and ORM maps. Connect normal maps through a Normal Map node, then adjust UV scale with a Mapping node so the material repeats naturally on your model.
For the full step-by-step setup, see How to Use Seamless Textures in Blender. Browse related material examples in wood, concrete, and metal.
Yes. This texture is designed as a seamless tileable PBR material, so it can repeat across large surfaces without visible borders.
You can download PNG/WEBP versions and use 1K, 2K, 4K and 8K download options when available on the page.
Yes. The download options and engine-mapped ZIP workflow are designed for Blender, Unreal Engine, Unity Standard, URP and HDRP material pipelines.
Yes. The texture is available under the AITextured free commercial license. Review the license page for redistribution and AI-training restrictions.


Build, preview, and export seamless PBR materials. Generate full map sets from a single image, inspect them in a real-time WebGL viewer, and re-package maps for Unreal, Unity, and Blender—directly in your browser.
AI text-to-texture: type a prompt and get a seamless, tileable base image ready for PBR workflows (great starting point for materials).
Create a full PBR set (Normal, Roughness, AO, Metallic, etc.) from a single image. Seamless and tiling-friendly.
Instant WebGL viewer: inspect materials on a sphere, plane, and cube. Check tiling and lighting in real time.
Re-packages maps per engine: Unreal (BaseColor + ORM), Unity (Mask/MetallicSmoothness), Blender (separate channels).
PNG ↔ JPG ↔ SVG: fast convert, SVG rasterize, embed/trace options, quality & background controls.