
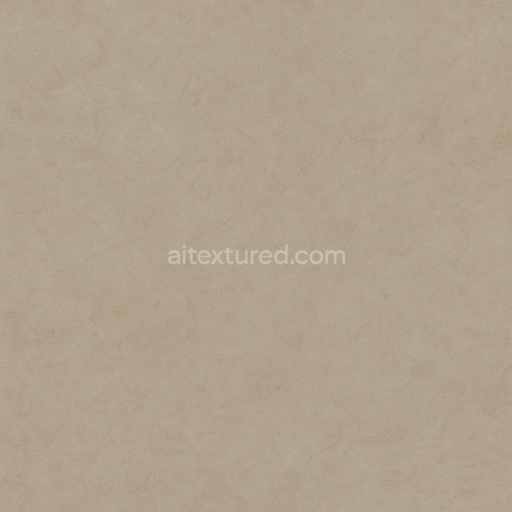
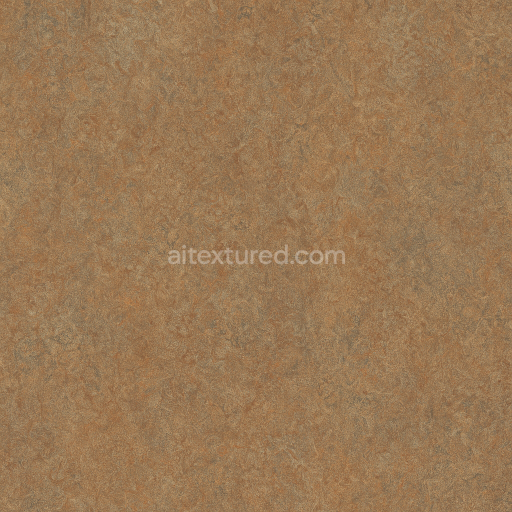
Marbled Linoleum Sheet With Glossy Finish And Subtle Veins
Seamless texture (tileable) · PNG, WEBP, PBR ZIP. License: AITextured Free Commercial License (FCL) v1.1. Free personal and commercial use. Raw resale, standalone redistribution, mirroring/scraping, competing asset packs, and AI/ML training are not allowed without written permission. Attribution is not required, but appreciated..

| ID | seamless-3d-texture-pbr-8k-homogeneous-linoleum-sheet-with-matte-finish |
|---|---|
| Category | Linoleum |
| Formats | PNG, WEBP, PBR ZIP |
| Size | 1k (1024x1024px), 2k (2048x2048px), 4k (4096x4096px), 8k (8192x8192px) |
| Color | sRGB |
| Tileable | Yes |
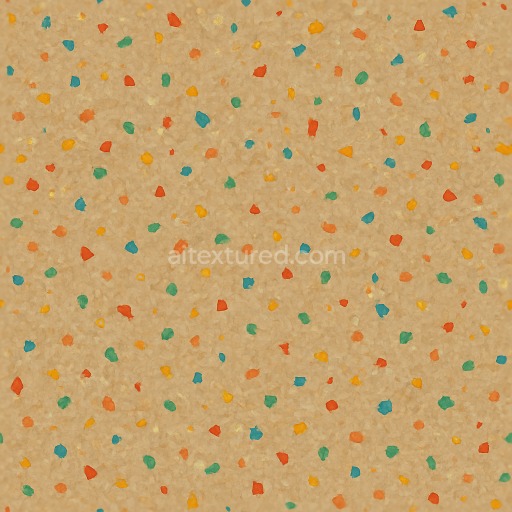
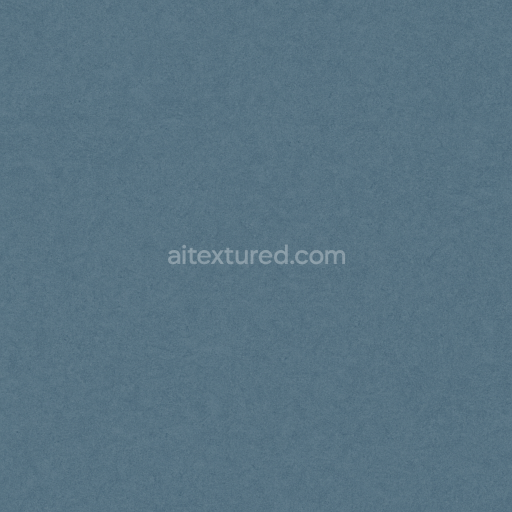
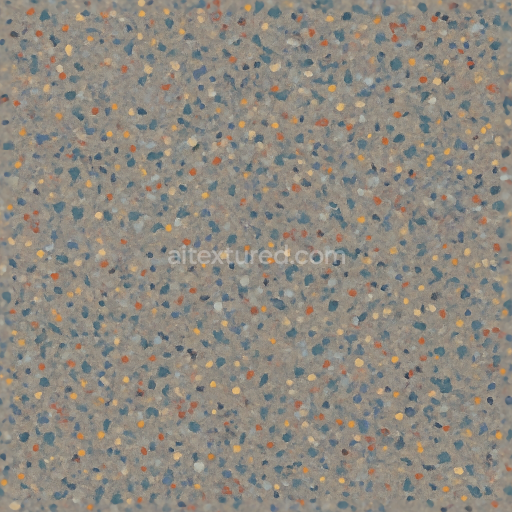
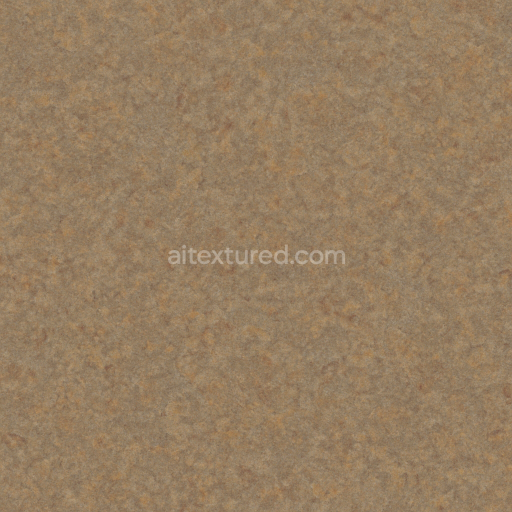
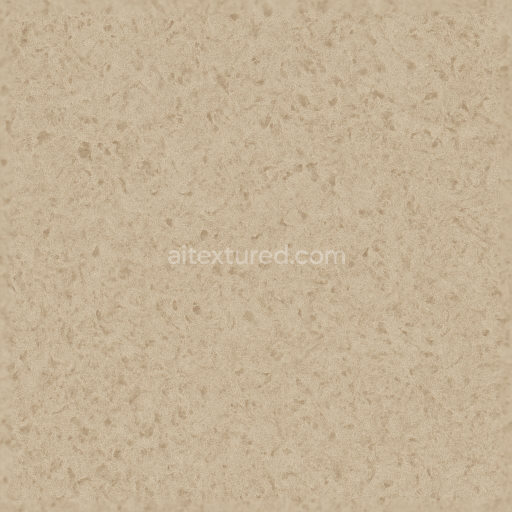
This seamless 3D texture depicts a homogeneous linoleum sheet characterized by a matte finish and a fine grain surface, designed to emulate industrial and commercial-grade flooring materials. The linoleum’s composition typically consists of a natural substrate made from linseed oil, wood flour, and cork dust, bonded with resilient binders and adhesives that create a dense, uniform sheet. The texture’s solid color and neutral palette reflect the addition of stable, non-fading pigments dispersed evenly throughout the material, resulting in a consistent BaseColor channel with minimal variation. The fine grain visible across the surface mimics subtle fibrous inclusions and compressed aggregate particles, which contribute to the tactile quality and visual depth captured in the Normal and Height maps.
Structurally, the linoleum sheet is smooth yet textured, exhibiting a lightly embossed, homogeneous pattern without pronounced geometric forms such as tiles or planks. This uniformity supports its industrial use, where durability and ease of maintenance are critical. The surface finish is distinctly matte, achieved through a controlled roughness that diffuses light softly without glossiness, accurately represented in the Roughness map for physically based rendering (PBR). The material’s non-metallic nature is reflected in the Metallic channel, which is set to zero, underscoring its organic, polymeric composition. Ambient Occlusion enhances the perception of subtle surface depressions and fine grain irregularities, adding realism under varied lighting conditions.
Rendered in 8K resolution, this texture ensures exceptional detail and crispness, suitable for high-fidelity visualizations and close-up inspections. It is fully optimized for use in Blender, Unreal Engine, and Unity, supporting seamless tiling and high-performance rendering workflows. The Height and Normal maps work in tandem to create convincing surface relief and subtle depth variations, essential for simulating the linoleum’s low-profile grain and slight embossing without overwhelming the visual simplicity of the solid color sheet. This makes it an excellent candidate for large-scale flooring surfaces where visual uniformity and material realism are paramount.
For practical application, it is advisable to adjust the UV scale carefully to maintain the appearance of the fine grain and avoid texture repetition, particularly in expansive floor layouts. Additionally, tuning the Roughness map can help mimic different wear levels or cleaning conditions, from slightly polished to more matte, weathered finishes. Blending the Height map subtly with the Normal map enhances the tactile quality without introducing harsh surface distortions, preserving the linoleum’s characteristic smooth but textured appearance.
Import the texture maps into Blender with sRGB color space for albedo/base color and Non-Color for normal, roughness, metallic, AO, height, and ORM maps. Connect normal maps through a Normal Map node, then adjust UV scale with a Mapping node so the material repeats naturally on your model.
For the full step-by-step setup, see How to Use Seamless Textures in Blender. Browse related material examples in wood, concrete, and metal.
Yes. This texture is designed as a seamless tileable PBR material, so it can repeat across large surfaces without visible borders.
You can download PNG/WEBP versions and use 1K, 2K, 4K and 8K download options when available on the page.
Yes. The download options and engine-mapped ZIP workflow are designed for Blender, Unreal Engine, Unity Standard, URP and HDRP material pipelines.
Yes. The texture is available under the AITextured free commercial license. Review the license page for redistribution and AI-training restrictions.
Build, preview, and export seamless PBR materials. Generate full map sets from a single image, inspect them in a real-time WebGL viewer, and re-package maps for Unreal, Unity, and Blender—directly in your browser.
AI text-to-texture: type a prompt and get a seamless, tileable base image ready for PBR workflows (great starting point for materials).
Create a full PBR set (Normal, Roughness, AO, Metallic, etc.) from a single image. Seamless and tiling-friendly.
Instant WebGL viewer: inspect materials on a sphere, plane, and cube. Check tiling and lighting in real time.
Re-packages maps per engine: Unreal (BaseColor + ORM), Unity (Mask/MetallicSmoothness), Blender (separate channels).
PNG ↔ JPG ↔ SVG: fast convert, SVG rasterize, embed/trace options, quality & background controls.