
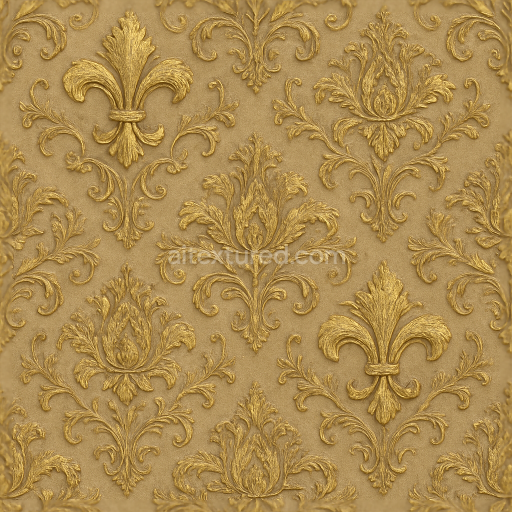
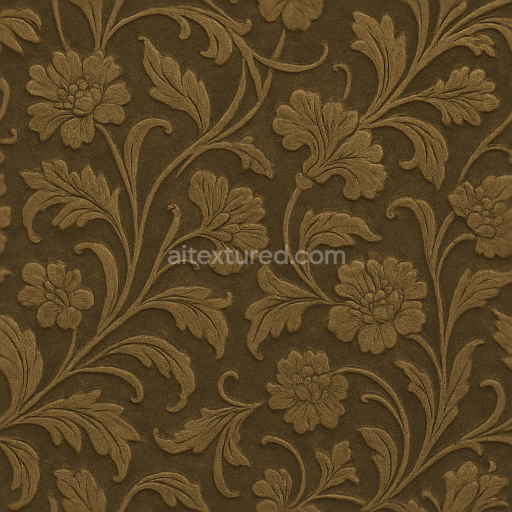
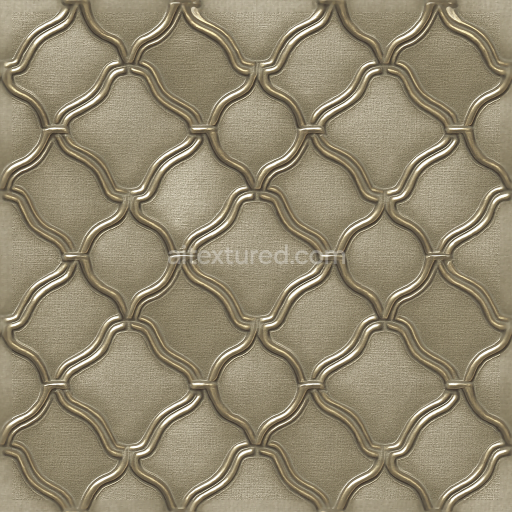
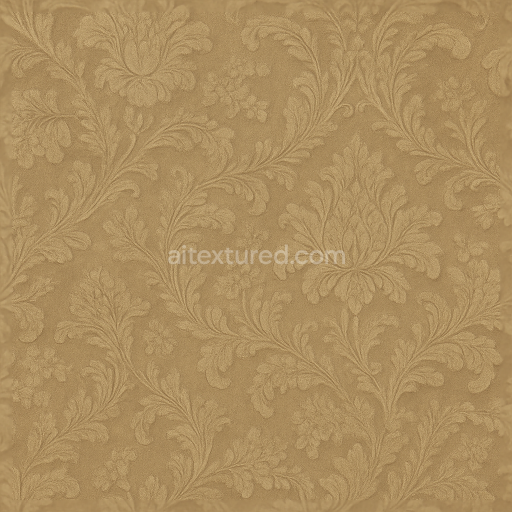
Wallpaper With Vintage Rococo Jacquard Faded Distressed
Seamless texture (tileable) · PNG, WEBP, PBR ZIP. License: AITextured Free Commercial License (FCL) v1.1. Free personal and commercial use. Raw resale, standalone redistribution, mirroring/scraping, competing asset packs, and AI/ML training are not allowed without written permission. Attribution is not required, but appreciated..

| ID | seamless-3d-texture-pbr-8k-minimalist-modern-wallpaper-with-matte-concrete-finish-and-subtle-brush-strokes |
|---|---|
| Category | Wallpaper |
| Formats | PNG, WEBP, PBR ZIP |
| Size | 1k (1024x1024px), 2k (2048x2048px), 4k (4096x4096px), 8k (8192x8192px) |
| Color | sRGB |
| Tileable | Yes |
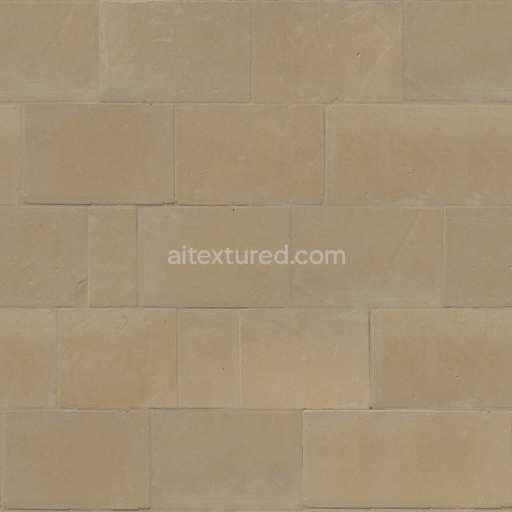
This seamless 3D texture presents a high-resolution 8K wallpaper design inspired by raw concrete surfaces crafted with a minimalist and modern aesthetic. The base material simulates a smooth yet subtly distressed concrete substrate composed primarily of fine aggregates and cementitious binders that give the surface its characteristic matte appearance. Embedded within this substrate are gentle brush stroke patterns which introduce a soft tactile variation reminiscent of hand-applied finishing techniques. These strokes break the uniformity of the concrete adding a delicate visual rhythm without compromising the minimalist style. The geometric form is essentially planar with low-relief undulations creating a continuous seamless repeat that ensures perfect alignment across extensive wall areas.
From a materials perspective the texture mimics a low-porosity concrete panel where fine mineral aggregates are bound by a matte cement matrix. The subdued brush strokes are reflected in the height and normal maps creating subtle surface irregularities that catch light realistically. The PBR composition includes a BaseColor (Albedo) channel that captures the natural gray tones of concrete with slight color variation from pigment additives and surface wear. The Roughness map emphasizes the matte finish by maintaining a high roughness value overall while allowing slight modulation where the brush strokes reduce micro-roughness. The Metallic channel remains at zero consistent with non-metallic concrete. Ambient Occlusion enhances depth perception in crevices formed by the brush strokes and minor surface imperfections. Height and displacement maps provide fine relief detail enhancing the perception of depth and texture without excessive geometric complexity.
This texture is optimized for physically based rendering workflows and is compatible with major 3D engines such as Blender Unreal Engine and Unity. Its 8K resolution ensures exceptional detail and clarity suitable for close-up visualizations and large-scale architectural visualizations alike. The seamless nature of the texture enables efficient tiling without visible borders ideal for covering expansive interior walls in virtual environments or architectural renders.
When applying this texture consider adjusting the UV scale to balance detail density according to your scene’s resolution and viewing distance. Fine-tuning the Roughness channel can help achieve the desired level of matte finish especially under different lighting conditions. Additionally blending the height and normal maps can enhance the subtle brush stroke relief providing a more convincing tactile experience without adding excessive geometry. This approach maintains performance while delivering a visually rich modern concrete wallpaper effect that is both understated and texturally engaging.
Import the texture maps into Blender with sRGB color space for albedo/base color and Non-Color for normal, roughness, metallic, AO, height, and ORM maps. Connect normal maps through a Normal Map node, then adjust UV scale with a Mapping node so the material repeats naturally on your model.
For the full step-by-step setup, see How to Use Seamless Textures in Blender. Browse related material examples in wood, concrete, and metal.
Yes. This texture is designed as a seamless tileable PBR material, so it can repeat across large surfaces without visible borders.
You can download PNG/WEBP versions and use 1K, 2K, 4K and 8K download options when available on the page.
Yes. The download options and engine-mapped ZIP workflow are designed for Blender, Unreal Engine, Unity Standard, URP and HDRP material pipelines.
Yes. The texture is available under the AITextured free commercial license. Review the license page for redistribution and AI-training restrictions.


Generate, preview, and export seamless PBR materials for Blender, Unity, and Unreal Engine—directly in your browser.
AI text-to-texture: type a prompt and get a seamless, tileable base image ready for PBR workflows (great starting point for materials).
Create a full PBR set (Normal, Roughness, AO, Metallic, etc.) from a single image. Seamless and tiling-friendly.
Instant WebGL viewer: inspect materials on a sphere, plane, and cube. Check tiling and lighting in real time.
Re-packages maps per engine: Unreal (BaseColor + ORM), Unity (Mask/MetallicSmoothness), Blender (separate channels).
PNG ↔ JPG ↔ SVG: fast convert, SVG rasterize, embed/trace options, quality & background controls.