
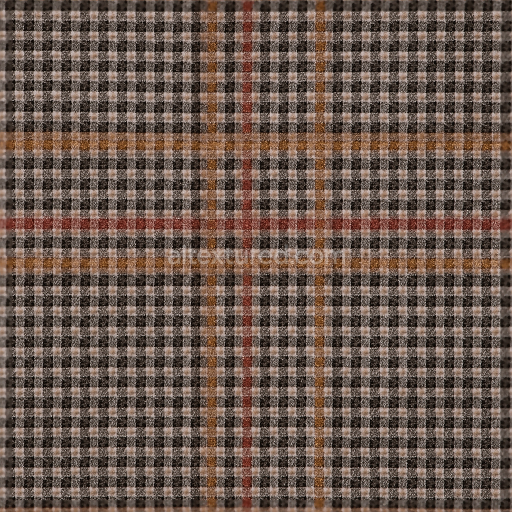
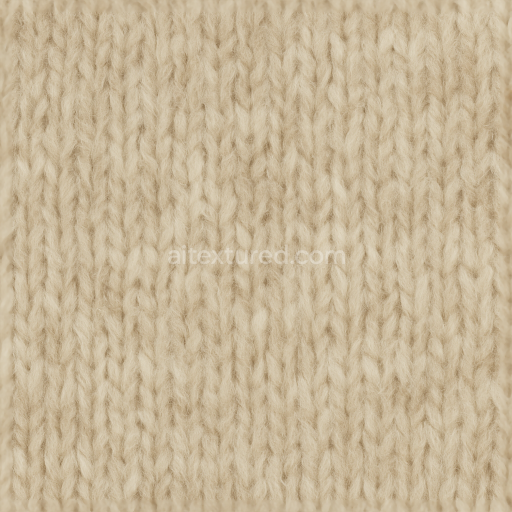
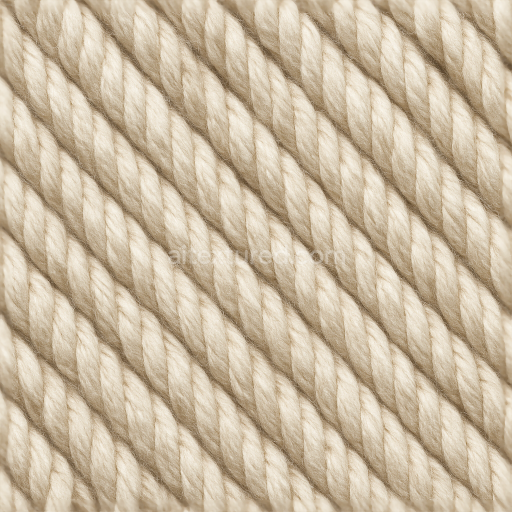
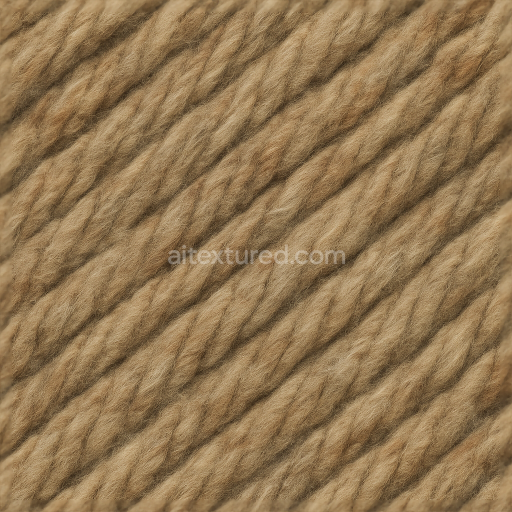
Wool Ribbed Wool Knit Dense Wool Fibers Natural Wool
Seamless texture (tileable) · PNG, WEBP, PBR ZIP. License: AITextured Free Commercial License (FCL) v1.1. Free personal and commercial use. Raw resale, standalone redistribution, mirroring/scraping, competing asset packs, and AI/ML training are not allowed without written permission. Attribution is not required, but appreciated..

| ID | seamless-3d-texture-pbr-8k-alpaca-wool-fuzzy-surface-soft-wool-fibers-natural-wool |
|---|---|
| Category | Wool |
| Formats | PNG, WEBP, PBR ZIP |
| Size | 1k (1024x1024px), 2k (2048x2048px), 4k (4096x4096px), 8k (8192x8192px) |
| Color | sRGB |
| Tileable | Yes |
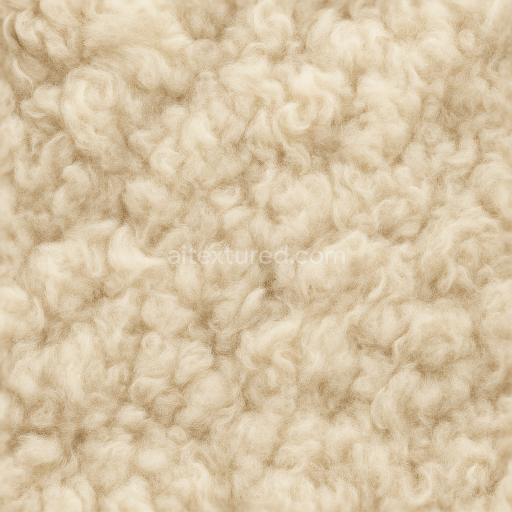
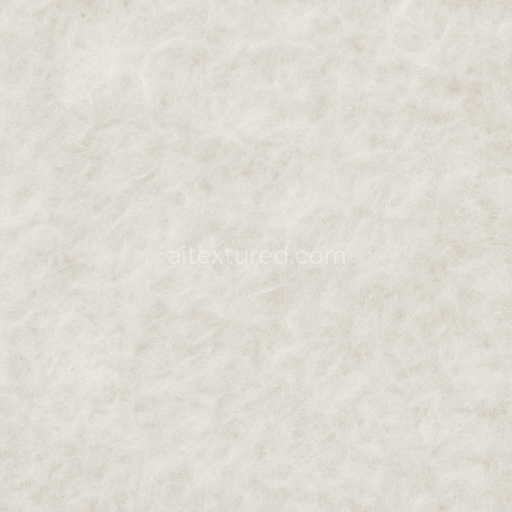
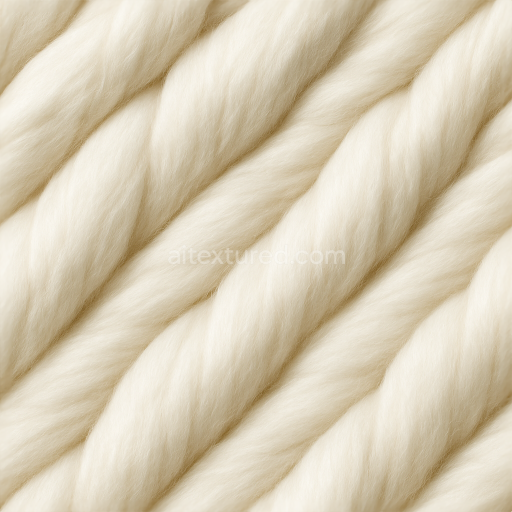
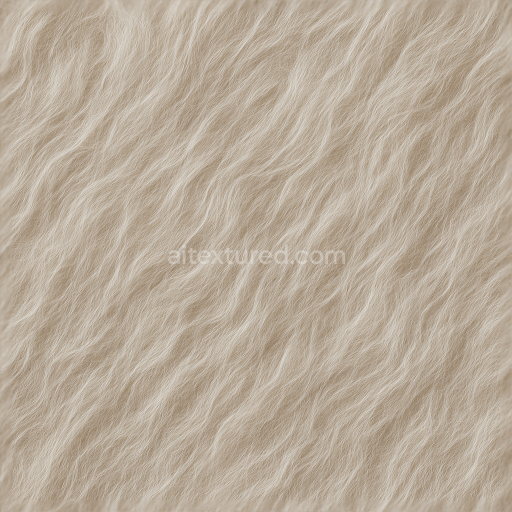
This seamless 3D texture represents alpaca wool in exquisite 8K PBR resolution capturing the intricate details of its naturally soft and fuzzy surface. The base material emulates densely packed wool fibers arranged in a fine intertwined pattern that mirrors the natural geometric form of alpaca fleece. This fiber network creates a subtle irregular weave with gentle undulations and variable fiber thickness resulting in a soft tactile impression. The texture’s surface finish emphasizes the delicate fuzziness typical of alpaca wool with minute fiber tips and slight variations in fiber direction adding to the realism. The natural color palette consists of warm earthy hues ranging from light cream to soft beige replicating the organic pigment distribution within the wool fibers without any artificial dyes.
Structurally the texture simulates a fibrous substrate composed primarily of tightly bound protein fibers exhibiting low porosity which contributes to the soft insulating properties of alpaca wool. The fibers are modeled with subtle displacement and normal variations to represent their rounded cross-sections and occasional overlapping creating depth and complexity. The roughness map highlights the matte non-reflective nature of natural wool ensuring diffuse light scattering without glossiness. The albedo (BaseColor) channel conveys the warm natural coloration of the fibers while the normal and height maps provide detailed surface relief to enhance the perception of fuzziness and fine fiber contours. The ambient occlusion channel subtly accentuates fiber intersections and overlaps adding shadow depth that reinforces volumetric density. There is no metallic component consistent with organic non-metallic materials.
Designed for seamless tiling this alpaca wool texture maintains consistent fiber flow and surface continuity across UV seams making it ideal for large-scale fabric simulations. Its high 8K resolution supports close-up renders without loss of detail perfectly suited for realistic textile visualization in Blender Unreal Engine and Unity. The texture’s displacement and normal maps can be blended or adjusted to optimize parallax effects or micro-detail depending on the renderer or engine requirements. For best results it is advisable to calibrate the UV scale to maintain natural fiber proportions and to fine-tune roughness to match ambient lighting conditions preserving the soft non-glossy appearance characteristic of natural wool surfaces.
Import the texture maps into Blender with sRGB color space for albedo/base color and Non-Color for normal, roughness, metallic, AO, height, and ORM maps. Connect normal maps through a Normal Map node, then adjust UV scale with a Mapping node so the material repeats naturally on your model.
For the full step-by-step setup, see How to Use Seamless Textures in Blender. Browse related material examples in wood, concrete, and metal.
Yes. This texture is designed as a seamless tileable PBR material, so it can repeat across large surfaces without visible borders.
You can download PNG/WEBP versions and use 1K, 2K, 4K and 8K download options when available on the page.
Yes. The download options and engine-mapped ZIP workflow are designed for Blender, Unreal Engine, Unity Standard, URP and HDRP material pipelines.
Yes. The texture is available under the AITextured free commercial license. Review the license page for redistribution and AI-training restrictions.


Build, preview, and export seamless PBR materials. Generate full map sets from a single image, inspect them in a real-time WebGL viewer, and re-package maps for Unreal, Unity, and Blender—directly in your browser.
AI text-to-texture: type a prompt and get a seamless, tileable base image ready for PBR workflows (great starting point for materials).
Create a full PBR set (Normal, Roughness, AO, Metallic, etc.) from a single image. Seamless and tiling-friendly.
Instant WebGL viewer: inspect materials on a sphere, plane, and cube. Check tiling and lighting in real time.
Re-packages maps per engine: Unreal (BaseColor + ORM), Unity (Mask/MetallicSmoothness), Blender (separate channels).
PNG ↔ JPG ↔ SVG: fast convert, SVG rasterize, embed/trace options, quality & background controls.