
Wool Herringbone Wool Fabric Fine Wool Fibers Natural Wool
Seamless texture (tileable) · PNG, WEBP, PBR ZIP. License: AITextured Free Commercial License (FCL) v1.1. Free personal and commercial use. Raw resale, standalone redistribution, mirroring/scraping, competing asset packs, and AI/ML training are not allowed without written permission. Attribution is not required, but appreciated..

| ID | seamless-3d-texture-pbr-8k-wool-basket-weave-wool-fabric-coarse-wool-fibers |
|---|---|
| Category | Wool |
| Formats | PNG, WEBP, PBR ZIP |
| Size | 1k (1024x1024px), 2k (2048x2048px), 4k (4096x4096px), 8k (8192x8192px) |
| Color | sRGB |
| Tileable | Yes |
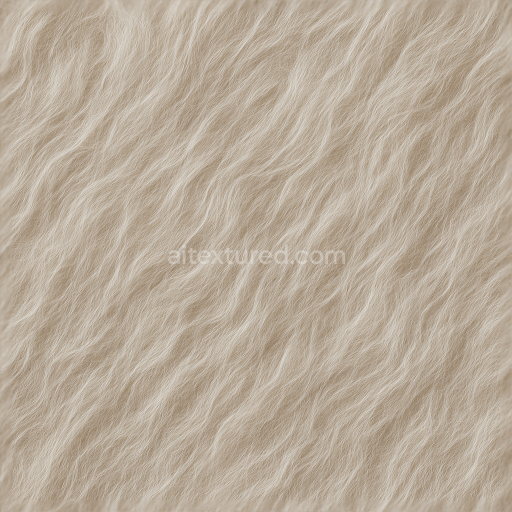
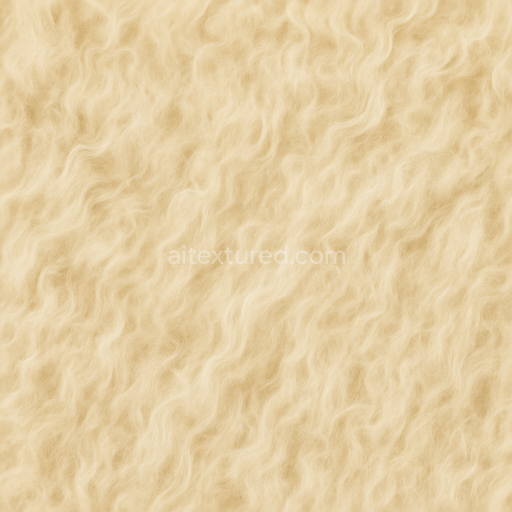
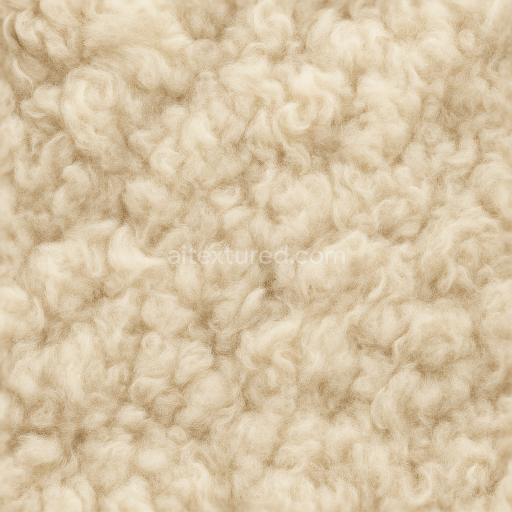
This seamless 8K 3D texture captures the intricate details of a wool basket weave fabric characterized by its coarse wool fibers and robust woven structure. The base material consists of densely packed wool fibers naturally coarse and fibrous creating a tactile surface with visible fuzziness and long wool pile. The geometric form is a classic basket weave pattern formed by interlaced yarns arranged perpendicularly to each other resulting in a textured grid that enhances depth and shadowing. This weave pattern contributes to both the fabric’s strength and its distinctive visual rhythm making it ideal for realistic textile representations.
The substrate of this texture is composed of natural wool yarns which are spun fibers bound together by their intrinsic scales and slight natural felting. These fibers exhibit subtle variations in thickness and alignment contributing to the surface’s organic imperfections and irregularities. The surface finish retains the raw unpolished character of coarse wool with a matte appearance and visible fuzziness that softens light reflections. The rich brown coloration is derived from natural wool pigments showing slight tonal shifts and minor discolorations that simulate wear and natural weathering effects.
In terms of PBR mapping the BaseColor (Albedo) channel faithfully reproduces the warm earthy brown hues with nuanced shading and fiber color variations. The Normal map encodes the fine relief of the basket weave’s raised yarns and individual fiber strands emphasizing the weave’s three-dimensional structure. Roughness values are relatively high to reflect the wool’s matte fibrous surface with subtle fluctuations that simulate areas of denser or looser fiber packing. The Metallic channel is kept at minimal values since wool is a non-metallic organic material. Ambient Occlusion enhances the depth perception within the weave pattern adding subtle shadowing where yarns overlap. Height or Displacement maps provide precise elevation data for the weave’s raised intersections and fiber tufts improving visual realism when used with parallax or tessellation techniques.
This texture is optimized for use in Blender Unreal Engine and Unity supporting high-fidelity renderings in various workflows. Its 8K resolution allows for close-up inspection without loss of detail making it suitable for digital fabric design architectural visualization and detailed garment rendering. When applying this texture it is recommended to carefully adjust the UV scale to maintain the natural proportions of the basket weave. Additionally fine-tuning the roughness map can help balance the wool’s soft matte finish with realistic light interaction. For enhanced depth blending the height map with normal mapping techniques will provide more convincing surface relief and tactile quality.
Import the texture maps into Blender with sRGB color space for albedo/base color and Non-Color for normal, roughness, metallic, AO, height, and ORM maps. Connect normal maps through a Normal Map node, then adjust UV scale with a Mapping node so the material repeats naturally on your model.
For the full step-by-step setup, see How to Use Seamless Textures in Blender. Browse related material examples in wood, concrete, and metal.
Yes. This texture is designed as a seamless tileable PBR material, so it can repeat across large surfaces without visible borders.
You can download PNG/WEBP versions and use 1K, 2K, 4K and 8K download options when available on the page.
Yes. The download options and engine-mapped ZIP workflow are designed for Blender, Unreal Engine, Unity Standard, URP and HDRP material pipelines.
Yes. The texture is available under the AITextured free commercial license. Review the license page for redistribution and AI-training restrictions.


Build, preview, and export seamless PBR materials. Generate full map sets from a single image, inspect them in a real-time WebGL viewer, and re-package maps for Unreal, Unity, and Blender—directly in your browser.
AI text-to-texture: type a prompt and get a seamless, tileable base image ready for PBR workflows (great starting point for materials).
Create a full PBR set (Normal, Roughness, AO, Metallic, etc.) from a single image. Seamless and tiling-friendly.
Instant WebGL viewer: inspect materials on a sphere, plane, and cube. Check tiling and lighting in real time.
Re-packages maps per engine: Unreal (BaseColor + ORM), Unity (Mask/MetallicSmoothness), Blender (separate channels).
PNG ↔ JPG ↔ SVG: fast convert, SVG rasterize, embed/trace options, quality & background controls.