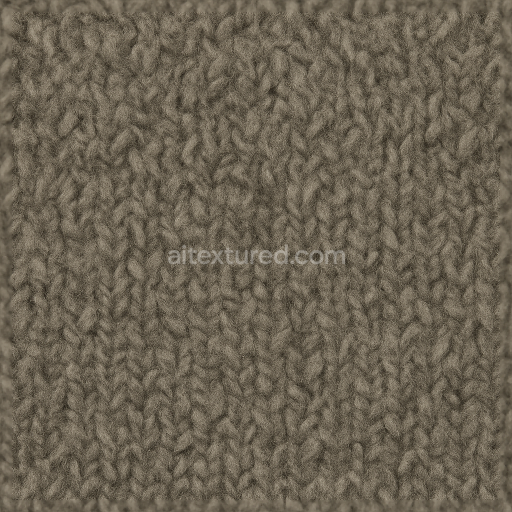
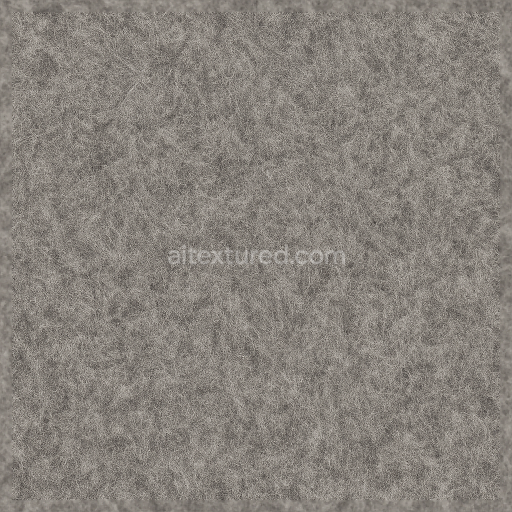
Coarse Wool Dense Wool Matte Finish
Seamless texture (tileable) · PNG, WEBP, PBR ZIP. License: AITextured Free Commercial License (FCL) v1.1. Free personal and commercial use. Raw resale, standalone redistribution, mirroring/scraping, competing asset packs, and AI/ML training are not allowed without written permission. Attribution is not required, but appreciated..

| ID | seamless-3d-texture-pbr-8k-raw-wool-strands-coarse-wool-fibers |
|---|---|
| Category | Wool |
| Formats | PNG, WEBP, PBR ZIP |
| Size | 1k (1024x1024px), 2k (2048x2048px), 4k (4096x4096px), 8k (8192x8192px) |
| Color | sRGB |
| Tileable | Yes |
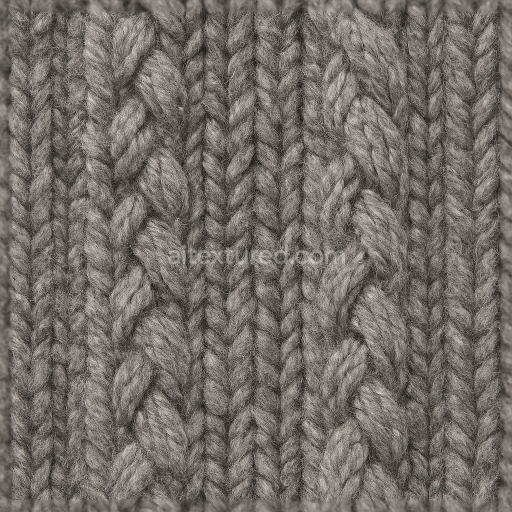
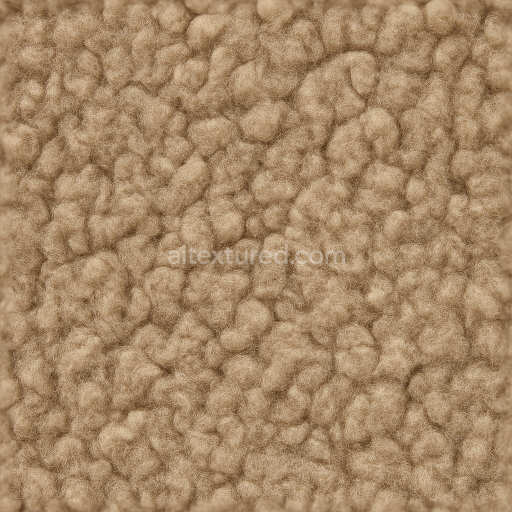
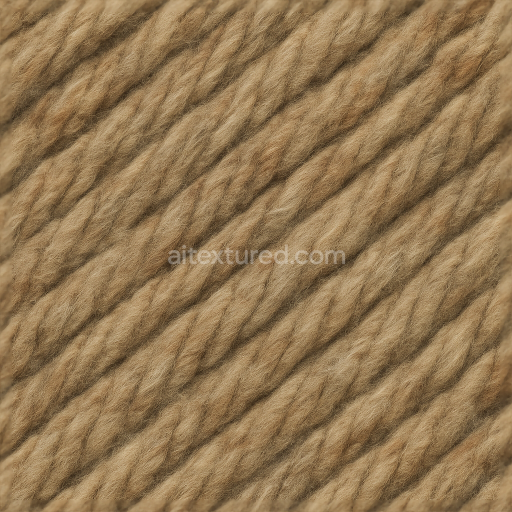
This seamless 3D texture captures the intricate details of raw wool at an impressive 8K resolution emphasizing the coarse wool strands and fibers in closeup. The material is composed primarily of dense wool fibers intertwined in an organic irregular manner forming a soft yet rugged pile with natural fuzziness. These fibers exhibit a natural brown coloration with subtle tonal variations and minor imperfections such as slight fiber fraying and unevenness contributing to the authentic raw wool appearance. The geometric form is characterized by a loosely woven chaotic arrangement of elongated wool strands creating a volumetric tactile surface that highlights the natural pile height and softness inherent to unprocessed wool. The texture’s porosity is evident in the gaps between fibers which affects light scattering and shadowing adding to its depth and realism.
The substrate of this material is essentially a dense mat of wool fibers without additional binders or adhesives relying on the natural crimp and entanglement of fibers to hold the structure. The surface finish is matte with a soft diffuse reflection typical for raw wool and lacks any polished or glossy characteristics. Colorants here are natural pigments within the wool fibers presenting earthy brown hues with subtle fading and wear marks that simulate weathering. In PBR workflows the BaseColor (Albedo) channel reflects these soft brown tones with slight color variance to mimic natural wool. The Normal map defines the fine tubular strands and the uneven pile height enhancing the tactile dimensionality. Roughness is high and varied to replicate the fuzzy non-reflective nature of wool while the Metallic channel is set to zero as wool is a non-metallic organic material. Ambient Occlusion accentuates the depth between fiber clusters and the Height (Displacement) map conveys the loft and volume of the wool pile enabling realistic parallax or tessellation effects.
This texture is fully optimized and compatible with Blender Unreal Engine and Unity ensuring seamless integration into diverse 3D pipelines. Its 8K resolution provides exceptional detail making it suitable for close-up renders where the fiber structure and fuzziness are critical for realism. For practical application it is recommended to adjust the UV scale carefully to preserve the natural size and density of the wool fibers avoiding excessive repetition that could break immersion. Additionally fine-tuning the roughness map can help balance the softness and subtle light diffusion typical of raw wool while blending the height and normal maps can improve the perception of depth without excessive geometry displacement optimizing performance in real-time engines.
Import the texture maps into Blender with sRGB color space for albedo/base color and Non-Color for normal, roughness, metallic, AO, height, and ORM maps. Connect normal maps through a Normal Map node, then adjust UV scale with a Mapping node so the material repeats naturally on your model.
For the full step-by-step setup, see How to Use Seamless Textures in Blender. Browse related material examples in wood, concrete, and metal.
Yes. This texture is designed as a seamless tileable PBR material, so it can repeat across large surfaces without visible borders.
You can download PNG/WEBP versions and use 1K, 2K, 4K and 8K download options when available on the page.
Yes. The download options and engine-mapped ZIP workflow are designed for Blender, Unreal Engine, Unity Standard, URP and HDRP material pipelines.
Yes. The texture is available under the AITextured free commercial license. Review the license page for redistribution and AI-training restrictions.


Build, preview, and export seamless PBR materials. Generate full map sets from a single image, inspect them in a real-time WebGL viewer, and re-package maps for Unreal, Unity, and Blender—directly in your browser.
AI text-to-texture: type a prompt and get a seamless, tileable base image ready for PBR workflows (great starting point for materials).
Create a full PBR set (Normal, Roughness, AO, Metallic, etc.) from a single image. Seamless and tiling-friendly.
Instant WebGL viewer: inspect materials on a sphere, plane, and cube. Check tiling and lighting in real time.
Re-packages maps per engine: Unreal (BaseColor + ORM), Unity (Mask/MetallicSmoothness), Blender (separate channels).
PNG ↔ JPG ↔ SVG: fast convert, SVG rasterize, embed/trace options, quality & background controls.