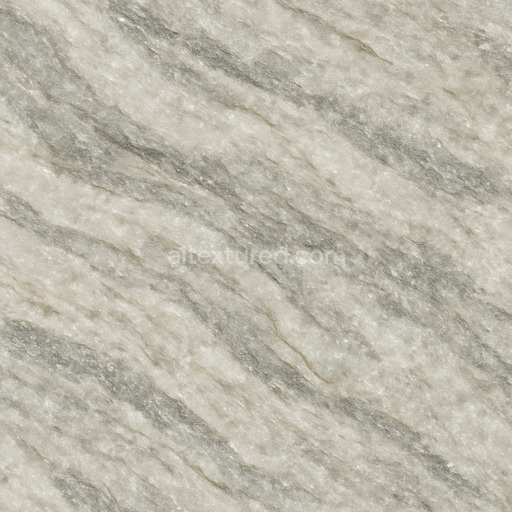
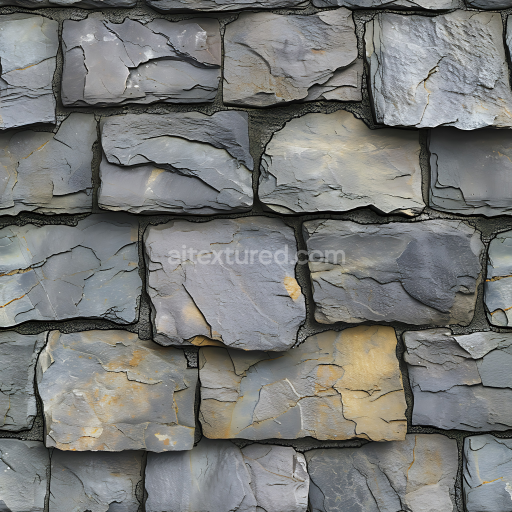
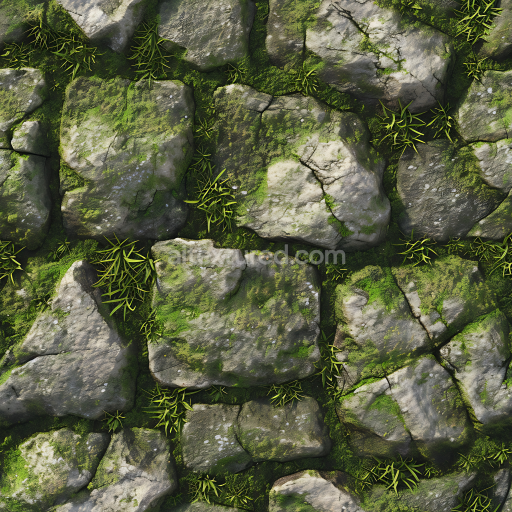
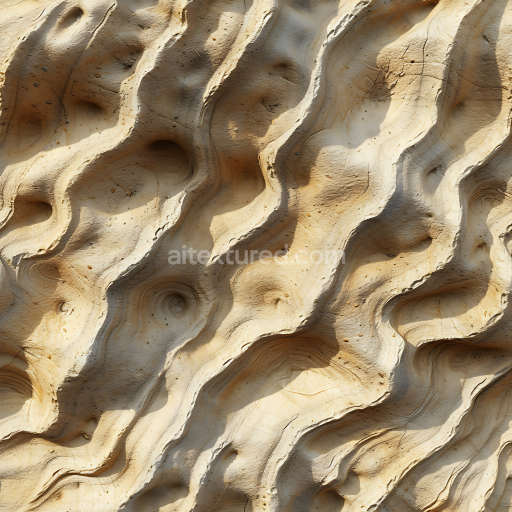
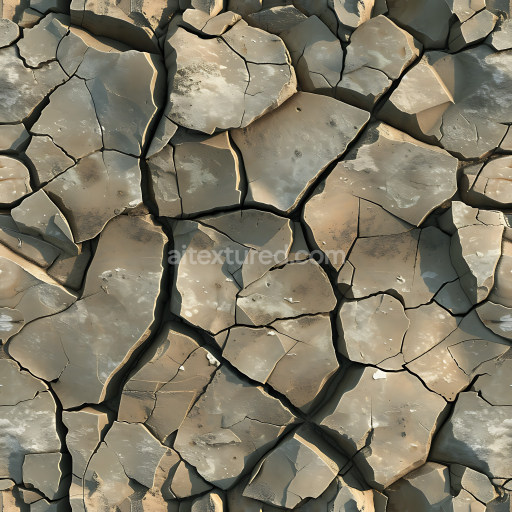
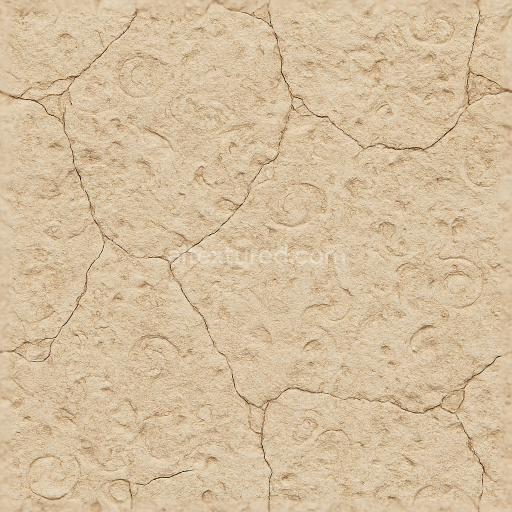
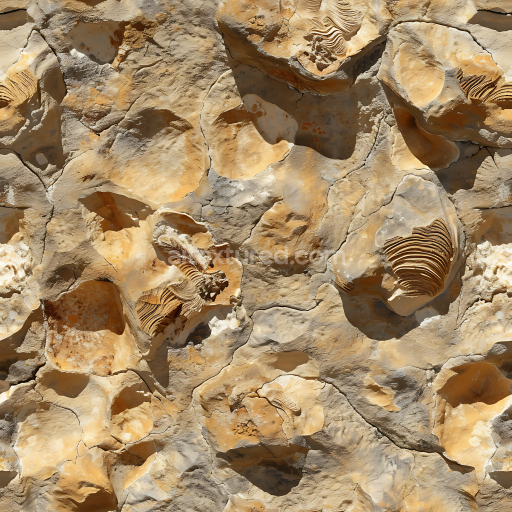
Quartzite Glittering Mica
Seamless texture (tileable) · PNG, WEBP, PBR ZIP. License: AITextured Free Commercial License (FCL) v1.1. Free personal and commercial use. Raw resale, standalone redistribution, mirroring/scraping, competing asset packs, and AI/ML training are not allowed without written permission. Attribution is not required, but appreciated..

| ID | cc-seamless-stone-pbr-textures |
|---|---|
| Category | Stone |
| Formats | PNG, WEBP, PBR ZIP |
| Size | 1k (1024x1024px), 2k (2048x2048px), 4k (4096x4096px), 8k (8192x8192px) |
| Color | sRGB |
| Tileable | Yes |
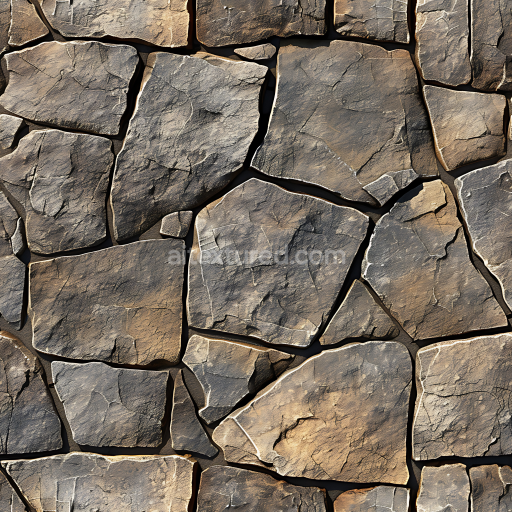
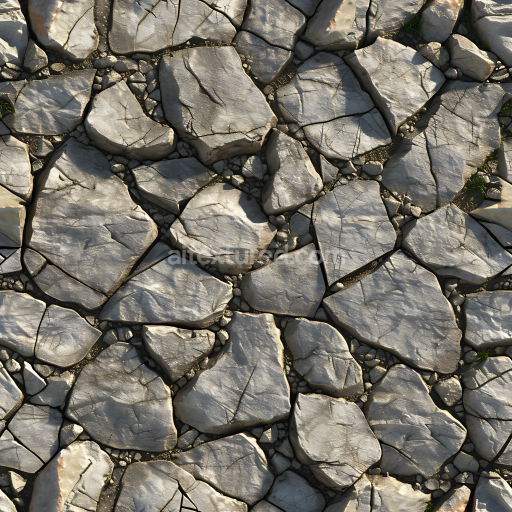
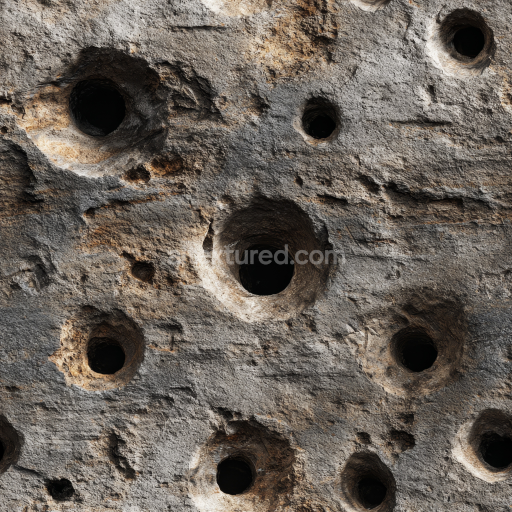
Our CC Seamless Stone PBR Textures offer an extensive range of high-resolution materials designed to replicate the intricate composition and natural beauty of stone surfaces. Each texture is meticulously crafted to reflect the complex interplay of mineral substrates including quartz feldspar and mica bound together by natural cements such as silicates or carbonates. The materials showcase varied aggregates and grain orientations capturing porosity and weathering effects that occur over time from subtle erosion to rugged vintage finishes. Surface treatments range from polished and honed stones to brushed or oxidized surfaces with colorants derived from natural pigments and oxide layers that create authentic hues and depth. These characteristics are precisely conveyed through PBR channels: the BaseColor/Albedo delivers true-to-life color and subtle pigment variations; Normal maps simulate fine surface detail and grain texture; Roughness defines the tactile finish from smooth polished to rough weathered rock; Metallic is typically low or absent reflecting the non-metallic nature of stone; Ambient Occlusion enhances depth in crevices and cracks; and Height/Displacement maps provide realistic surface relief for enhanced dimensionality.
Optimized at resolutions up to 8K these seamless stone materials ensure exceptional detail and clarity making them ideal for digital design projects in gaming architectural visualization and other creative applications. Their seamless nature allows for flawless tiling on large surfaces such as walls rock faces and ground planes without visible repetition preserving realism in immersive environments. Compatible with major engines and software like Blender Unreal Engine and Unity these textures integrate smoothly into your workflow facilitating high-quality texturing that elevates your project’s visual fidelity. Whether designing natural stone walls vintage rock surfaces or intricate ground textures these materials provide the foundation for highly realistic and visually compelling surfaces.
For practical application consider adjusting the UV scale to match the real-world dimensions of the stone pattern you wish to replicate ensuring textures do not appear stretched or overly repetitive. Fine-tuning the roughness map can also significantly impact the perceived finish allowing you to shift between matte weathered stone surfaces and polished reflective finishes depending on the design intent. By leveraging these stone PBR textures you gain access to a versatile and richly detailed library that enhances your digital designs with authentic natural stone finishes supporting both creative expression and technical precision across a variety of visual projects.
Import the texture maps into Blender with sRGB color space for albedo/base color and Non-Color for normal, roughness, metallic, AO, height, and ORM maps. Connect normal maps through a Normal Map node, then adjust UV scale with a Mapping node so the material repeats naturally on your model.
For the full step-by-step setup, see How to Use Seamless Textures in Blender. Browse related material examples in wood, concrete, and metal.
Yes. This texture is designed as a seamless tileable PBR material, so it can repeat across large surfaces without visible borders.
You can download PNG/WEBP versions and use 1K, 2K, 4K and 8K download options when available on the page.
Yes. The download options and engine-mapped ZIP workflow are designed for Blender, Unreal Engine, Unity Standard, URP and HDRP material pipelines.
Yes. The texture is available under the AITextured free commercial license. Review the license page for redistribution and AI-training restrictions.

Build, preview, and export seamless PBR materials. Generate full map sets from a single image, inspect them in a real-time WebGL viewer, and re-package maps for Unreal, Unity, and Blender—directly in your browser.
AI text-to-texture: type a prompt and get a seamless, tileable base image ready for PBR workflows (great starting point for materials).
Create a full PBR set (Normal, Roughness, AO, Metallic, etc.) from a single image. Seamless and tiling-friendly.
Instant WebGL viewer: inspect materials on a sphere, plane, and cube. Check tiling and lighting in real time.
Re-packages maps per engine: Unreal (BaseColor + ORM), Unity (Mask/MetallicSmoothness), Blender (separate channels).
PNG ↔ JPG ↔ SVG: fast convert, SVG rasterize, embed/trace options, quality & background controls.