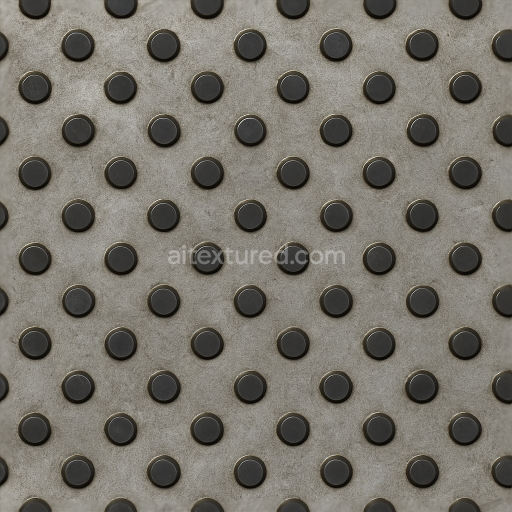
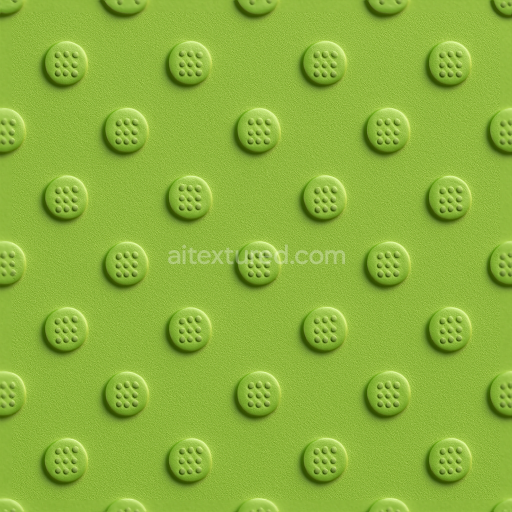
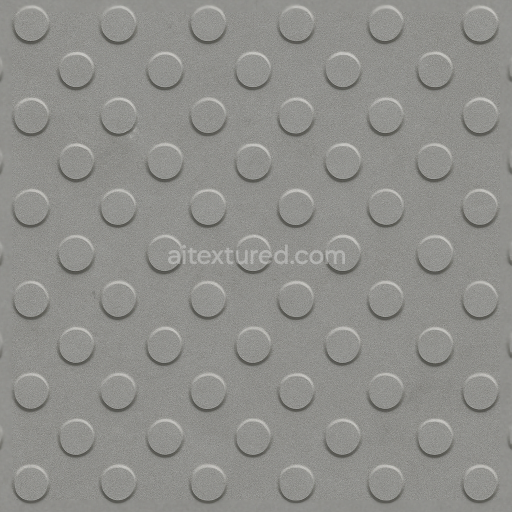
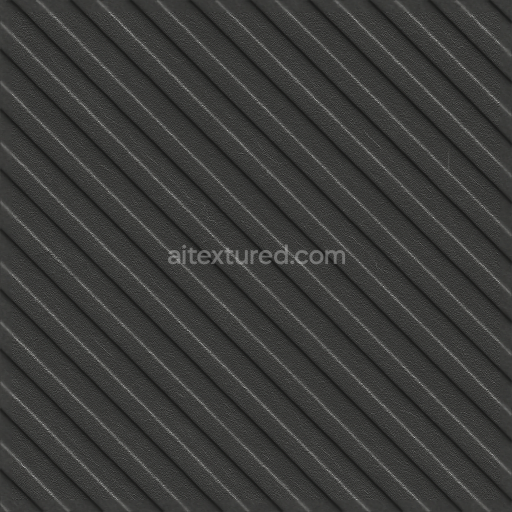
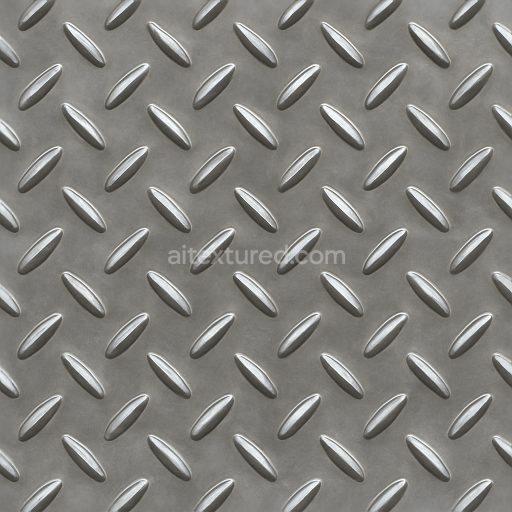
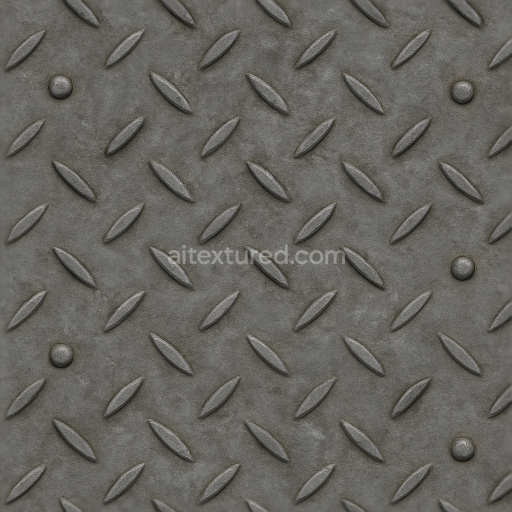
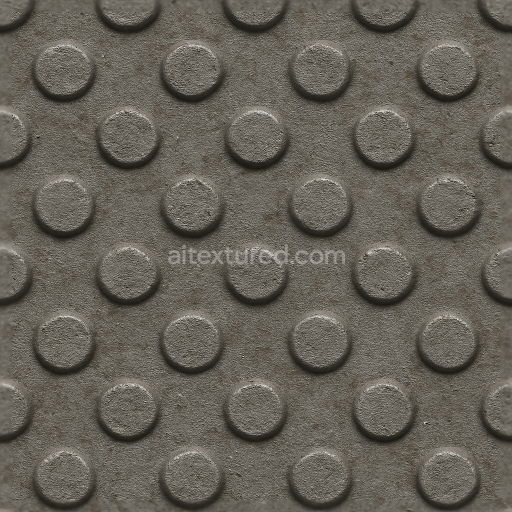
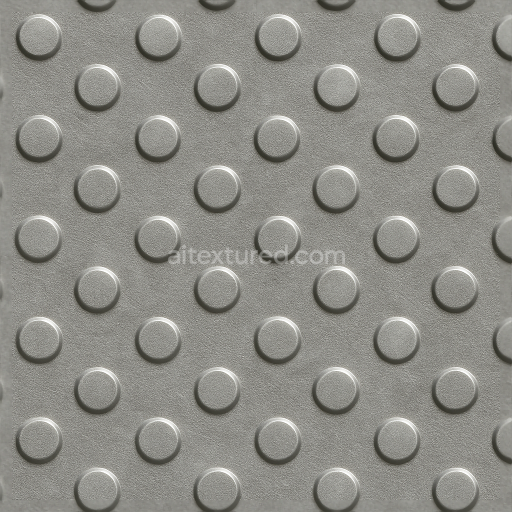
Tactile Plate With Raised Discs On Black Dot Patterned Metal
Seamless texture (tileable) · PNG, WEBP, PBR ZIP. License: AITextured Free Commercial License (FCL) v1.1. Free personal and commercial use. Raw resale, standalone redistribution, mirroring/scraping, competing asset packs, and AI/ML training are not allowed without written permission. Attribution is not required, but appreciated..

| ID | seamless-3d-texture-pbr-8k-tactile-plate-with-raised-pattern-on-scratched-metal-sheet |
|---|---|
| Category | Tactile Plate |
| Formats | PNG, WEBP, PBR ZIP |
| Size | 1k (1024x1024px), 2k (2048x2048px), 4k (4096x4096px), 8k (8192x8192px) |
| Color | sRGB |
| Tileable | Yes |
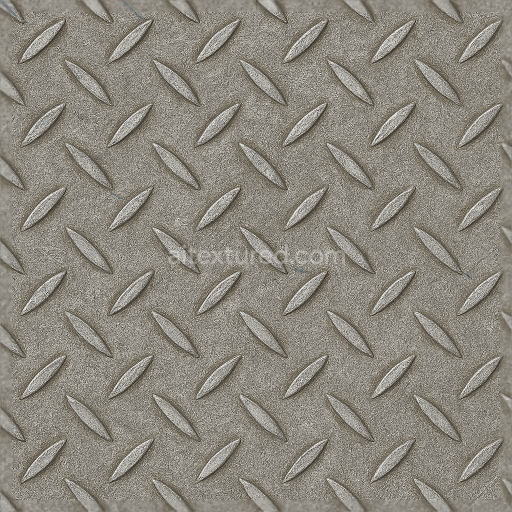
This seamless 3D texture PBR 8K tactile plate showcases a meticulously detailed raised pattern embossed on a scratched metal sheet embodying the authentic characteristics of worn metal surfaces. The base material is a robust metal substrate exhibiting natural wear and abrasion enhanced by fine scratches and subtle oxidation layers that contribute to its weathered appearance. The surface finish combines a brushed and slightly oxidized metal look with areas of subtle metallic sheen capturing the tactile grit and irregularities typical of industrial floor plates. Pigmentation arises from natural oxide layers and metal alloys giving the texture a realistic color variation that ranges from muted silvers to darker gunmetal tones. The composition reflects a solid metallic sheet with a dense grain orientation and a moderate porosity induced by surface wear perfectly suited to emphasize anti skid qualities and slip resistance in practical applications.
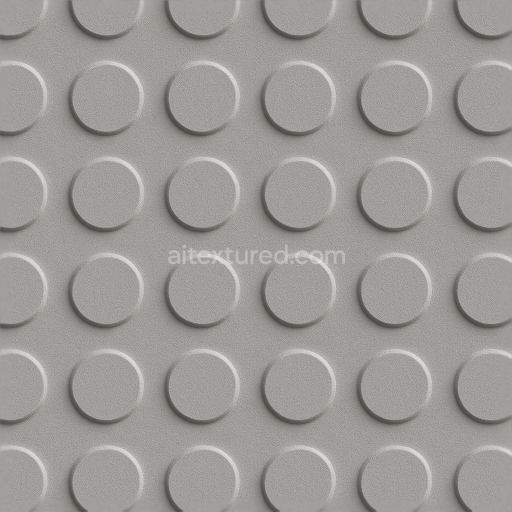
In the PBR workflow this texture’s BaseColor/Albedo map reveals the nuanced color shifts of worn metal including fine scratches and discoloration from oxidation. The Normal map accentuates the pronounced raised pattern providing depth and tactile feedback essential for realistic 3D visualization. Roughness maps vary across the surface with smoother metallic sheens contrasting against rough scratched areas to simulate realistic light scattering and reflectivity. The Metallic channel fully supports the metal’s conductive properties while Ambient Occlusion enhances crevices and the pattern’s depth adding realism to shadows and contact points. Height/Displacement maps provide subtle elevation differences further reinforcing the texture’s tangible raised pattern features. All texture maps are delivered at a high 8K resolution ensuring exceptional detail and clarity for close-up renders and large-scale surfaces.
Designed with seamless tiling in mind this texture eliminates visible repetition making it ideal for extensive industrial and commercial applications such as anti skid floor plates public infrastructure paving and safety flooring scenarios. It is fully optimized and Unreal Blender and Unity ready facilitating smooth integration into any 3D pipeline or game engine environment. For best practical results it is recommended to fine-tune the roughness channel to balance reflectivity for different lighting conditions and adjust the UV scale to maintain the raised pattern’s realistic proportions on large surfaces. This ensures the tactile plate’s functional qualities—such as slip resistance and effective feedback—are visually and practically preserved in all visualizations and real-time applications.
Import the texture maps into Blender with sRGB color space for albedo/base color and Non-Color for normal, roughness, metallic, AO, height, and ORM maps. Connect normal maps through a Normal Map node, then adjust UV scale with a Mapping node so the material repeats naturally on your model.
For the full step-by-step setup, see How to Use Seamless Textures in Blender. Browse related material examples in wood, concrete, and metal.
Yes. This texture is designed as a seamless tileable PBR material, so it can repeat across large surfaces without visible borders.
You can download PNG/WEBP versions and use 1K, 2K, 4K and 8K download options when available on the page.
Yes. The download options and engine-mapped ZIP workflow are designed for Blender, Unreal Engine, Unity Standard, URP and HDRP material pipelines.
Yes. The texture is available under the AITextured free commercial license. Review the license page for redistribution and AI-training restrictions.


Build, preview, and export seamless PBR materials. Generate full map sets from a single image, inspect them in a real-time WebGL viewer, and re-package maps for Unreal, Unity, and Blender—directly in your browser.
AI text-to-texture: type a prompt and get a seamless, tileable base image ready for PBR workflows (great starting point for materials).
Create a full PBR set (Normal, Roughness, AO, Metallic, etc.) from a single image. Seamless and tiling-friendly.
Instant WebGL viewer: inspect materials on a sphere, plane, and cube. Check tiling and lighting in real time.
Re-packages maps per engine: Unreal (BaseColor + ORM), Unity (Mask/MetallicSmoothness), Blender (separate channels).
PNG ↔ JPG ↔ SVG: fast convert, SVG rasterize, embed/trace options, quality & background controls.