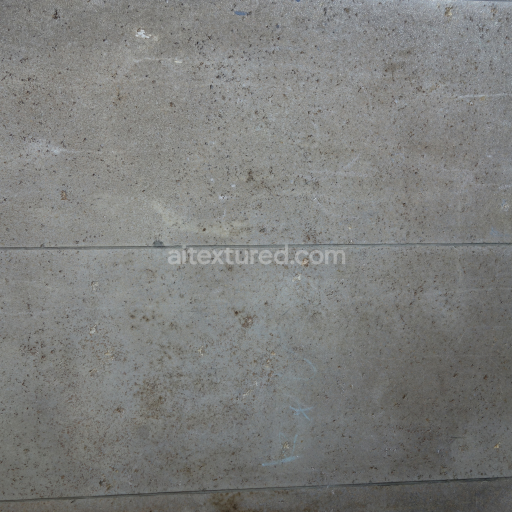
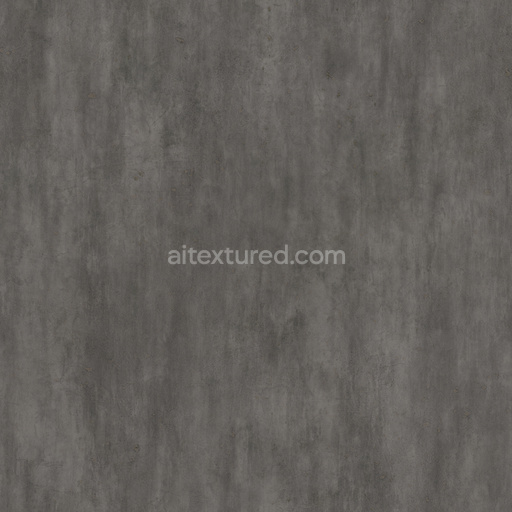
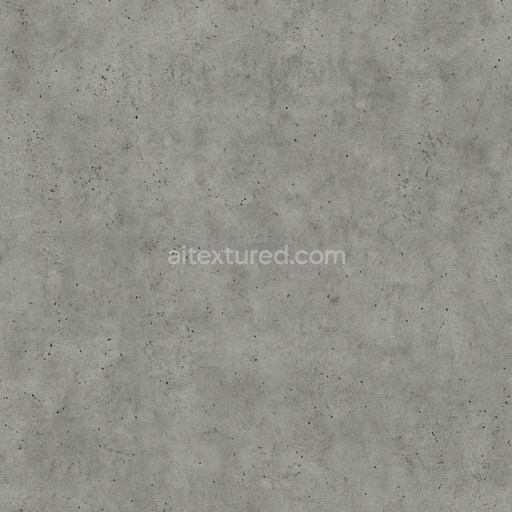
Weathered Concrete Wall Texture with Fine Surface Details
Seamless texture (tileable) · PNG, WEBP, PBR ZIP. License: AITextured Free Commercial License (FCL) v1.1. Free personal and commercial use. Raw resale, standalone redistribution, mirroring/scraping, competing asset packs, and AI/ML training are not allowed without written permission. Attribution is not required, but appreciated..

| ID | shiny-polished-concrete-texture-seamless |
|---|---|
| Category | Concrete |
| Formats | PNG, WEBP, PBR ZIP |
| Size | 1k (1024x1024px), 2k (2048x2048px), 4k (4096x4096px), 8k (8192x8192px) |
| Color | sRGB |
| Tileable | Yes |
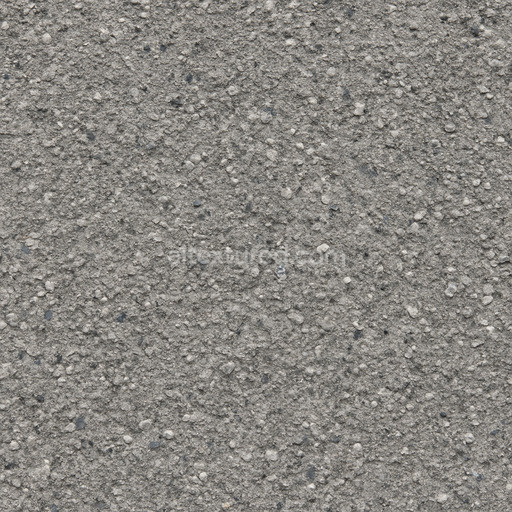
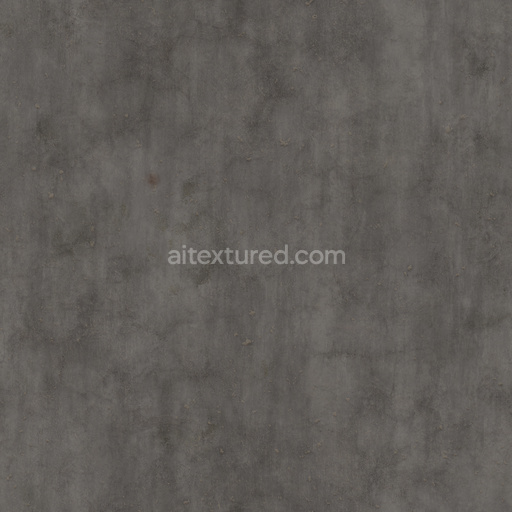
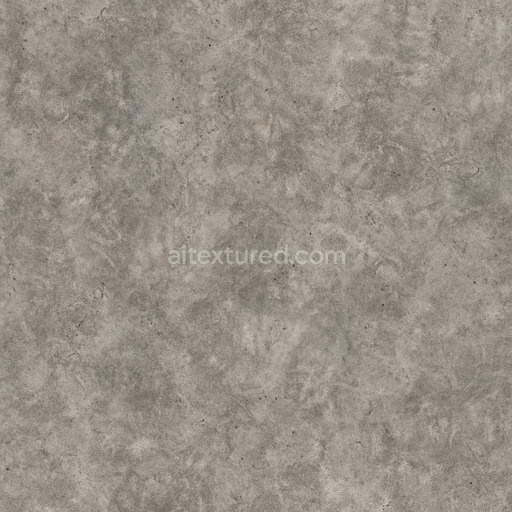
This shiny polished concrete texture seamless high resolution up to 8K is meticulously crafted to replicate the complex material characteristics of contemporary polished concrete surfaces with outstanding accuracy. At its core the texture emulates a dense mineral-based substrate primarily composed of finely ground cementitious binders which act as the adhesive matrix binding carefully selected aggregates such as quartz and granite chips. The surface finish is distinctly polished resulting in a smooth reflective appearance that subtly highlights natural color variations and fine mottling from embedded oxide pigments and mineral inclusions. This low-porosity finish reflects the tightly compacted and sealed nature of polished concrete preserving minor surface irregularities and polishing marks that contribute to tactile realism and visual depth.
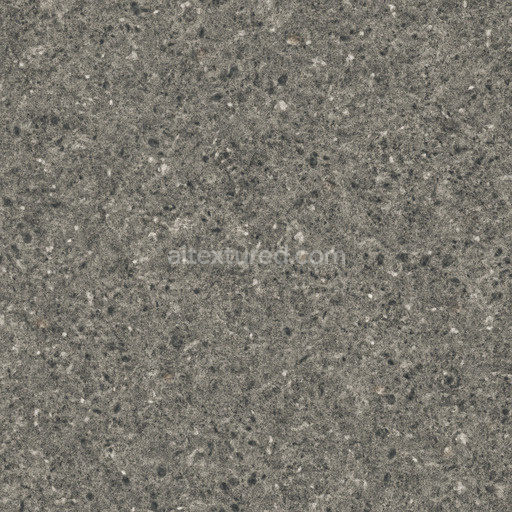
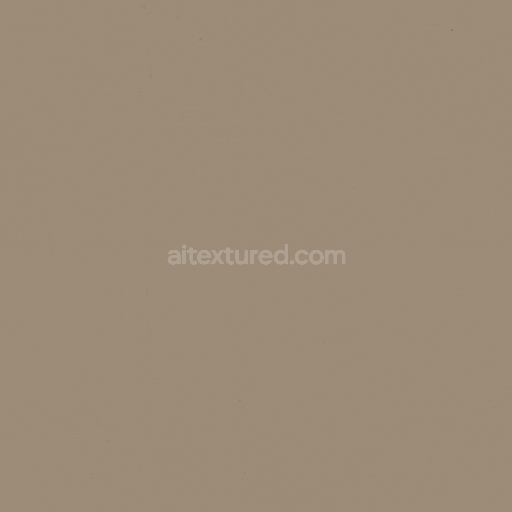
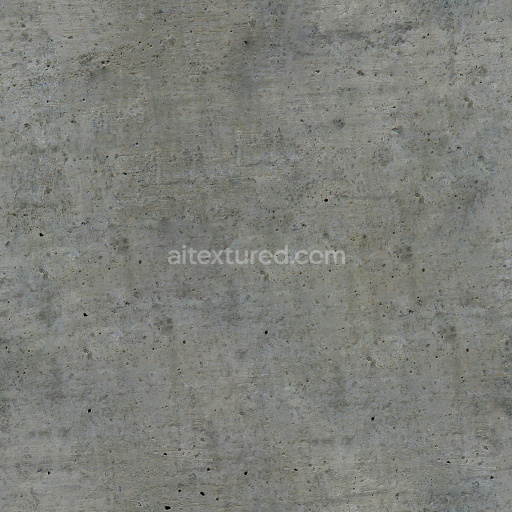
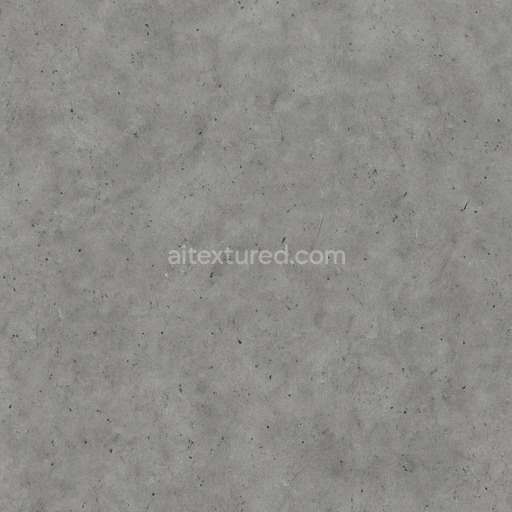
Designed for physically based rendering (PBR) workflows this tileable shiny polished concrete texture seamless high resolution up to 8K provides detailed maps that accurately simulate its physical properties across all channels. The BaseColor (Albedo) channel presents a nuanced palette of cool grays balanced with occasional warm undertones from oxide pigments while the Normal map captures micro-surface polishing marks and subtle texture variations to enhance realistic light interaction and surface breakup. The Roughness map is finely tuned with low values and gentle fluctuations to reflect the polished sheen without appearing uniformly glossy and the Metallic channel remains neutral to represent concrete’s inherently non-metallic composition. Ambient Occlusion maps accentuate shadows within crevices and around aggregates adding dimensionality while Height/Displacement maps convey slight surface undulations and polishing inconsistencies enabling convincing parallax effects in real-time engines.
Optimized for seamless tiling and supporting large UV islands without compromising clarity this texture shiny polished concrete texture seamless high resolution up to 8K is well suited for diverse applications including real-time rendering in Unity and Unreal Engine cinematic projects in Blender and detailed material studies. The ultra-high resolution—up to 8k—ensures crisp detail on expansive surfaces streamlining production workflows by minimizing the need for additional layering or manual correction. For optimal results it is recommended to carefully adjust the UV scale to correspond with real-world concrete slab dimensions and to fine-tune roughness values to enhance authenticity while preserving subtle surface breakup. This seamless shiny polished concrete texture seamless high resolution up to 8K also includes a 3D preview that showcases its reflective polished appearance with remarkable fidelity making it an invaluable resource for realistic concrete textures in modern digital projects.
Import the texture maps into Blender with sRGB color space for albedo/base color and Non-Color for normal, roughness, metallic, AO, height, and ORM maps. Connect normal maps through a Normal Map node, then adjust UV scale with a Mapping node so the material repeats naturally on your model.
For the full step-by-step setup, see How to Use Seamless Textures in Blender. Browse related material examples in wood, concrete, and metal.
Yes. This texture is designed as a seamless tileable PBR material, so it can repeat across large surfaces without visible borders.
You can download PNG/WEBP versions and use 1K, 2K, 4K and 8K download options when available on the page.
Yes. The download options and engine-mapped ZIP workflow are designed for Blender, Unreal Engine, Unity Standard, URP and HDRP material pipelines.
Yes. The texture is available under the AITextured free commercial license. Review the license page for redistribution and AI-training restrictions.


Generate, preview, and export seamless PBR materials for Blender, Unity, and Unreal Engine—directly in your browser.
AI text-to-texture: type a prompt and get a seamless, tileable base image ready for PBR workflows (great starting point for materials).
Create a full PBR set (Normal, Roughness, AO, Metallic, etc.) from a single image. Seamless and tiling-friendly.
Instant WebGL viewer: inspect materials on a sphere, plane, and cube. Check tiling and lighting in real time.
Re-packages maps per engine: Unreal (BaseColor + ORM), Unity (Mask/MetallicSmoothness), Blender (separate channels).
PNG ↔ JPG ↔ SVG: fast convert, SVG rasterize, embed/trace options, quality & background controls.