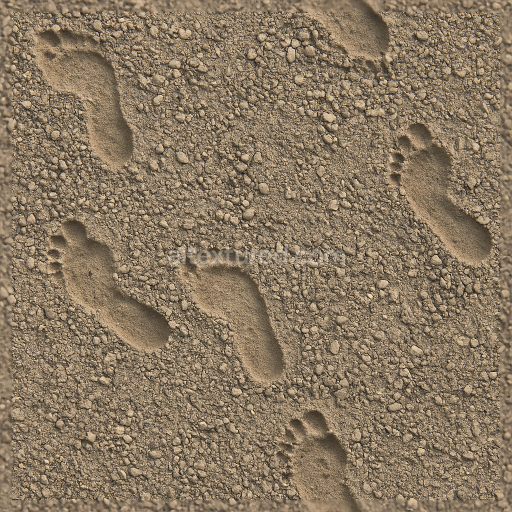
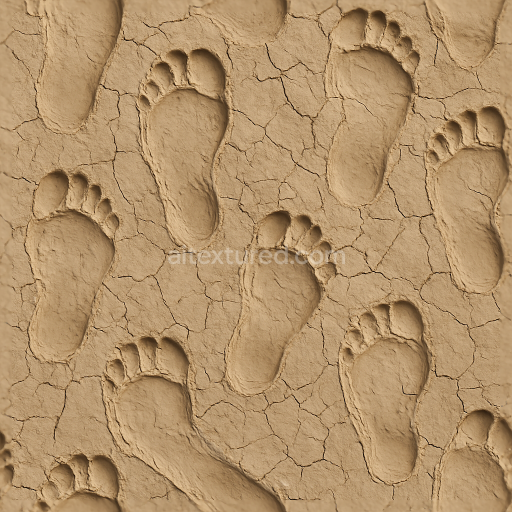
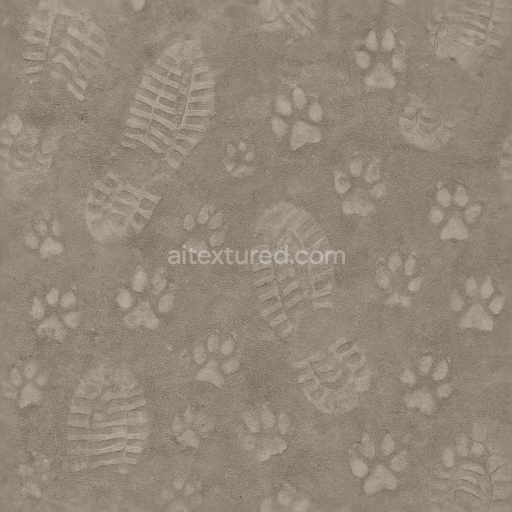
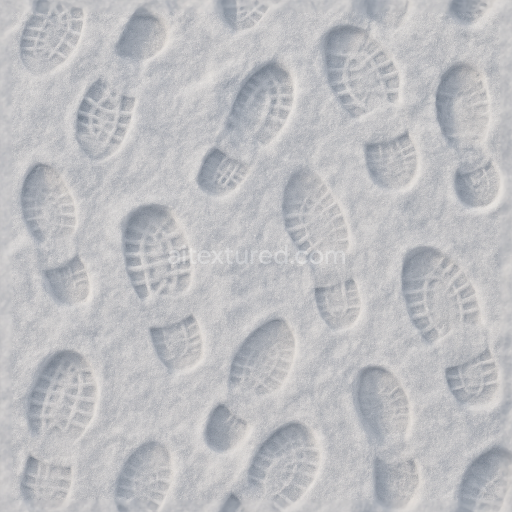
Seamless 8K PBR 3D Texture of Weathered Footprints on Pebbly Soil Surface
Seamless texture (tileable) · PNG, WEBP, PBR ZIP. License: AITextured Free Commercial License (FCL) v1.1. Free personal and commercial use. Raw resale, standalone redistribution, mirroring/scraping, competing asset packs, and AI/ML training are not allowed without written permission. Attribution is not required, but appreciated..

| ID | seamless-8k-pbr-3d-texture-of-footprint-sequence-on-wet-sand-surface |
|---|---|
| Category | Footprints |
| Formats | PNG, WEBP, PBR ZIP |
| Size | 1k (1024x1024px), 2k (2048x2048px), 4k (4096x4096px), 8k (8192x8192px) |
| Color | sRGB |
| Tileable | Yes |
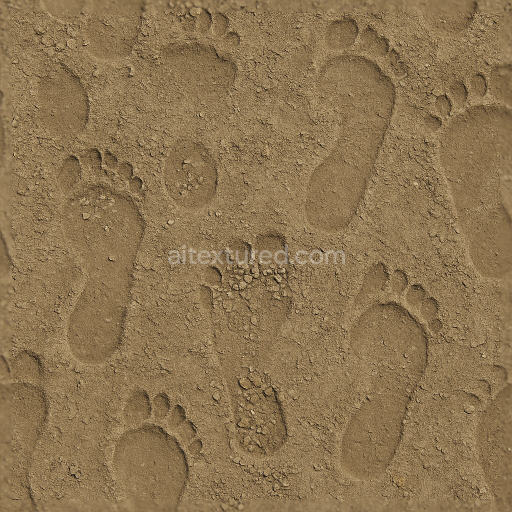
This photorealistic seamless 8k PBR texture masterfully captures a natural footstep sequence impressed onto a wet sand surface highlighting the intricate moisture effects and varied footprint outlines that define coastal and beach environments. The base substrate simulates fine mineral grains typical of smooth beige wet sand with subtle organic particles embedded within creating a soft yet textured foundation. The wetness is conveyed through a reflective surface finish that mimics the thin water film binding the sand grains enhancing the surface’s ambient occlusion by deepening footprint depressions and emphasizing the natural variation in depth and fill. Pigments and oxide layers subtly tint the sand’s color while the roughness map balances the glossy wet patches against drier matte areas contributing to an authentic tactile appearance.
In the PBR workflow the BaseColor (Albedo) channel reveals the natural beige hues combined with darker footprint impressions while the Normal map intricately portrays the micro-details of sand granularity and footprint edges offering realistic light interaction and shadow play. The Roughness map varies dynamically across the surface reflecting moisture levels and simulating the smooth polished wet sand contrasting with the coarse dry surroundings. The Metallic channel remains minimal preserving the organic non-metallic nature of sand whereas the Height/Displacement map captures the precise topography of each footprint’s depth and contour perfect for enhancing parallax effects in 3D applications. Ambient Occlusion intensifies shadowed regions within the footprint sequence reinforcing depth perception and spatial realism.
Rendered at an ultra-high 8k resolution this texture ensures exceptional detail fidelity even when viewed up close making it ideal for expansive ground coverage in Unreal Engine Blender and Unity projects. Its seamless tiling capability allows for continuous footstep trails without visible repetition perfectly suited for realistic environmental renderings in games and simulations focused on coastal or beach settings. For best results adjust the UV scale to match the scale of your scene’s sand grains and fine-tune roughness values to balance wet and dry sand contrasts thereby enhancing overall realism. Additionally leveraging height or parallax mapping can significantly improve the perception of footprint depth and surface undulation adding immersive detail to your 3D environments.
Import the texture maps into Blender with sRGB color space for albedo/base color and Non-Color for normal, roughness, metallic, AO, height, and ORM maps. Connect normal maps through a Normal Map node, then adjust UV scale with a Mapping node so the material repeats naturally on your model.
For the full step-by-step setup, see How to Use Seamless Textures in Blender. Browse related material examples in wood, concrete, and metal.
Yes. This texture is designed as a seamless tileable PBR material, so it can repeat across large surfaces without visible borders.
You can download PNG/WEBP versions and use 1K, 2K, 4K and 8K download options when available on the page.
Yes. The download options and engine-mapped ZIP workflow are designed for Blender, Unreal Engine, Unity Standard, URP and HDRP material pipelines.
Yes. The texture is available under the AITextured free commercial license. Review the license page for redistribution and AI-training restrictions.

Build, preview, and export seamless PBR materials. Generate full map sets from a single image, inspect them in a real-time WebGL viewer, and re-package maps for Unreal, Unity, and Blender—directly in your browser.
AI text-to-texture: type a prompt and get a seamless, tileable base image ready for PBR workflows (great starting point for materials).
Create a full PBR set (Normal, Roughness, AO, Metallic, etc.) from a single image. Seamless and tiling-friendly.
Instant WebGL viewer: inspect materials on a sphere, plane, and cube. Check tiling and lighting in real time.
Re-packages maps per engine: Unreal (BaseColor + ORM), Unity (Mask/MetallicSmoothness), Blender (separate channels).
PNG ↔ JPG ↔ SVG: fast convert, SVG rasterize, embed/trace options, quality & background controls.