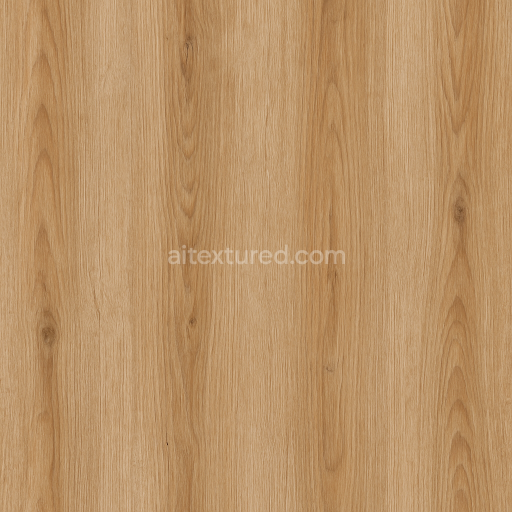
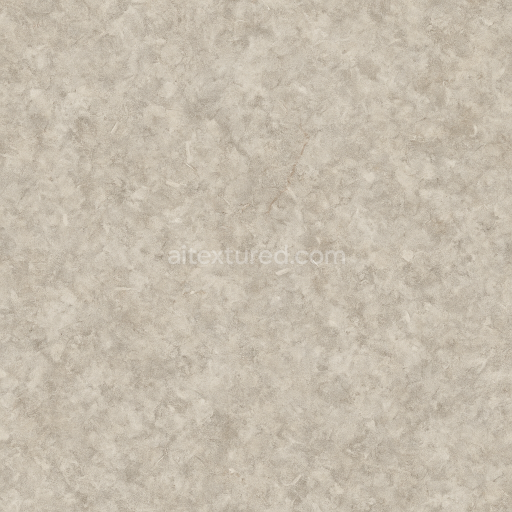
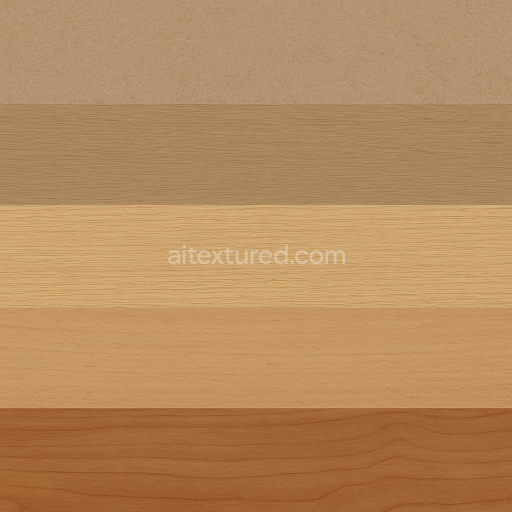
MDF Laminated Surface with Laminate Wood Print
Seamless texture (tileable) · PNG, WEBP, PBR ZIP. License: AITextured Free Commercial License (FCL) v1.1. Free personal and commercial use. Raw resale, standalone redistribution, mirroring/scraping, competing asset packs, and AI/ML training are not allowed without written permission. Attribution is not required, but appreciated..

| ID | seamless-3d-texture-pbr-8k-mdf-fire-retardant-smooth-surface-with-uniform-texture |
|---|---|
| Category | Furniture chipboard and MDF |
| Formats | PNG, WEBP, PBR ZIP |
| Size | 1k (1024x1024px), 2k (2048x2048px), 4k (4096x4096px), 8k (8192x8192px) |
| Color | sRGB |
| Tileable | Yes |
This seamless 3D texture in pristine 8K resolution showcases a fire retardant MDF panel characterized by its exceptionally smooth surface and uniform finish. The base material consists of medium-density fiberboard (MDF) a composite wood substrate engineered from fine wood fibers bonded under heat and pressure with fire-resistant adhesives and binders. This composition ensures enhanced safety ratings and durability making it ideal for architectural and industrial design applications where fire retardancy is crucial. The sealed panel surface exhibits a consistent appearance with subtle micro-textural details visible under close examination reflecting the carefully controlled fiber orientation and minimal porosity inherent to high-quality MDF production. The smoothness of the finish is captured with precision revealing an even non-reflective surface that emphasizes the panel’s uniformity and sealed protective coating which prevents moisture ingress and surface degradation over time.
Within the PBR workflow this texture excels by accurately representing all material channels to achieve photorealistic results. The BaseColor or Albedo channel presents a neutral muted tone typical of fire retardant MDF enhanced by fine pigment distribution that simulates the sealed fiberboard’s consistent color. The Normal map subtly encodes the micro-texture and fiber grain orientation providing realistic surface irregularities without compromising the overall smooth feel. The Roughness channel is calibrated to reflect the panel’s polished yet matte finish avoiding unwanted glossiness while maintaining a tactile surface impression. Metallic input remains minimal reflecting the organic composite nature of MDF while Ambient Occlusion enhances depth perception around minor surface imperfections and edges. The Height or Displacement map captures low-relief details from the sealed fibers enabling subtle parallax effects that enrich realism during close camera angles.
Designed for seamless tiling this texture integrates flawlessly into 3D environments and is fully optimized for use in Blender Unreal Engine and Unity projects. Its ultra-high 8K resolution guarantees crisp detail even at close range supporting realistic visualizations of safety-rated furniture interior paneling and construction elements requiring fire retardant materials. For practical deployment adjusting the UV scale to maintain the natural grain size and carefully tuning roughness values will help achieve the most convincing render outcome. This approach ensures that the smooth uniform surface remains true to life under neutral lighting conditions providing dependable material representation in any visualization or design workflow.
Import the texture maps into Blender with sRGB color space for albedo/base color and Non-Color for normal, roughness, metallic, AO, height, and ORM maps. Connect normal maps through a Normal Map node, then adjust UV scale with a Mapping node so the material repeats naturally on your model.
For the full step-by-step setup, see How to Use Seamless Textures in Blender. Browse related material examples in wood, concrete, and metal.
Yes. This texture is designed as a seamless tileable PBR material, so it can repeat across large surfaces without visible borders.
You can download PNG/WEBP versions and use 1K, 2K, 4K and 8K download options when available on the page.
Yes. The download options and engine-mapped ZIP workflow are designed for Blender, Unreal Engine, Unity Standard, URP and HDRP material pipelines.
Yes. The texture is available under the AITextured free commercial license. Review the license page for redistribution and AI-training restrictions.


Build, preview, and export seamless PBR materials. Generate full map sets from a single image, inspect them in a real-time WebGL viewer, and re-package maps for Unreal, Unity, and Blender—directly in your browser.
AI text-to-texture: type a prompt and get a seamless, tileable base image ready for PBR workflows (great starting point for materials).
Create a full PBR set (Normal, Roughness, AO, Metallic, etc.) from a single image. Seamless and tiling-friendly.
Instant WebGL viewer: inspect materials on a sphere, plane, and cube. Check tiling and lighting in real time.
Re-packages maps per engine: Unreal (BaseColor + ORM), Unity (Mask/MetallicSmoothness), Blender (separate channels).
PNG ↔ JPG ↔ SVG: fast convert, SVG rasterize, embed/trace options, quality & background controls.