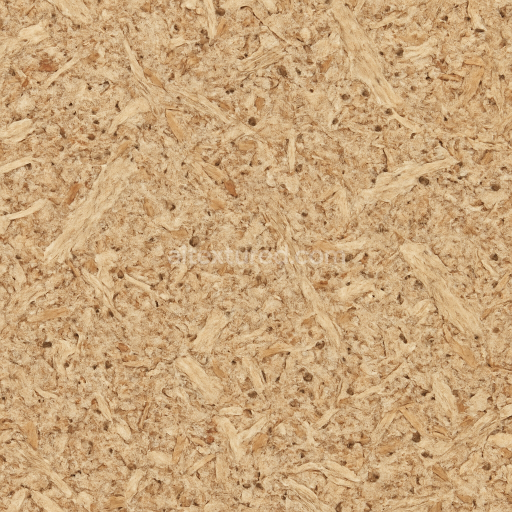
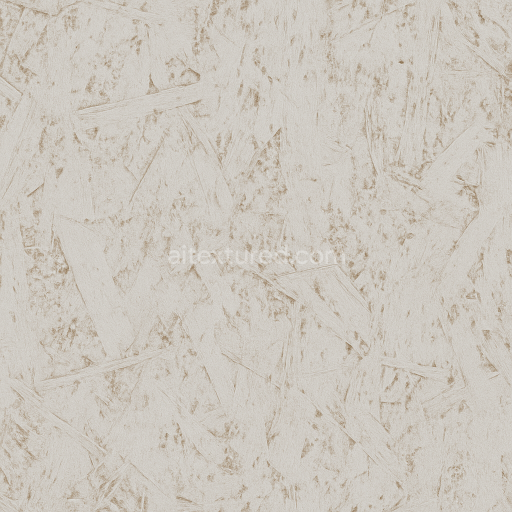
Particleboard Porous Surface with Compressed Wood Chips
Seamless texture (tileable) · PNG, WEBP, PBR ZIP. License: AITextured Free Commercial License (FCL) v1.1. Free personal and commercial use. Raw resale, standalone redistribution, mirroring/scraping, competing asset packs, and AI/ML training are not allowed without written permission. Attribution is not required, but appreciated..

| ID | seamless-3d-texture-pbr-8k-mdf-laminated-surface-with-laminate-stone-print-finish |
|---|---|
| Category | Furniture chipboard and MDF |
| Formats | PNG, WEBP, PBR ZIP |
| Size | 1k (1024x1024px), 2k (2048x2048px), 4k (4096x4096px), 8k (8192x8192px) |
| Color | sRGB |
| Tileable | Yes |
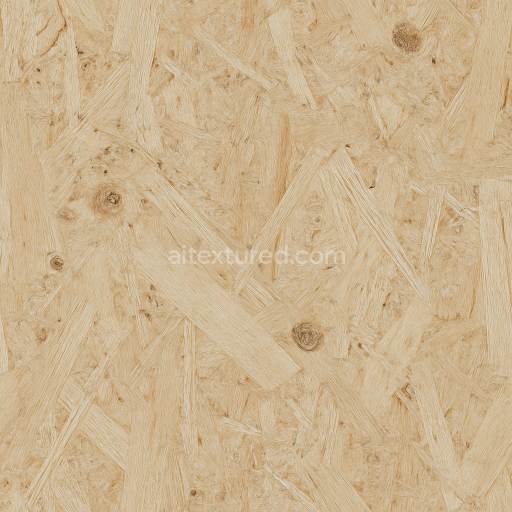
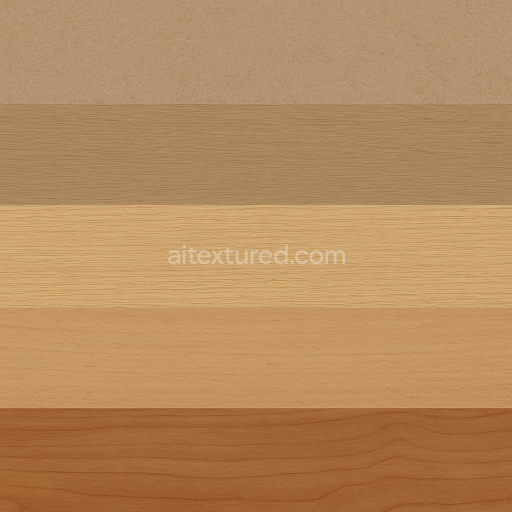
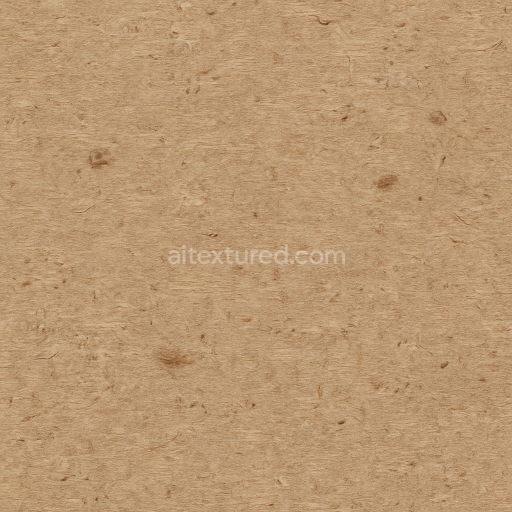
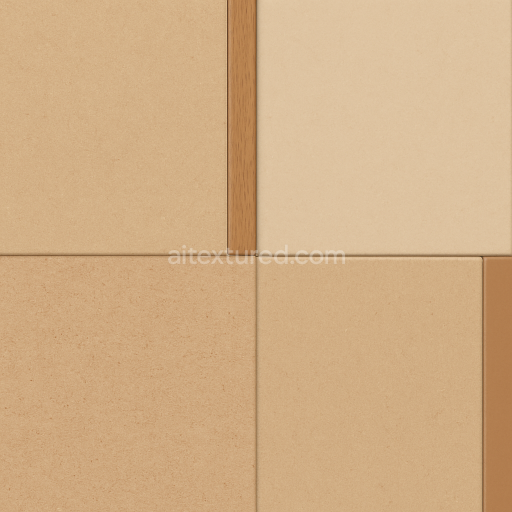
This seamless 3D texture in 8K resolution showcases a meticulously crafted MDF laminated panel featuring a stone print laminate finish. The base material is medium-density fiberboard (MDF) composed of compressed wood fibers bonded with resin adhesives providing a smooth sealed substrate that supports the overlaying laminate layer. This laminate is printed with a detailed stone pattern achieved through advanced pigment application techniques which imparts a realistic stone-like aesthetic while maintaining the structural integrity and subtle fiber texture of the MDF beneath. Variations in fiber orientation and slight adhesive marks beneath the laminate contribute to the texture’s authenticity capturing the natural complexity of laminated stone surfaces.
The PBR channels accurately reflect the material’s physical properties: the BaseColor (Albedo) channel presents the intricate stone print with high color fidelity and subtle shading variations that mimic natural mineral deposits. The Normal map emphasizes the pressed fibers and the laminate’s slight surface irregularities enhancing depth and tactile realism. Roughness values are finely balanced to replicate the semi-matte finish of laminated surfaces—smooth but not overly polished—while the Metallic channel remains near zero to reflect the non-metallic nature of MDF and laminate. Ambient Occlusion adds soft shadows around fiber edges and adhesive zones and the Height/Displacement map subtly defines the laminate’s layered structure and surface relief useful for parallax effects in real-time engines.
Designed for photorealistic 3D architectural and furniture visualizations this high-resolution MDF laminated stone print texture is fully optimized for use in Blender Unreal Engine and Unity. Its seamless nature allows for flexible UV scaling without visible tiling making it ideal for large interior surfaces or detailed furniture components requiring a natural stone finish. For best results adjust roughness parameters slightly in your shader to match lighting conditions and consider using the displacement channel at low intensity to enhance surface depth without compromising performance.
Import the texture maps into Blender with sRGB color space for albedo/base color and Non-Color for normal, roughness, metallic, AO, height, and ORM maps. Connect normal maps through a Normal Map node, then adjust UV scale with a Mapping node so the material repeats naturally on your model.
For the full step-by-step setup, see How to Use Seamless Textures in Blender. Browse related material examples in wood, concrete, and metal.
Yes. This texture is designed as a seamless tileable PBR material, so it can repeat across large surfaces without visible borders.
You can download PNG/WEBP versions and use 1K, 2K, 4K and 8K download options when available on the page.
Yes. The download options and engine-mapped ZIP workflow are designed for Blender, Unreal Engine, Unity Standard, URP and HDRP material pipelines.
Yes. The texture is available under the AITextured free commercial license. Review the license page for redistribution and AI-training restrictions.


Build, preview, and export seamless PBR materials. Generate full map sets from a single image, inspect them in a real-time WebGL viewer, and re-package maps for Unreal, Unity, and Blender—directly in your browser.
AI text-to-texture: type a prompt and get a seamless, tileable base image ready for PBR workflows (great starting point for materials).
Create a full PBR set (Normal, Roughness, AO, Metallic, etc.) from a single image. Seamless and tiling-friendly.
Instant WebGL viewer: inspect materials on a sphere, plane, and cube. Check tiling and lighting in real time.
Re-packages maps per engine: Unreal (BaseColor + ORM), Unity (Mask/MetallicSmoothness), Blender (separate channels).
PNG ↔ JPG ↔ SVG: fast convert, SVG rasterize, embed/trace options, quality & background controls.