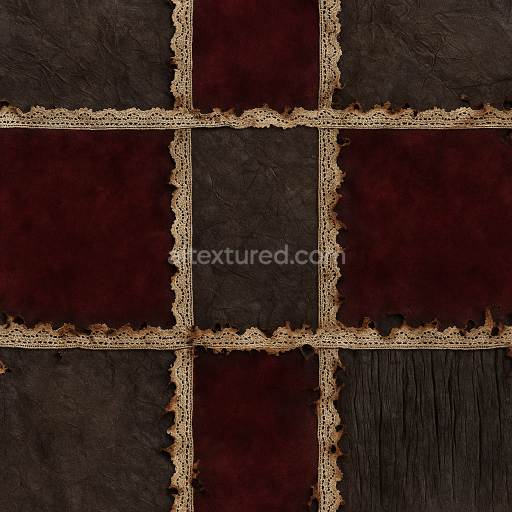
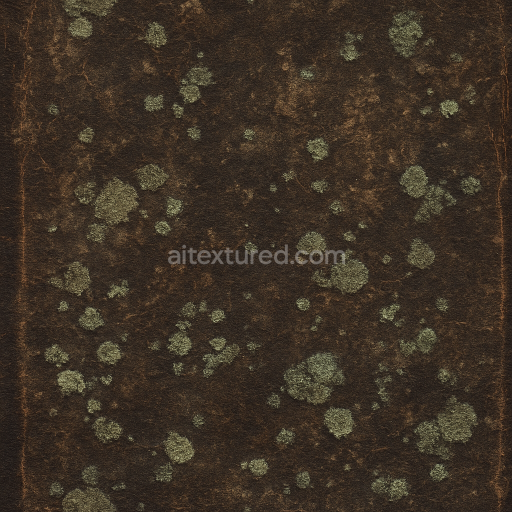
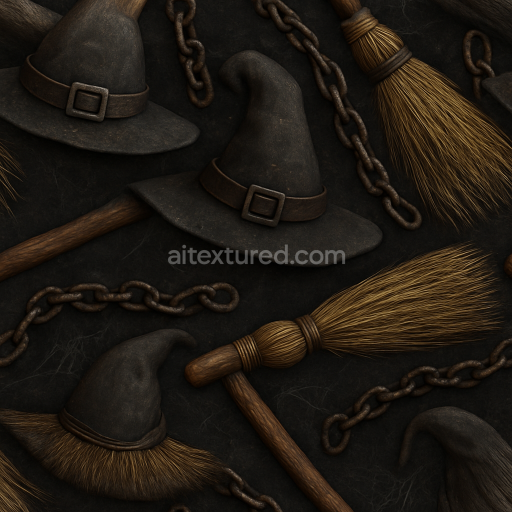
Witch Hat Fabric With Worn Leather And Lace Trim
Seamless texture (tileable) · PNG, WEBP, PBR ZIP. License: AITextured Free Commercial License (FCL) v1.1. Free personal and commercial use. Raw resale, standalone redistribution, mirroring/scraping, competing asset packs, and AI/ML training are not allowed without written permission. Attribution is not required, but appreciated..

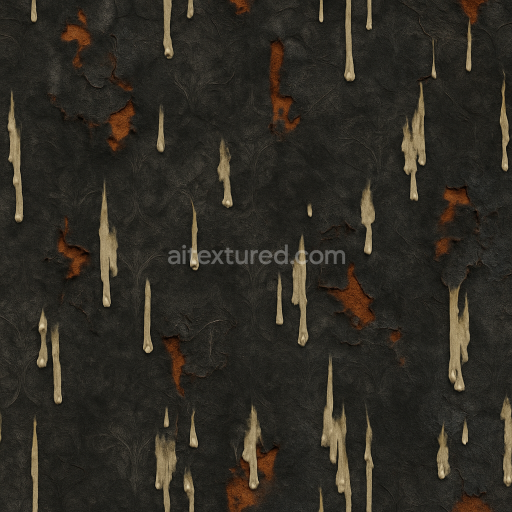
| ID | seamless-3d-texture-pbr-8k-candle-wax-with-dripping-wax-and-candle-flame-highlights |
|---|---|
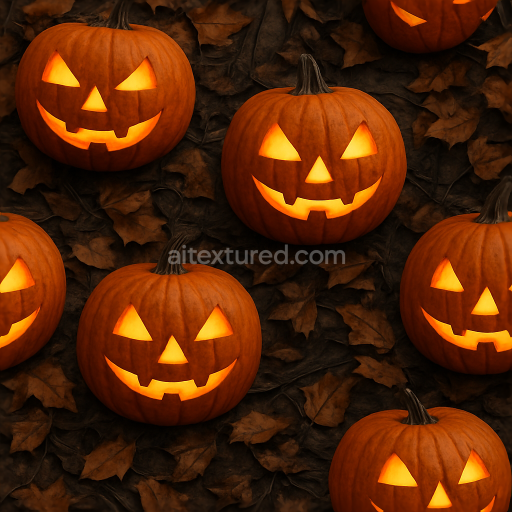
| Category | Halloween |
| Formats | PNG, WEBP, PBR ZIP |
| Size | 1k (1024x1024px), 2k (2048x2048px), 4k (4096x4096px), 8k (8192x8192px) |
| Color | sRGB |
| Tileable | Yes |
This high-quality seamless 3D PBR texture in 8K resolution expertly captures the intricate surface characteristics of candle wax showcasing its unique combination of smoothness and subtle texturing. The base material is an organic wax substrate composed primarily of natural hydrocarbons with slight impurities that create the characteristic translucency and softness. The texture features realistic dripping wax formations including delicate strands and thickened accumulations which reflect natural flow patterns and gravity effects. Fine soot deposits dust particles and minor surface irregularities add to the authenticity simulating ambient wear and atmospheric exposure. The surface finish is softly matte with gentle highlights that mimic the interaction of candle flame illumination on the wax’s semi-translucent layers emphasizing the natural warmth and depth of the material.
In terms of PBR channels the BaseColor (Albedo) map presents warm creamy off-white tones with subtle yellow and amber hues accurately reflecting the natural pigmentation of candle wax and its variations due to soot and dust accumulation. The Normal map effectively conveys the delicate ridges and flowing contours of dripping wax enhancing the tactile feel of the texture. Roughness values are finely tuned to balance the diffuse softness of wax and the slightly glossier reflections caused by melting or polished areas. The Metallic channel remains neutral reflecting the organic non-metallic nature of wax while Ambient Occlusion adds depth to crevices and overlapping drips. Height and Displacement maps capture the three-dimensionality of wax drips and flame highlights enabling realistic parallax and relief effects in 3D applications.
This seamless candle wax texture is meticulously designed for seamless tiling making it ideal for creating highly realistic candle props atmospheric Halloween decorations or ambient light sources in 3D scenes. It is fully Unreal Engine Blender and Unity ready ensuring smooth integration into various pipelines with physically accurate shading under neutral lighting conditions and flat shading setups. For optimal results it is recommended to adjust the UV scale to emphasize larger dripping formations in close-up views and to fine-tune roughness in shader settings to simulate varying wax softness or melting states enhancing visual realism in diverse lighting environments.
Import the texture maps into Blender with sRGB color space for albedo/base color and Non-Color for normal, roughness, metallic, AO, height, and ORM maps. Connect normal maps through a Normal Map node, then adjust UV scale with a Mapping node so the material repeats naturally on your model.
For the full step-by-step setup, see How to Use Seamless Textures in Blender. Browse related material examples in wood, concrete, and metal.
Yes. This texture is designed as a seamless tileable PBR material, so it can repeat across large surfaces without visible borders.
You can download PNG/WEBP versions and use 1K, 2K, 4K and 8K download options when available on the page.
Yes. The download options and engine-mapped ZIP workflow are designed for Blender, Unreal Engine, Unity Standard, URP and HDRP material pipelines.
Yes. The texture is available under the AITextured free commercial license. Review the license page for redistribution and AI-training restrictions.

Build, preview, and export seamless PBR materials. Generate full map sets from a single image, inspect them in a real-time WebGL viewer, and re-package maps for Unreal, Unity, and Blender—directly in your browser.
AI text-to-texture: type a prompt and get a seamless, tileable base image ready for PBR workflows (great starting point for materials).
Create a full PBR set (Normal, Roughness, AO, Metallic, etc.) from a single image. Seamless and tiling-friendly.
Instant WebGL viewer: inspect materials on a sphere, plane, and cube. Check tiling and lighting in real time.
Re-packages maps per engine: Unreal (BaseColor + ORM), Unity (Mask/MetallicSmoothness), Blender (separate channels).
PNG ↔ JPG ↔ SVG: fast convert, SVG rasterize, embed/trace options, quality & background controls.