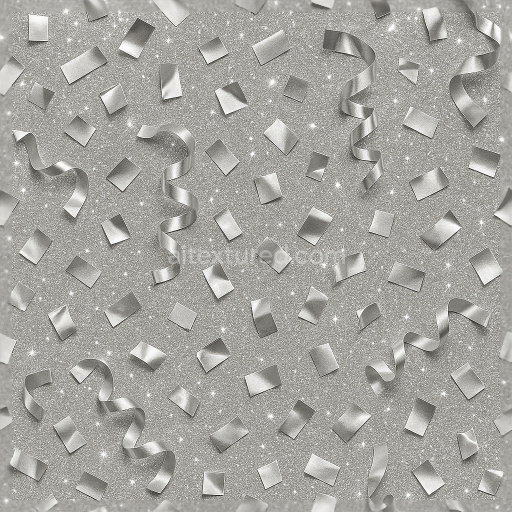
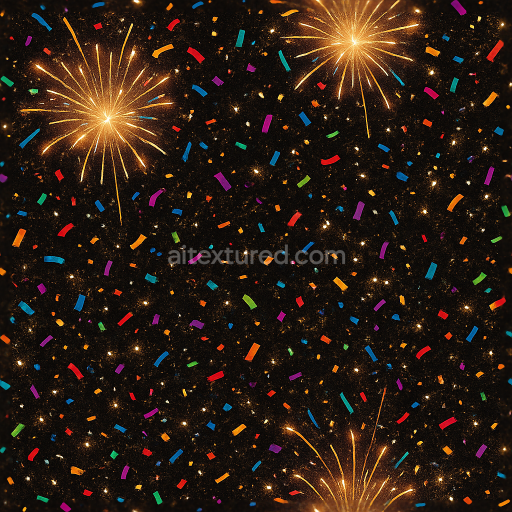
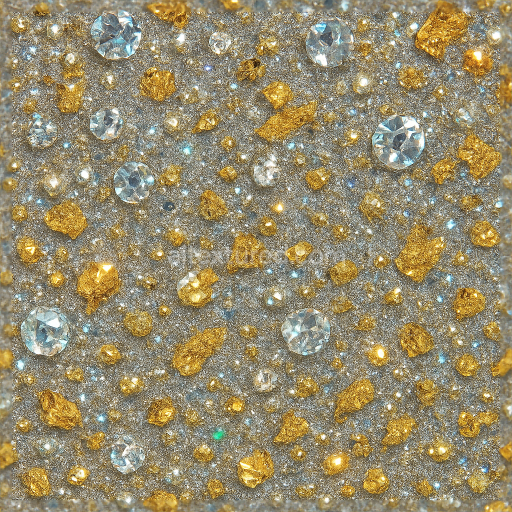
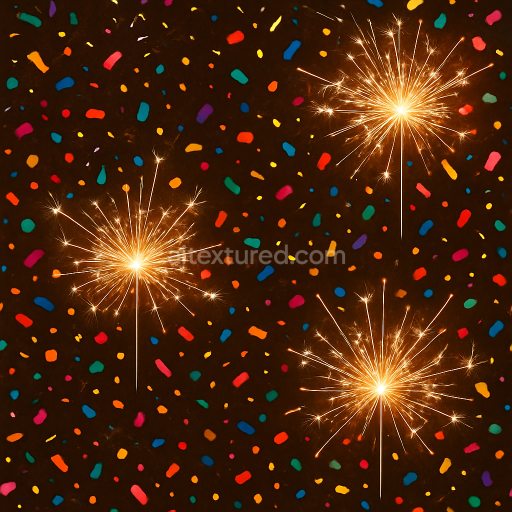
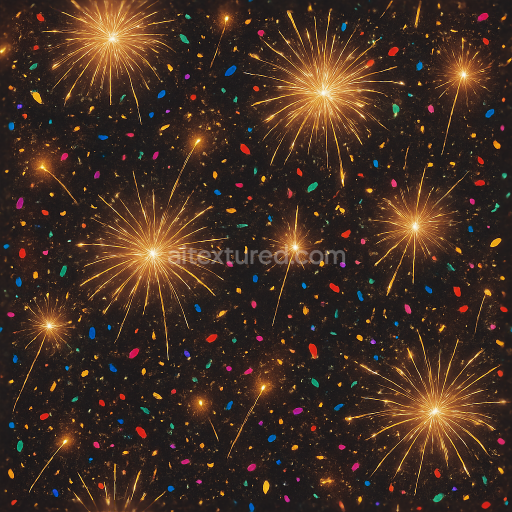
Silver Foil Metallic Confetti And Party Popper Sparkle Effect For New Year
Seamless texture (tileable) · PNG, WEBP, PBR ZIP. License: AITextured Free Commercial License (FCL) v1.1. Free personal and commercial use. Raw resale, standalone redistribution, mirroring/scraping, competing asset packs, and AI/ML training are not allowed without written permission. Attribution is not required, but appreciated..

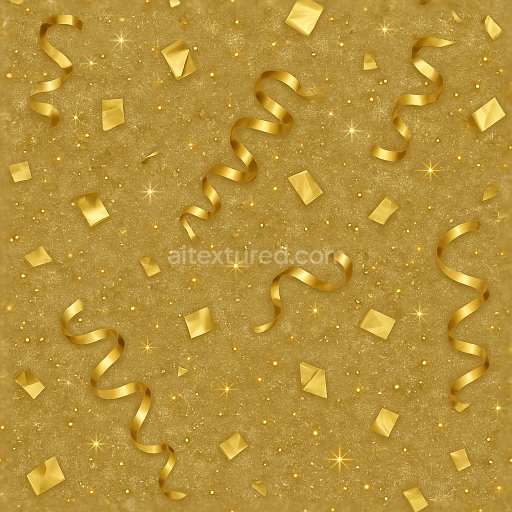
| ID | seamless-3d-texture-pbr-8k-balloons-and-party-streamers-with-celebration-sparkles-for-new-year |
|---|---|
| Category | New Year |
| Formats | PNG, WEBP, PBR ZIP |
| Size | 1k (1024x1024px), 2k (2048x2048px), 4k (4096x4096px), 8k (8192x8192px) |
| Color | sRGB |
| Tileable | Yes |
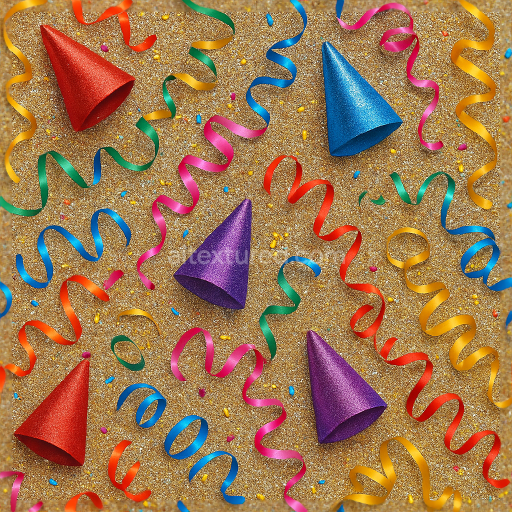
This seamless 3D texture, rendered in ultra-high 8K resolution, presents a vibrant arrangement of colorful balloons intertwined with dynamic party streamers and festive ribbons, all accented by delicate celebration sparkles and scattered party confetti. The underlying material simulates a glossy latex or mylar substrate for the balloons, characterized by a smooth, slightly elastic surface with subtle specular highlights that capture the reflective qualities of real party balloons. The streamers and ribbons exhibit a thin, flexible plastic or satin-like weave with faint micro-textures and a slight translucency, contributing to the realistic interplay of light and shadow. The celebration sparkles and sparkle dust elements provide a fine-grained, reflective overlay that mimics tiny particles suspended on the surface, adding depth and a lively shimmer effect.
From a compositional standpoint, the texture's substrate layers emulate synthetic polymer bases, with binders akin to elastomeric adhesives that hold the balloon surfaces taut and smooth. The streamers incorporate fine fibrous weaves that interrupt the otherwise polished finish, introducing subtle anisotropic patterns in the Normal map to suggest fabric grain and gentle folds. The confetti and sparkle dust are represented as minute aggregates dispersed irregularly, enhancing surface roughness variations and contributing to the ambient occlusion detail around clustered elements. The texture exhibits low porosity, maintaining a clean and polished appearance suitable for indoor celebratory environments without weathering effects, emphasizing its pristine condition for digital renders.
The PBR workflow is carefully constructed to reflect these material qualities: the BaseColor (Albedo) channel delivers saturated, vivid hues of reds, blues, golds, and greens with colorants simulating synthetic dyes and metallic pigments for the ribbons and confetti. The Normal map encodes the subtle curvature of balloons, the delicate folds of streamers, and the raised sparkle dust, providing tactile depth. Roughness values vary across the texture, with the balloons showing low roughness for a glossy finish, streamers having moderate roughness to simulate satin sheens, and sparkle elements exhibiting fluctuating roughness to create dynamic light scattering. Metallic channels highlight the ribbon’s reflective metallic threads and confetti flakes, while Ambient Occlusion enhances shadowing in crevices and overlaps. Height and displacement maps define the contour differences between balloon surfaces and the layered confetti, enabling realistic parallax effects.
Designed for seamless tiling, this texture is optimized for seamless repetition without visible borders, making it ideal for large celebration scenes and 3D party decorations. Its high fidelity supports use across Blender, Unreal Engine, and Unity, ensuring compatibility and versatility for various rendering pipelines. For practical application, adjusting the UV scale to moderate values helps maintain detail without pixelation, while fine-tuning roughness can tailor the shininess of balloons and ribbons to suit specific lighting setups. Employing a subtle blend of height and normal maps enhances the perception of layered confetti and sparkle dust, adding realism to close-up views without heavy computational costs.
Import the texture maps into Blender with sRGB color space for albedo/base color and Non-Color for normal, roughness, metallic, AO, height, and ORM maps. Connect normal maps through a Normal Map node, then adjust UV scale with a Mapping node so the material repeats naturally on your model.
For the full step-by-step setup, see How to Use Seamless Textures in Blender. Browse related material examples in wood, concrete, and metal.
Yes. This texture is designed as a seamless tileable PBR material, so it can repeat across large surfaces without visible borders.
You can download PNG/WEBP versions and use 1K, 2K, 4K and 8K download options when available on the page.
Yes. The download options and engine-mapped ZIP workflow are designed for Blender, Unreal Engine, Unity Standard, URP and HDRP material pipelines.
Yes. The texture is available under the AITextured free commercial license. Review the license page for redistribution and AI-training restrictions.
Build, preview, and export seamless PBR materials. Generate full map sets from a single image, inspect them in a real-time WebGL viewer, and re-package maps for Unreal, Unity, and Blender—directly in your browser.
AI text-to-texture: type a prompt and get a seamless, tileable base image ready for PBR workflows (great starting point for materials).
Create a full PBR set (Normal, Roughness, AO, Metallic, etc.) from a single image. Seamless and tiling-friendly.
Instant WebGL viewer: inspect materials on a sphere, plane, and cube. Check tiling and lighting in real time.
Re-packages maps per engine: Unreal (BaseColor + ORM), Unity (Mask/MetallicSmoothness), Blender (separate channels).
PNG ↔ JPG ↔ SVG: fast convert, SVG rasterize, embed/trace options, quality & background controls.