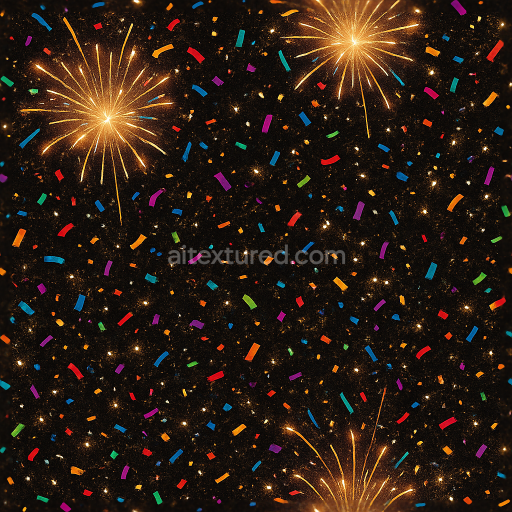
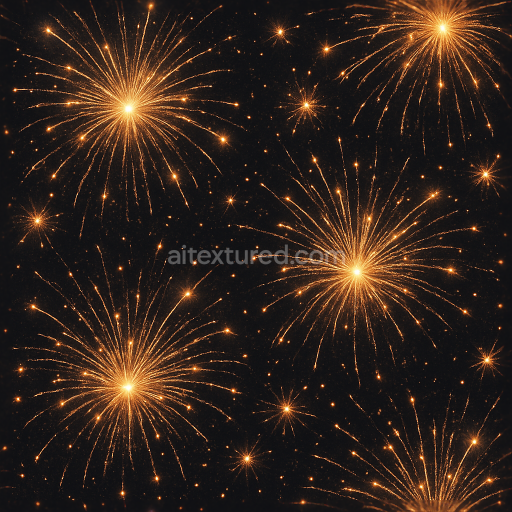
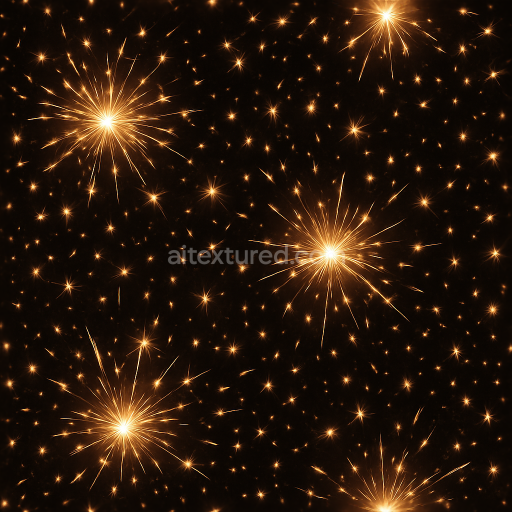
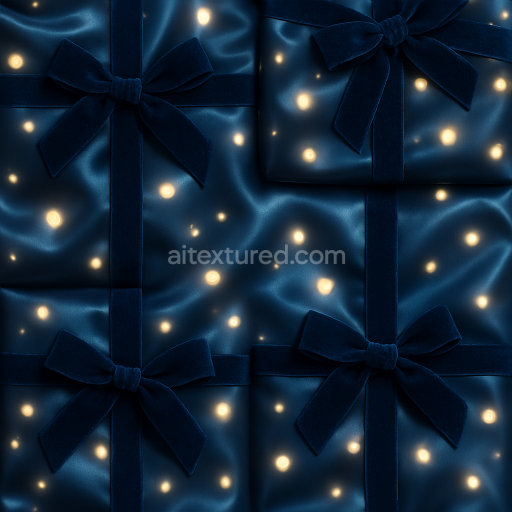
Sparkling Firecracker And Party Confetti With Light Burst For New Year
Seamless texture (tileable) · PNG, WEBP, PBR ZIP. License: AITextured Free Commercial License (FCL) v1.1. Free personal and commercial use. Raw resale, standalone redistribution, mirroring/scraping, competing asset packs, and AI/ML training are not allowed without written permission. Attribution is not required, but appreciated..

| ID | seamless-3d-texture-pbr-8k-gold-foil-metallic-confetti-and-ribbons-for-new-year-celebrations |
|---|---|
| Category | New Year |
| Formats | PNG, WEBP, PBR ZIP |
| Size | 1k (1024x1024px), 2k (2048x2048px), 4k (4096x4096px), 8k (8192x8192px) |
| Color | sRGB |
| Tileable | Yes |
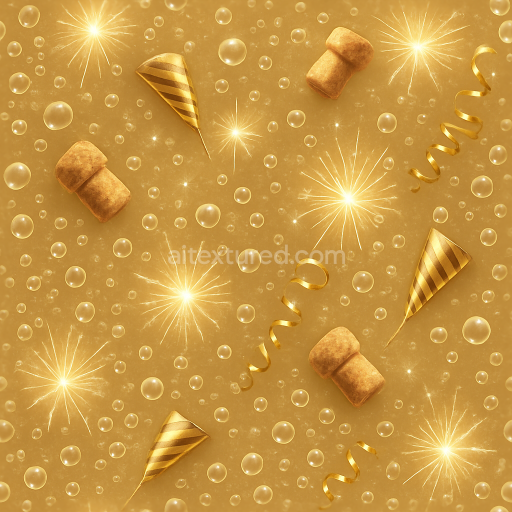
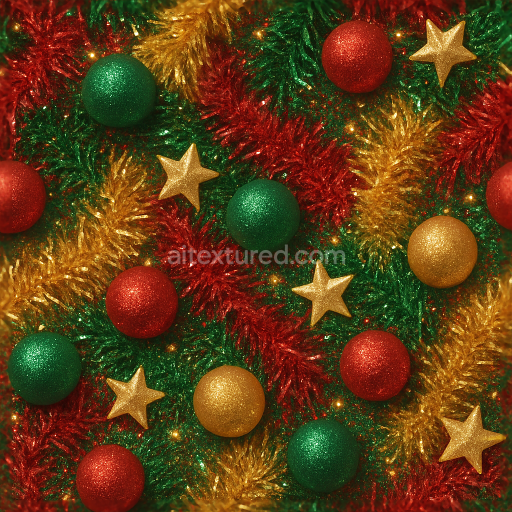
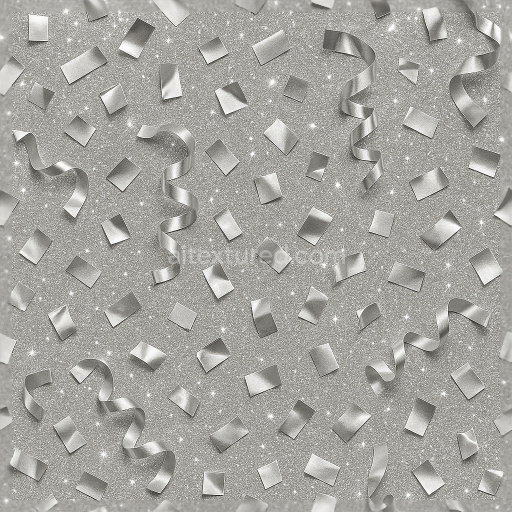
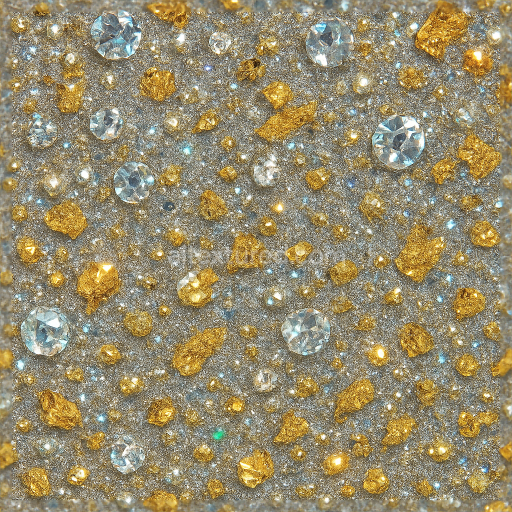
This seamless 3D texture presents a highly detailed gold foil metallic confetti and festive ribbons pattern, designed specifically for New Year celebration themes. The base material mimics thin, reflective gold foil sheets, layered atop a subtle fabric or paper substrate that forms the background. The gold foil exhibits a polished, slightly crinkled surface with microfolds and creases, creating an intricate interplay of light and shadow. Interspersed throughout are slender ribbons with a smooth satin finish, exhibiting gentle curves and twists that add dynamic geometry to the composition. The confetti pieces are small, irregularly shaped metallic flakes with a slightly convex form, enhancing the sense of depth and realism. Sparkle dust particles scattered across the surface simulate fine reflective grains, introducing a delicate shimmer effect that catches light from multiple angles.
From a materials standpoint, the gold foil layer is characterized by a high metallic value and low roughness in the PBR shader setup, resulting in a lustrous and mirror-like reflectivity that varies subtly due to surface imperfections. The ribbon elements incorporate slightly higher roughness and a smooth diffuse color, simulating woven fibers with a satin sheen. The confetti flakes contribute additional metallic highlights with sharp specular reflections. The texture’s substrate beneath these elements has a muted base color with minimal metallic influence and moderate roughness, providing visual contrast. The normal map captures the fine relief of foil wrinkles, ribbon folds, and confetti curvature, enhancing the tactile quality. Ambient occlusion intensifies shadowing in recessed areas between folds and overlapping pieces, while height/displacement maps define the layered relief of foil creases and ribbon edges, creating convincing depth and dimensionality.
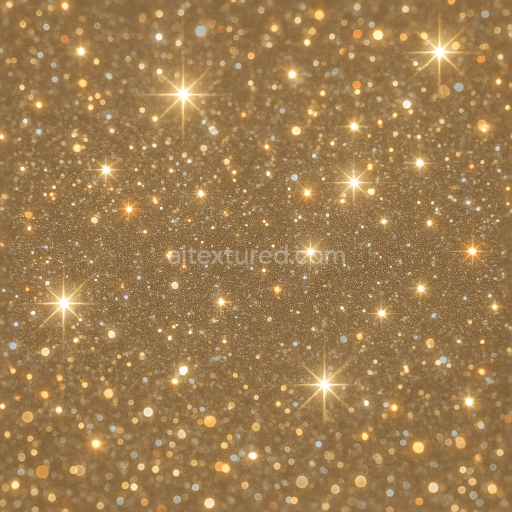
Color wise, the texture employs rich gold pigments for the foil, ranging from deep yellow gold to lighter champagne tones, enriched by subtle variations introduced through simulated oxidation and wear patterns. Ribbons are rendered in complementary festive colors with soft gradients and a slight translucency effect, suggesting thin dyed fabric. The sparkle dust is represented by tiny white and pale yellow highlights with a scattered distribution, reinforcing the celebratory sparkle effect. All these visual details are encoded in the BaseColor (Albedo) and enhanced through fine-tuned Metallic and Roughness channels, ensuring realistic light interaction under various lighting conditions.
Rendered at an impressive 8K resolution, this texture is optimized for use in Blender, Unreal Engine, and Unity, providing exceptional clarity and detail even on close-up views. It tiles seamlessly, allowing for flexible application on large surfaces without visible repetition artifacts. For practical use, adjusting the UV scale can help maintain the appropriate density of confetti and ribbons relative to the scene scale, while fine-tuning roughness values can balance the glossiness to suit different lighting environments. Additionally, blending height or parallax maps with normals can enhance the perception of depth on flat surfaces, especially when viewed at grazing angles, making the festive elements pop visually in interactive or rendered contexts.
Import the texture maps into Blender with sRGB color space for albedo/base color and Non-Color for normal, roughness, metallic, AO, height, and ORM maps. Connect normal maps through a Normal Map node, then adjust UV scale with a Mapping node so the material repeats naturally on your model.
For the full step-by-step setup, see How to Use Seamless Textures in Blender. Browse related material examples in wood, concrete, and metal.
Yes. This texture is designed as a seamless tileable PBR material, so it can repeat across large surfaces without visible borders.
You can download PNG/WEBP versions and use 1K, 2K, 4K and 8K download options when available on the page.
Yes. The download options and engine-mapped ZIP workflow are designed for Blender, Unreal Engine, Unity Standard, URP and HDRP material pipelines.
Yes. The texture is available under the AITextured free commercial license. Review the license page for redistribution and AI-training restrictions.


Build, preview, and export seamless PBR materials. Generate full map sets from a single image, inspect them in a real-time WebGL viewer, and re-package maps for Unreal, Unity, and Blender—directly in your browser.
AI text-to-texture: type a prompt and get a seamless, tileable base image ready for PBR workflows (great starting point for materials).
Create a full PBR set (Normal, Roughness, AO, Metallic, etc.) from a single image. Seamless and tiling-friendly.
Instant WebGL viewer: inspect materials on a sphere, plane, and cube. Check tiling and lighting in real time.
Re-packages maps per engine: Unreal (BaseColor + ORM), Unity (Mask/MetallicSmoothness), Blender (separate channels).
PNG ↔ JPG ↔ SVG: fast convert, SVG rasterize, embed/trace options, quality & background controls.