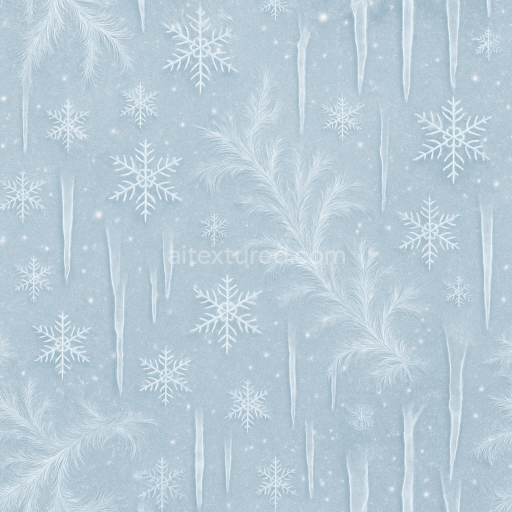
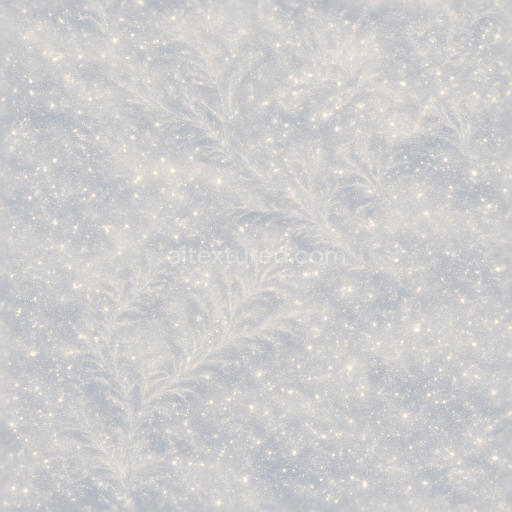
Snowflakes And Icicles With Frost Patterns For Winter New Year
Seamless texture (tileable) · PNG, WEBP, PBR ZIP. License: AITextured Free Commercial License (FCL) v1.1. Free personal and commercial use. Raw resale, standalone redistribution, mirroring/scraping, competing asset packs, and AI/ML training are not allowed without written permission. Attribution is not required, but appreciated..

| ID | seamless-3d-texture-pbr-8k-party-hats-and-neon-signs-with-festive-ribbons-for-new-year-sparkle |
|---|---|
| Category | New Year |
| Formats | PNG, WEBP, PBR ZIP |
| Size | 1k (1024x1024px), 2k (2048x2048px), 4k (4096x4096px), 8k (8192x8192px) |
| Color | sRGB |
| Tileable | Yes |
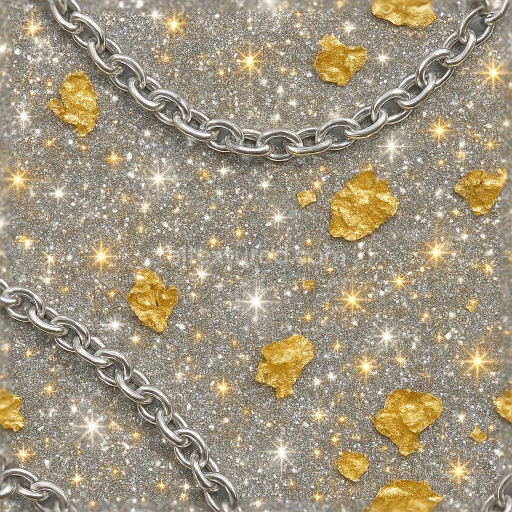
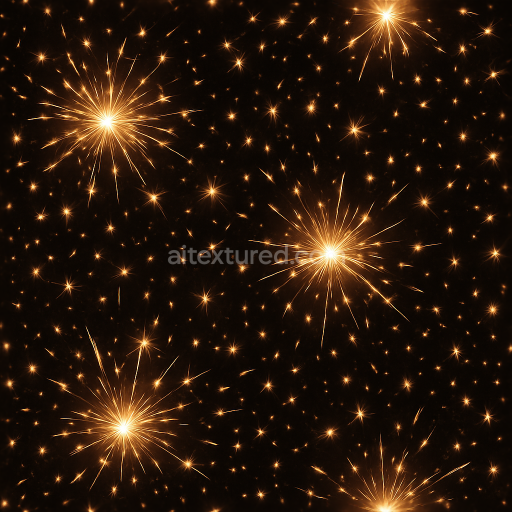
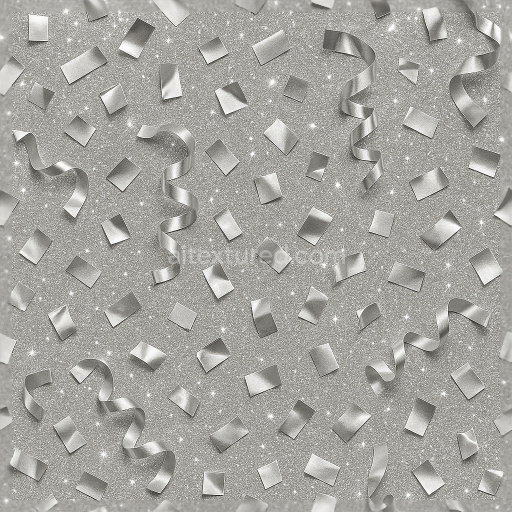
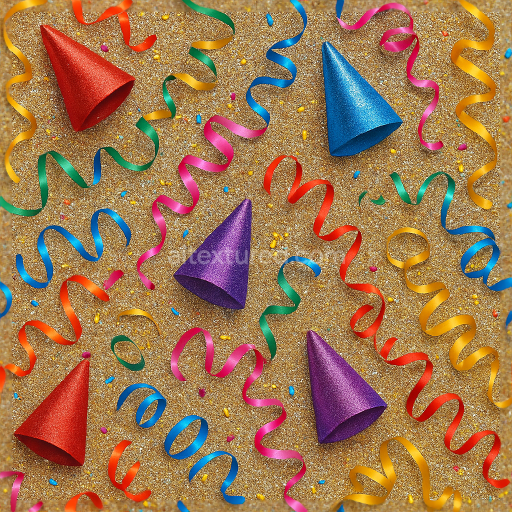
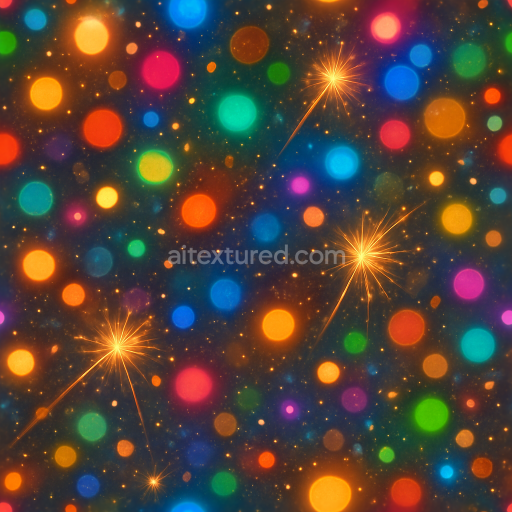
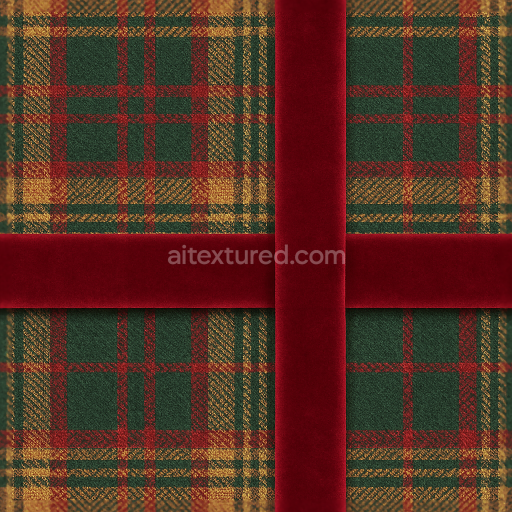
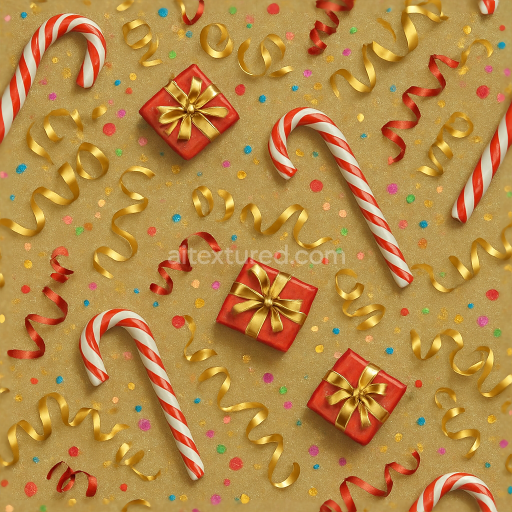
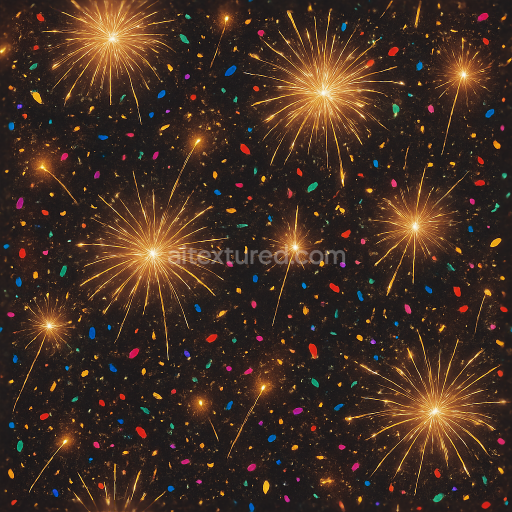
This seamless 3D texture in 8K resolution features an intricate arrangement of party hats, neon signs, and festive ribbons, forming a vibrant and dynamic celebration pattern ideal for New Year-themed projects. The base material simulates a composite of lightweight coated paper and flexible plastic, commonly used in real party decorations, providing a slightly glossy yet tactile surface. The party hats exhibit a subtle lamination effect with reflective pigments embedded in the substrate, creating a rich BaseColor channel with vivid reds, blues, and golds that capture the festive palette. The neon signs are represented through emissive color layers within the BaseColor map, enhanced by low Roughness values to mimic the smooth, glowing glass tubes, while metallic elements in the signs’ frames are defined by moderate Metallic channel values, contributing to realistic light reflections and sheen.
Geometrically, the texture pattern is composed of overlapping conical party hats, fluid ribbon curls, and stylized neon tubing arranged in a seamless, repetitive grid. This creates a complex laminated form where the ribbons weave through the hats and signs, adding depth and movement. The Normal map accentuates the fine folds and creases in the ribbons, the embossed ridges along the hats’ brims, and the subtle tubing contours of the neon signs, delivering convincing micro-surface detail and volumetric layering. Height and Displacement maps reinforce the three-dimensional feel by simulating the raised edges of ribbon curls and the recessed neon tubing channels, while Ambient Occlusion enhances shadowing in overlapping areas, emphasizing spatial relationships and surface depth.
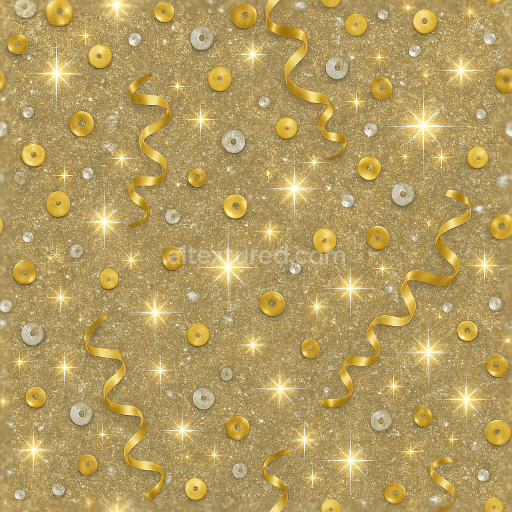
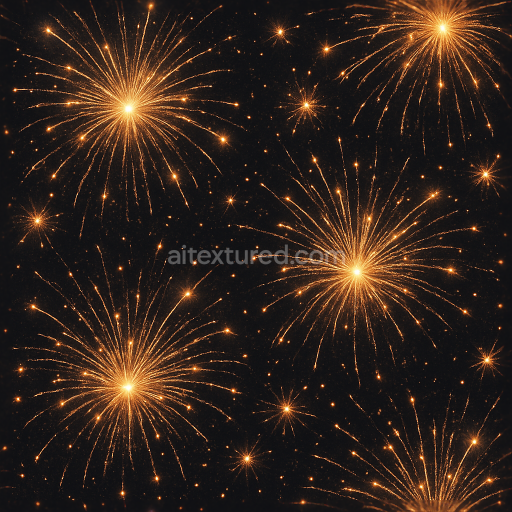
The texture’s surface finish balances gloss and subtle roughness to simulate party glitter and sparkle dust effects. The Roughness channel varies across the texture: low values on the neon signs’ glass surfaces produce a sleek holiday glow, while the party hats and ribbons exhibit moderate roughness with sparkling microfacets to replicate particle-like glitter and celebration sparks. The sparkle effect is also supported by the inclusion of scattered high-intensity specular highlights within the Roughness and Metallic maps, which interact dynamically with lighting in real-time renderers. This nuanced approach to surface reflectance ensures the texture performs well under different lighting environments in Blender, Unreal Engine, and Unity, maintaining visual fidelity across platforms.
Designed for seamless tiling, this texture allows consistent repetition without visible seams, making it suitable for large-scale party decoration models, festive digital backgrounds, or environmental assets celebrating New Year events. When integrating this texture, it’s advisable to adjust UV scale carefully to prevent pattern repetition from becoming overly apparent on broad surfaces. Additionally, fine-tuning the Roughness channel can help balance the sparkle effect for specific lighting setups—lower roughness values amplify the holiday glow, while higher values soften the glitter intensity. For enhanced realism, blending the Normal and Height maps through parallax occlusion techniques can provide more pronounced three-dimensional effects on close-up views, especially on ribbons and neon tubing details.
Import the texture maps into Blender with sRGB color space for albedo/base color and Non-Color for normal, roughness, metallic, AO, height, and ORM maps. Connect normal maps through a Normal Map node, then adjust UV scale with a Mapping node so the material repeats naturally on your model.
For the full step-by-step setup, see How to Use Seamless Textures in Blender. Browse related material examples in wood, concrete, and metal.
Yes. This texture is designed as a seamless tileable PBR material, so it can repeat across large surfaces without visible borders.
You can download PNG/WEBP versions and use 1K, 2K, 4K and 8K download options when available on the page.
Yes. The download options and engine-mapped ZIP workflow are designed for Blender, Unreal Engine, Unity Standard, URP and HDRP material pipelines.
Yes. The texture is available under the AITextured free commercial license. Review the license page for redistribution and AI-training restrictions.

Build, preview, and export seamless PBR materials. Generate full map sets from a single image, inspect them in a real-time WebGL viewer, and re-package maps for Unreal, Unity, and Blender—directly in your browser.
AI text-to-texture: type a prompt and get a seamless, tileable base image ready for PBR workflows (great starting point for materials).
Create a full PBR set (Normal, Roughness, AO, Metallic, etc.) from a single image. Seamless and tiling-friendly.
Instant WebGL viewer: inspect materials on a sphere, plane, and cube. Check tiling and lighting in real time.
Re-packages maps per engine: Unreal (BaseColor + ORM), Unity (Mask/MetallicSmoothness), Blender (separate channels).
PNG ↔ JPG ↔ SVG: fast convert, SVG rasterize, embed/trace options, quality & background controls.