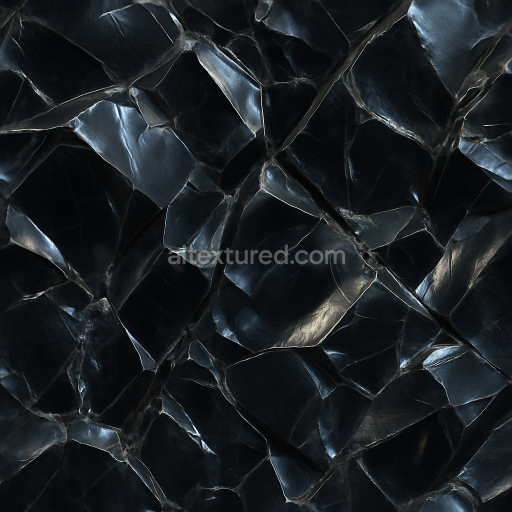
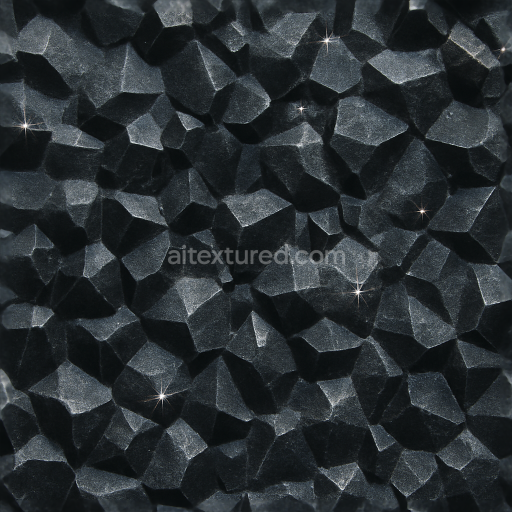
Obsidian Glassy Surface With Fractures And Metallic Sheen Highlights
Seamless texture (tileable) · PNG, WEBP, PBR ZIP. License: AITextured Free Commercial License (FCL) v1.1. Free personal and commercial use. Raw resale, standalone redistribution, mirroring/scraping, competing asset packs, and AI/ML training are not allowed without written permission. Attribution is not required, but appreciated..

| ID | seamless-3d-texture-pbr-8k-amethyst-rough-crystal-with-color-zoning-and-vitreous-luster-effects |
|---|---|
| Category | Crystals |
| Formats | PNG, WEBP, PBR ZIP |
| Size | 1k (1024x1024px), 2k (2048x2048px), 4k (4096x4096px), 8k (8192x8192px) |
| Color | sRGB |
| Tileable | Yes |
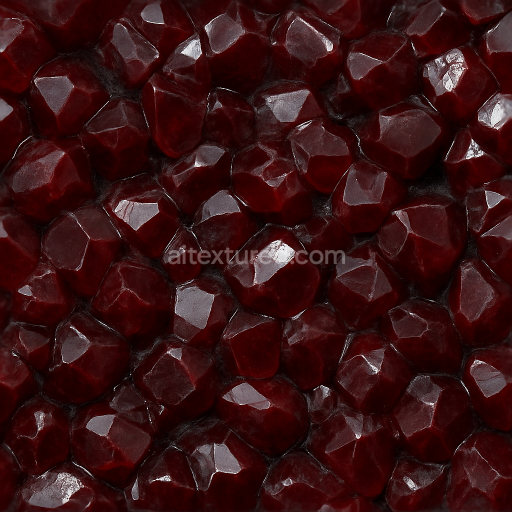
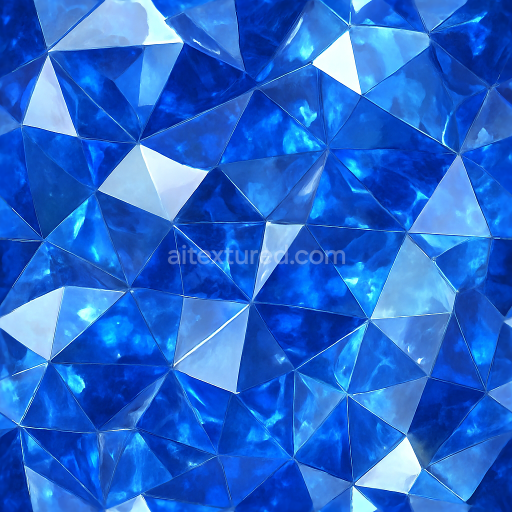
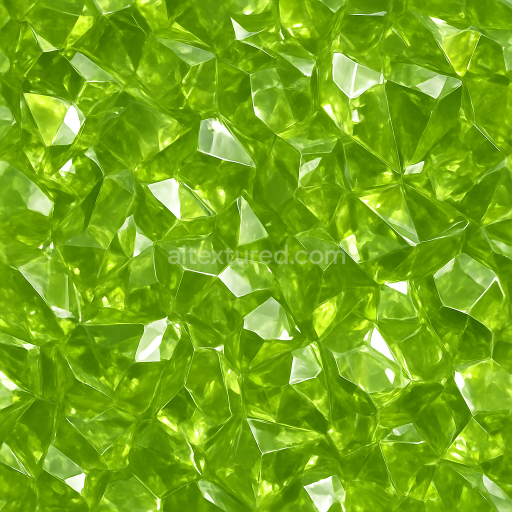
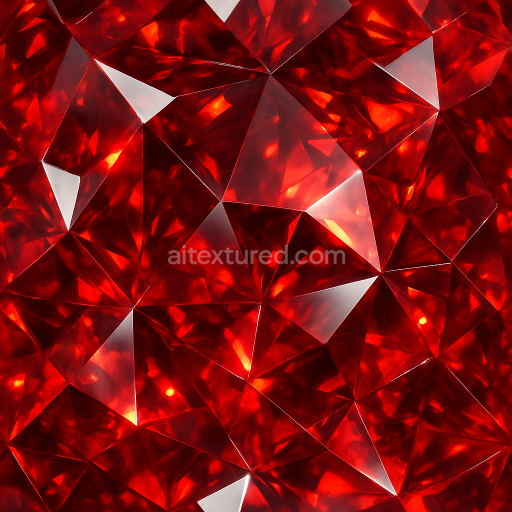
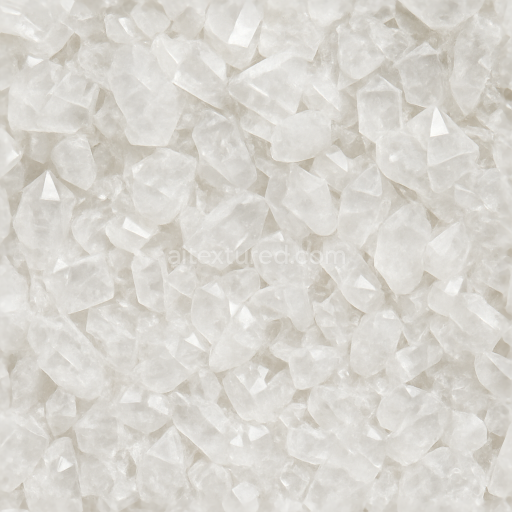
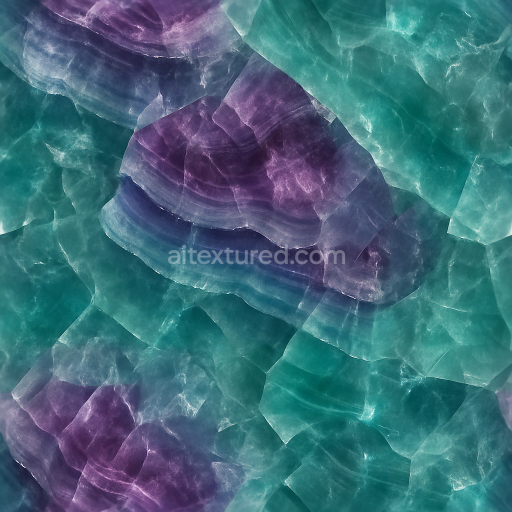
This seamless 3D PBR texture represents the complex surface of a rough amethyst crystal, rendered at an impressive 8K resolution to capture every intricate detail. The material is based on natural quartz, with amethyst’s characteristic purple hues arising from trace amounts of iron and other impurities within the crystal lattice. The texture mimics a raw, unpolished form where the crystalline structure is visible in sharp, angular facets and jagged edges, creating a rich interplay of light and shadow. Color zoning is a prominent feature, showing gradual transitions from deep violet to lighter lavender tones, reflecting natural variations in mineral concentration and growth conditions.
The substrate is essentially a translucent, vitreous mineral with a slightly porous surface due to microfractures and surface irregularities common in rough crystals. This unevenness enhances the light dispersion and internal reflections, contributing to the amethyst’s natural gloss and depth. The surface finish is vitreous luster—smooth but not polished—capturing the subtle sheen typical of unrefined crystal specimens. The texture’s roughness channel is carefully calibrated to represent these semi-glossy surfaces, balancing specular highlights and diffuse reflections, while the normal map simulates the intricate geometry of the crystal’s facets and fractures, adding dimensionality without excessive bumpiness.
Colorants and pigments in the BaseColor (Albedo) map reproduce the mineral’s natural gradient, showing zones of concentrated purple interspersed with translucent clear or white areas where the crystal is thinner or more transparent. The Ambient Occlusion map enhances the depth perception by darkening crevices and junctions between crystal faces, while the Height/Displacement channel accentuates the uneven topography of the rough surface, allowing for realistic parallax effects when used in 3D engines. The texture contains no metallic elements, so the Metallic map remains black, consistent with the non-metallic nature of quartz.
Designed for compatibility with Blender, Unreal Engine, and Unity, this texture is optimized for seamless tiling, enabling continuous coverage without visible seams or distortions across large surfaces. For practical application, adjusting the UV scale to match the size of real amethyst formations is recommended, along with fine-tuning the roughness map to transition between slightly matte and glossy areas depending on lighting conditions. Blending height and normal maps can also enhance the perception of depth and surface complexity, especially in close-up renders.
Import the texture maps into Blender with sRGB color space for albedo/base color and Non-Color for normal, roughness, metallic, AO, height, and ORM maps. Connect normal maps through a Normal Map node, then adjust UV scale with a Mapping node so the material repeats naturally on your model.
For the full step-by-step setup, see How to Use Seamless Textures in Blender. Browse related material examples in wood, concrete, and metal.
Yes. This texture is designed as a seamless tileable PBR material, so it can repeat across large surfaces without visible borders.
You can download PNG/WEBP versions and use 1K, 2K, 4K and 8K download options when available on the page.
Yes. The download options and engine-mapped ZIP workflow are designed for Blender, Unreal Engine, Unity Standard, URP and HDRP material pipelines.
Yes. The texture is available under the AITextured free commercial license. Review the license page for redistribution and AI-training restrictions.
Build, preview, and export seamless PBR materials. Generate full map sets from a single image, inspect them in a real-time WebGL viewer, and re-package maps for Unreal, Unity, and Blender—directly in your browser.
AI text-to-texture: type a prompt and get a seamless, tileable base image ready for PBR workflows (great starting point for materials).
Create a full PBR set (Normal, Roughness, AO, Metallic, etc.) from a single image. Seamless and tiling-friendly.
Instant WebGL viewer: inspect materials on a sphere, plane, and cube. Check tiling and lighting in real time.
Re-packages maps per engine: Unreal (BaseColor + ORM), Unity (Mask/MetallicSmoothness), Blender (separate channels).
PNG ↔ JPG ↔ SVG: fast convert, SVG rasterize, embed/trace options, quality & background controls.