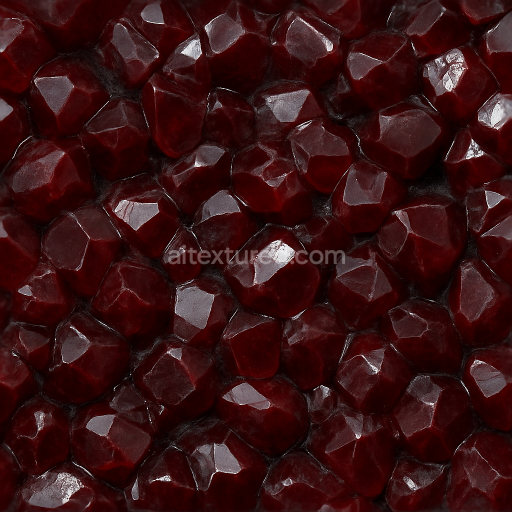
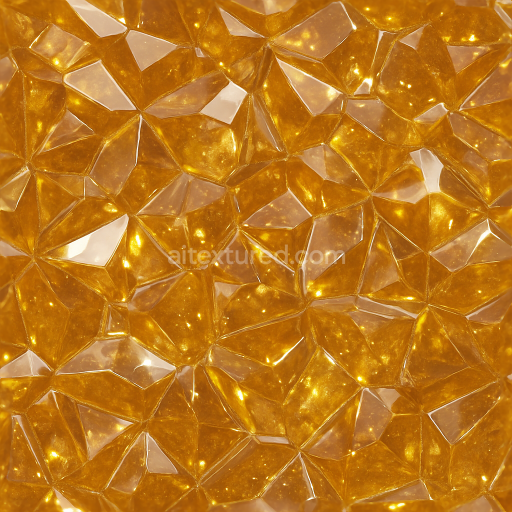
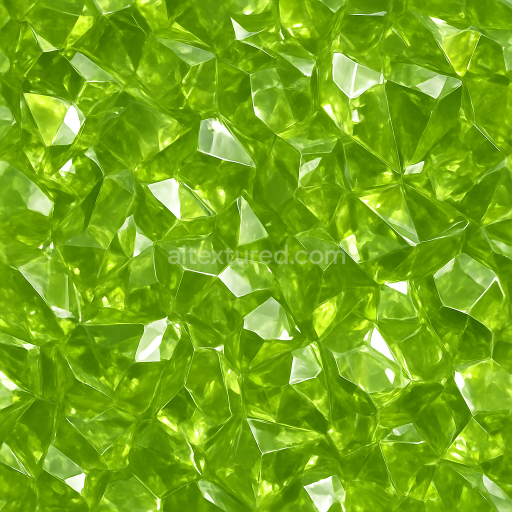
Garnet Raw Crystal With Mineral Deposit Veins And Reflective Surface Glossy Finish
Seamless texture (tileable) · PNG, WEBP, PBR ZIP. License: AITextured Free Commercial License (FCL) v1.1. Free personal and commercial use. Raw resale, standalone redistribution, mirroring/scraping, competing asset packs, and AI/ML training are not allowed without written permission. Attribution is not required, but appreciated..

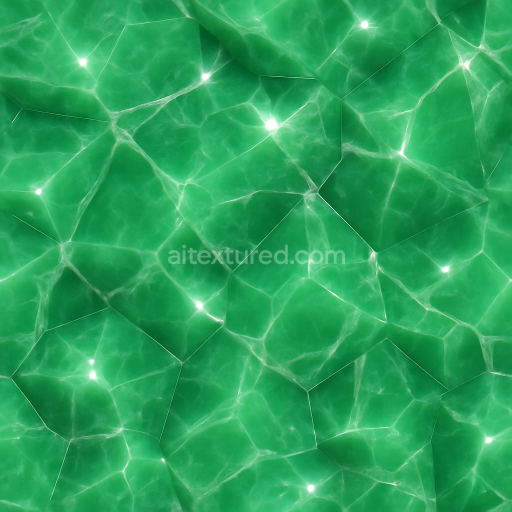
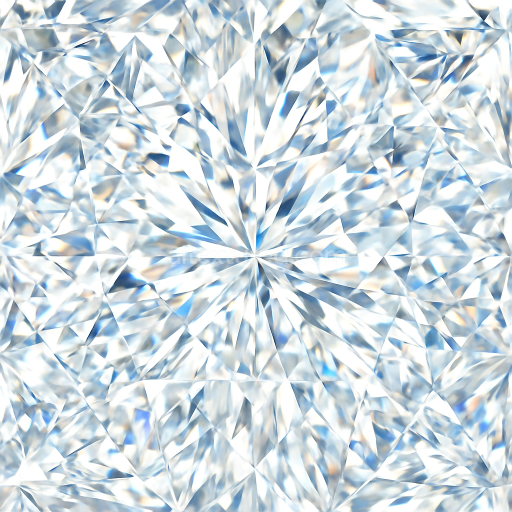
| ID | seamless-3d-texture-pbr-8k-jade-translucent-stone-with-diffuse-translucency-and-silky-luster-finish |
|---|---|
| Category | Crystals |
| Formats | PNG, WEBP, PBR ZIP |
| Size | 1k (1024x1024px), 2k (2048x2048px), 4k (4096x4096px), 8k (8192x8192px) |
| Color | sRGB |
| Tileable | Yes |
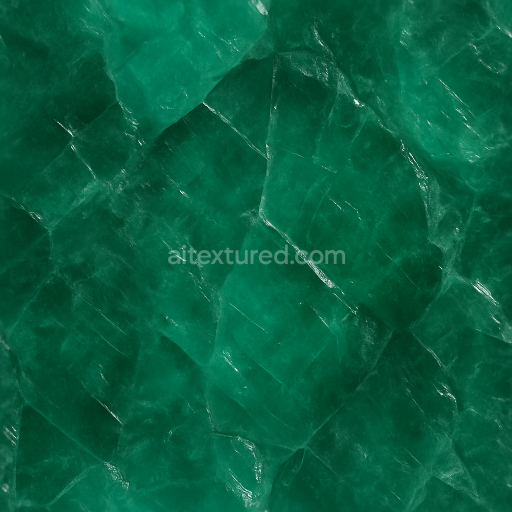
This seamless 3D texture represents an exquisite rendition of jade, a naturally occurring translucent stone prized for its delicate interplay of light and color. The base material is a fine-grained silicate mineral substrate, characterized by an interlocking crystalline structure that gives jade its signature toughness and subtle translucency. Embedded within the stone are faint color zones, ranging from soft greens to hints of white and cream, created by trace mineral impurities and subtle variations in crystal density. These zones form organic, flowing patterns that mimic natural veining and layered formations, contributing to a realistic geometric complexity without repetitive tiling artifacts.
The surface finish of this texture is meticulously crafted to simulate a silky luster, achieved through a highly polished, smooth treatment that enhances the stone’s inherent diffuse translucency. The diffuse translucency is captured using advanced subsurface scattering effects, allowing light to penetrate and softly scatter beneath the surface, which contributes to the material’s characteristic depth and glow. The natural gloss and lustrous finish translate into carefully tuned PBR channels: the BaseColor (Albedo) channel showcases the nuanced color zoning and soft gradients, while the Normal map conveys the subtle undulations and microfacet details of the polished crystalline surface. The Roughness map is calibrated to maintain a low roughness value, ensuring reflective highlights remain sharp yet diffused by the silky texture, while the Metallic channel is kept near zero, reflecting jade’s non-metallic nature.
Additional PBR maps include Ambient Occlusion, which accentuates the fine crevices between crystal grain boundaries to enhance realism, and Height/Displacement maps that subtly suggest the natural elevation changes and slight surface imperfections inherent to polished stone. The texture is rendered at an exceptional 8K resolution, providing unparalleled detail and clarity, ideal for close-up renders or large-scale applications. It is fully optimized for seamless tiling and compatible with major 3D software platforms such as Blender, Unreal Engine, and Unity, ensuring versatile usability across digital sculpting, architectural visualization, and game asset creation.
For practical application, it is recommended to adjust the UV scale to balance between visible crystalline detail and overall smoothness depending on the project scale. Fine-tuning the Roughness map can help achieve the desired level of sheen, from a subtle matte to a more pronounced silky gloss. Additionally, blending the Height map with Normal maps can enhance surface depth perception without excessive geometry displacement, maintaining performance while delivering photorealistic results.
Import the texture maps into Blender with sRGB color space for albedo/base color and Non-Color for normal, roughness, metallic, AO, height, and ORM maps. Connect normal maps through a Normal Map node, then adjust UV scale with a Mapping node so the material repeats naturally on your model.
For the full step-by-step setup, see How to Use Seamless Textures in Blender. Browse related material examples in wood, concrete, and metal.
Yes. This texture is designed as a seamless tileable PBR material, so it can repeat across large surfaces without visible borders.
You can download PNG/WEBP versions and use 1K, 2K, 4K and 8K download options when available on the page.
Yes. The download options and engine-mapped ZIP workflow are designed for Blender, Unreal Engine, Unity Standard, URP and HDRP material pipelines.
Yes. The texture is available under the AITextured free commercial license. Review the license page for redistribution and AI-training restrictions.

Build, preview, and export seamless PBR materials. Generate full map sets from a single image, inspect them in a real-time WebGL viewer, and re-package maps for Unreal, Unity, and Blender—directly in your browser.
AI text-to-texture: type a prompt and get a seamless, tileable base image ready for PBR workflows (great starting point for materials).
Create a full PBR set (Normal, Roughness, AO, Metallic, etc.) from a single image. Seamless and tiling-friendly.
Instant WebGL viewer: inspect materials on a sphere, plane, and cube. Check tiling and lighting in real time.
Re-packages maps per engine: Unreal (BaseColor + ORM), Unity (Mask/MetallicSmoothness), Blender (separate channels).
PNG ↔ JPG ↔ SVG: fast convert, SVG rasterize, embed/trace options, quality & background controls.