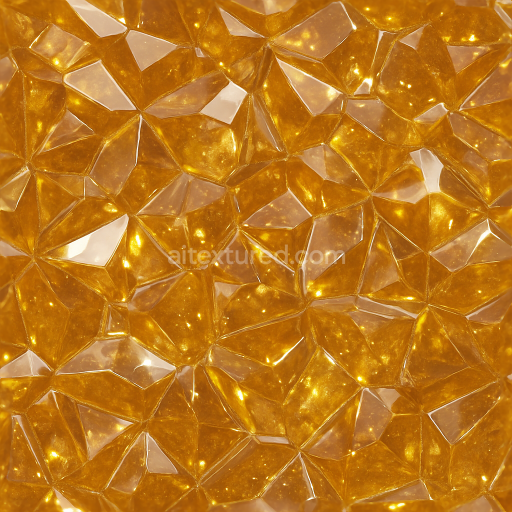
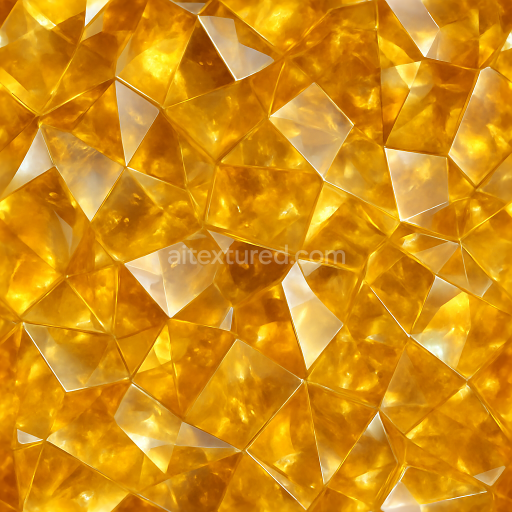
Amber Crystal Dust With Glowing Crystal Aura And Shiny Surface Reflective Finish
Seamless texture (tileable) · PNG, WEBP, PBR ZIP. License: AITextured Free Commercial License (FCL) v1.1. Free personal and commercial use. Raw resale, standalone redistribution, mirroring/scraping, competing asset packs, and AI/ML training are not allowed without written permission. Attribution is not required, but appreciated..

| ID | seamless-3d-texture-pbr-8k-agate-geode-interior-with-veining-and-iridescent-sheen-effects |
|---|---|
| Category | Crystals |
| Formats | PNG, WEBP, PBR ZIP |
| Size | 1k (1024x1024px), 2k (2048x2048px), 4k (4096x4096px), 8k (8192x8192px) |
| Color | sRGB |
| Tileable | Yes |
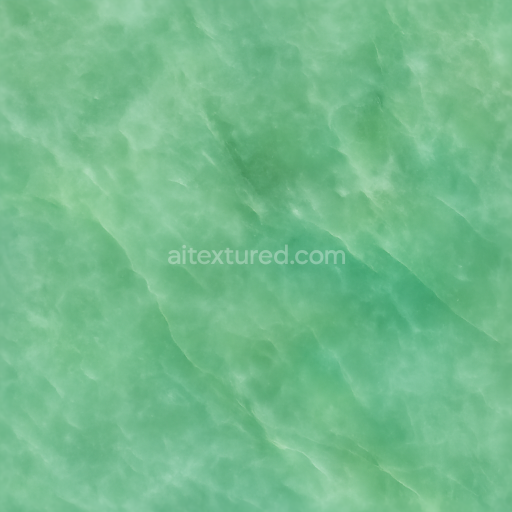
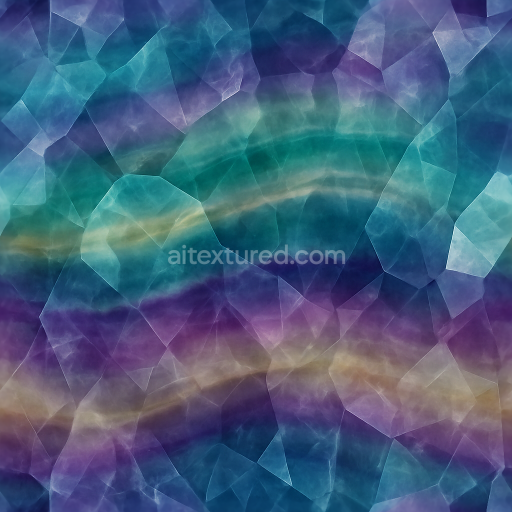
This seamless 3D texture captures the intricate interior of an agate geode, characterized by its layered, banded structure and natural veining patterns. The material is primarily composed of microcrystalline quartz, with subtle inclusions that create the distinctive color zoning and translucency seen in authentic agate formations. The geometric form exhibits concentric, laminated bands interspersed with irregular veined aggregates, reflecting the layered deposition of silica over geological time. The texture’s surface finish simulates a polished, lustrous gloss, enhancing the iridescent sheen that shifts dynamically with lighting angles, mimicking the optical effects of natural mineral surfaces.
From a material composition perspective, the texture emulates a dense, hard substrate with minimal porosity, typical of agate geodes. The binders and adhesives are represented by the tightly fused silica matrix that holds fine-grained quartz aggregates and trace mineral impurities in place. Colorants arise from natural mineral inclusions, producing zones of varying hues and subtle translucency. The veining effect is achieved through precise normal and height mapping, emphasizing depth and micro-relief in the banded structures, while the iridescent sheen is conveyed through finely tuned roughness and metallic values, giving reflective surfaces a soft metallic glow without full metalness.
Technically, this texture features an 8K resolution, ensuring exceptional detail and sharpness suitable for high-fidelity renders. It is designed for seamless tiling, enabling continuous patterns without visible repetition, ideal for large-scale applications in Blender, Unreal Engine, and Unity. The PBR workflow is fully supported, with BaseColor maps capturing the nuanced color zoning, Normal maps enhancing surface microstructure and veining, Roughness maps controlling the polished yet subtly variegated gloss, and Height/Displacement maps providing realistic depth to the banding and fissures. Ambient Occlusion maps add natural shadowing within crevices, enhancing realism in complex lighting environments.
For practical use, it is recommended to carefully adjust the UV scale to maintain natural proportions of the veining and banding patterns, avoiding distortion that could break the illusion of realistic mineral layers. Additionally, fine-tuning the roughness channel can balance the interplay between the polished agate’s reflective qualities and the softer diffuse areas, while blending height and normal maps can improve surface detail without excessive geometric complexity. This makes the texture highly versatile for gemstone visualizations, mineral deposit surfaces, and detailed architectural or environmental 3D scenes requiring authentic natural materials.
Import the texture maps into Blender with sRGB color space for albedo/base color and Non-Color for normal, roughness, metallic, AO, height, and ORM maps. Connect normal maps through a Normal Map node, then adjust UV scale with a Mapping node so the material repeats naturally on your model.
For the full step-by-step setup, see How to Use Seamless Textures in Blender. Browse related material examples in wood, concrete, and metal.
Yes. This texture is designed as a seamless tileable PBR material, so it can repeat across large surfaces without visible borders.
You can download PNG/WEBP versions and use 1K, 2K, 4K and 8K download options when available on the page.
Yes. The download options and engine-mapped ZIP workflow are designed for Blender, Unreal Engine, Unity Standard, URP and HDRP material pipelines.
Yes. The texture is available under the AITextured free commercial license. Review the license page for redistribution and AI-training restrictions.
Build, preview, and export seamless PBR materials. Generate full map sets from a single image, inspect them in a real-time WebGL viewer, and re-package maps for Unreal, Unity, and Blender—directly in your browser.
AI text-to-texture: type a prompt and get a seamless, tileable base image ready for PBR workflows (great starting point for materials).
Create a full PBR set (Normal, Roughness, AO, Metallic, etc.) from a single image. Seamless and tiling-friendly.
Instant WebGL viewer: inspect materials on a sphere, plane, and cube. Check tiling and lighting in real time.
Re-packages maps per engine: Unreal (BaseColor + ORM), Unity (Mask/MetallicSmoothness), Blender (separate channels).
PNG ↔ JPG ↔ SVG: fast convert, SVG rasterize, embed/trace options, quality & background controls.