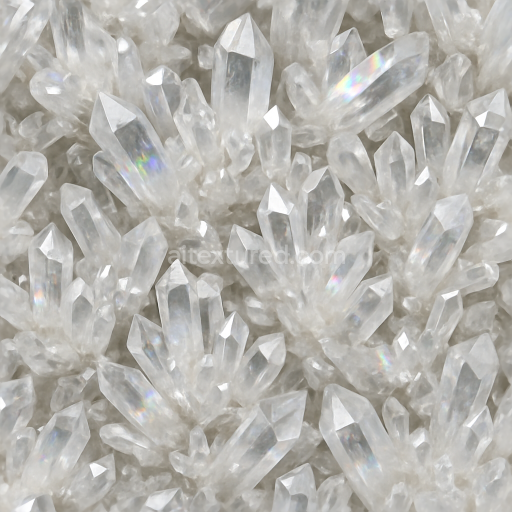
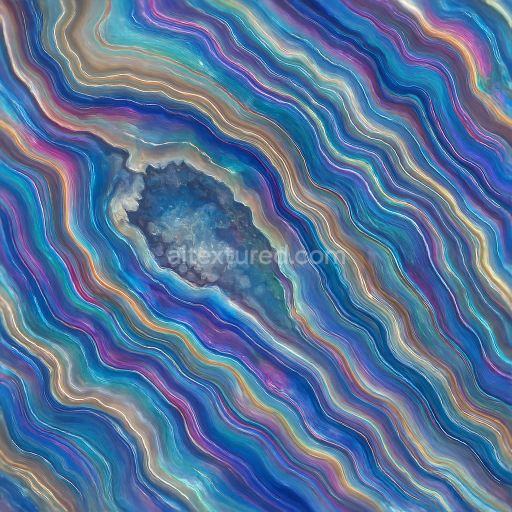
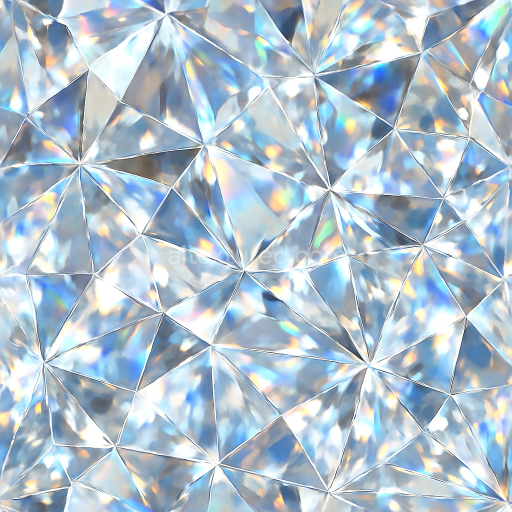
Quartz Crystal Cluster With Prismatic Refraction And Crystal Veins
Seamless texture (tileable) · PNG, WEBP, PBR ZIP. License: AITextured Free Commercial License (FCL) v1.1. Free personal and commercial use. Raw resale, standalone redistribution, mirroring/scraping, competing asset packs, and AI/ML training are not allowed without written permission. Attribution is not required, but appreciated..

| ID | seamless-3d-texture-pbr-8k-fluorite-multicolor-crystals-with-banded-crystal-zoning-and-crystal-transparency-layers |
|---|---|
| Category | Crystals |
| Formats | PNG, WEBP, PBR ZIP |
| Size | 1k (1024x1024px), 2k (2048x2048px), 4k (4096x4096px), 8k (8192x8192px) |
| Color | sRGB |
| Tileable | Yes |
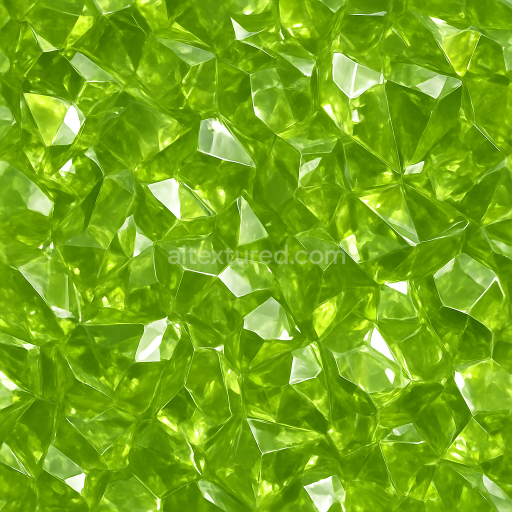
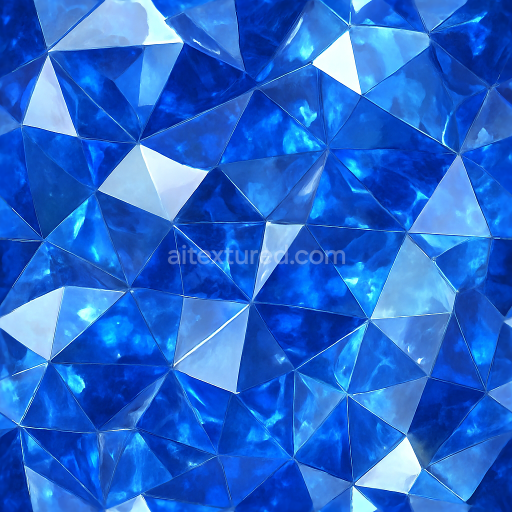
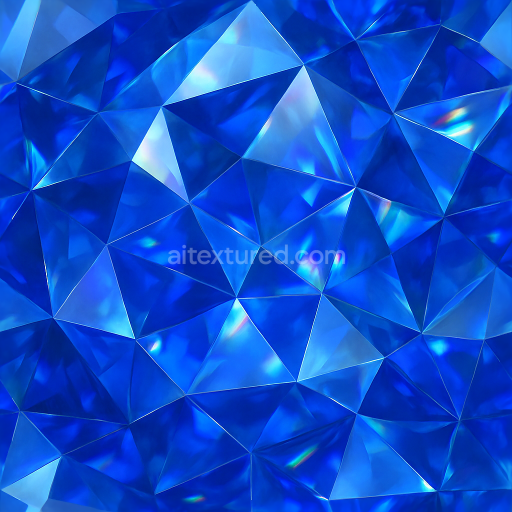
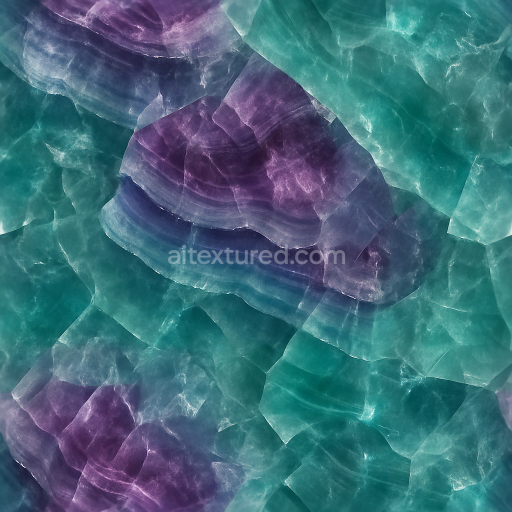
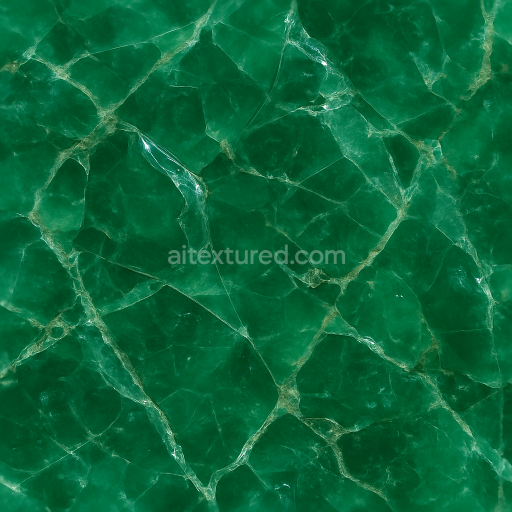
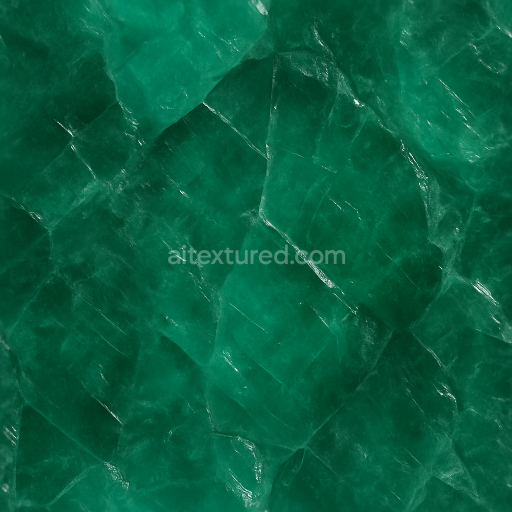
This seamless 3D PBR texture in 8K resolution features the intricate structure of fluorite multicolor crystals, capturing their characteristic banded crystal zoning and layered transparency with exceptional detail. The base material simulates natural fluorite mineral deposits, composed of a translucent calcium fluoride substrate with subtle internal fractures and mineral veins that impart complexity and depth. The geometry mimics tightly packed crystal facets with sharp edges and polygonal forms, arranged in a consistent, seamless pattern that allows for perfect tiling without visible seams. These facets are finely detailed to reproduce the natural twinning and banding typical of fluorite, emphasizing the interplay of layered crystal transparency and internal coloration gradients ranging from violet to greenish hues, enhanced by the multicolor crystal zones.
The texture’s surface finish balances a polished, glossy appearance with subtle micro-roughness to simulate light dispersion and natural sparkle effects seen in real fluorite specimens. The material’s PBR channels are thoughtfully mapped: the BaseColor (Albedo) captures the vivid multicolor zoning and gradual tonal shifts, while the Normal map defines the precise crystal facet geometry, enhancing the perception of depth and sharp edges. The Roughness map controls the reflective quality of each facet, allowing for areas of high gloss interspersed with slightly rougher zones to convey natural surface imperfections. Metallic values remain minimal to represent the non-metallic nature of fluorite, and the Ambient Occlusion map adds subtle shadowing within crevices and between crystal bands. Height/Displacement maps further accentuate the layered crystal form and banding structure, contributing to realistic parallax and depth effects under varying lighting conditions.
Designed for seamless tiling, this texture is optimized for high-fidelity 3D workflows and is compatible with leading platforms such as Blender, Unreal Engine, and Unity. The 8K resolution ensures that even close-up renders reveal the intricate details of the fluorite’s crystalline structure without pixelation or blurring. Practical application involves careful UV scaling to maintain the natural size and repetition of the crystal bands, and fine-tuning the Roughness channel can help balance the overall glossiness for different lighting environments. For enhanced realism, blending the Height/Displacement map with the Normal map during material setup can produce convincing parallax and surface relief effects that respond dynamically to changes in viewpoint and illumination.
Import the texture maps into Blender with sRGB color space for albedo/base color and Non-Color for normal, roughness, metallic, AO, height, and ORM maps. Connect normal maps through a Normal Map node, then adjust UV scale with a Mapping node so the material repeats naturally on your model.
For the full step-by-step setup, see How to Use Seamless Textures in Blender. Browse related material examples in wood, concrete, and metal.
Yes. This texture is designed as a seamless tileable PBR material, so it can repeat across large surfaces without visible borders.
You can download PNG/WEBP versions and use 1K, 2K, 4K and 8K download options when available on the page.
Yes. The download options and engine-mapped ZIP workflow are designed for Blender, Unreal Engine, Unity Standard, URP and HDRP material pipelines.
Yes. The texture is available under the AITextured free commercial license. Review the license page for redistribution and AI-training restrictions.
Build, preview, and export seamless PBR materials. Generate full map sets from a single image, inspect them in a real-time WebGL viewer, and re-package maps for Unreal, Unity, and Blender—directly in your browser.
AI text-to-texture: type a prompt and get a seamless, tileable base image ready for PBR workflows (great starting point for materials).
Create a full PBR set (Normal, Roughness, AO, Metallic, etc.) from a single image. Seamless and tiling-friendly.
Instant WebGL viewer: inspect materials on a sphere, plane, and cube. Check tiling and lighting in real time.
Re-packages maps per engine: Unreal (BaseColor + ORM), Unity (Mask/MetallicSmoothness), Blender (separate channels).
PNG ↔ JPG ↔ SVG: fast convert, SVG rasterize, embed/trace options, quality & background controls.