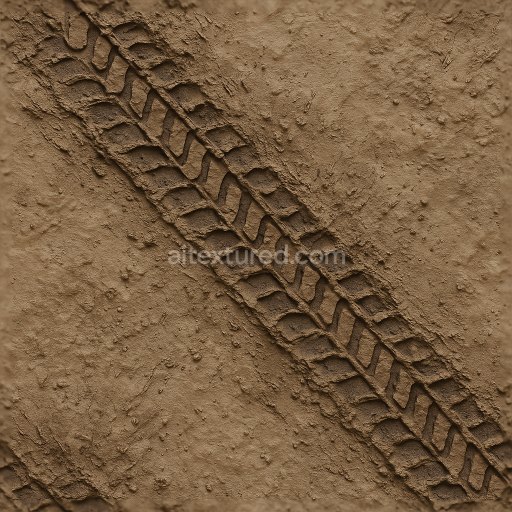
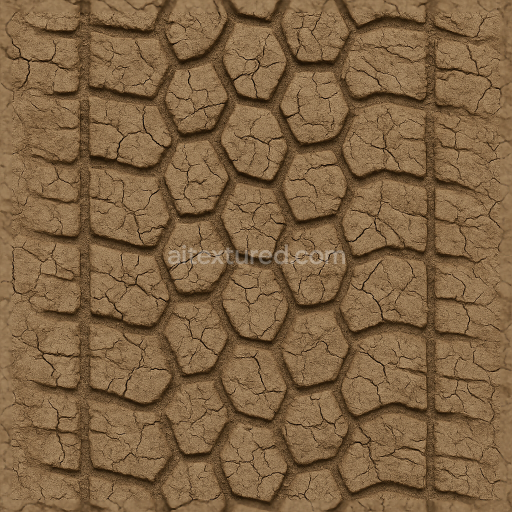
Muddy Tire Tread Offroad Mud Splash Pattern Tire Track
Seamless texture (tileable) · PNG, WEBP, PBR ZIP. License: AITextured Free Commercial License (FCL) v1.1. Free personal and commercial use. Raw resale, standalone redistribution, mirroring/scraping, competing asset packs, and AI/ML training are not allowed without written permission. Attribution is not required, but appreciated..

| ID | seamless-3d-texture-pbr-8k-slick-tire-track-on-asphalt-print-with-linear-pattern-and-compacted-soil-effects |
|---|---|
| Category | Tire prints |
| Formats | PNG, WEBP, PBR ZIP |
| Size | 1k (1024x1024px), 2k (2048x2048px), 4k (4096x4096px), 8k (8192x8192px) |
| Color | sRGB |
| Tileable | Yes |
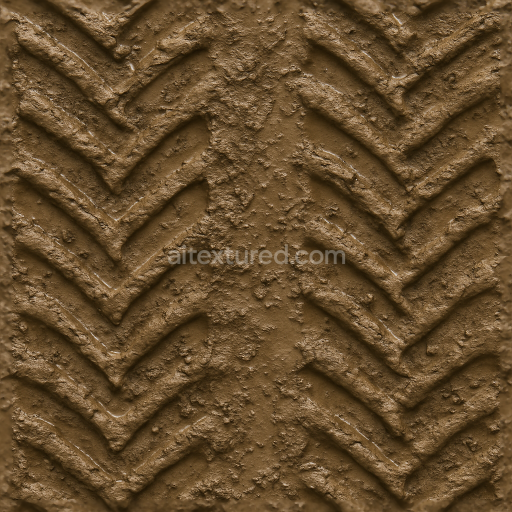
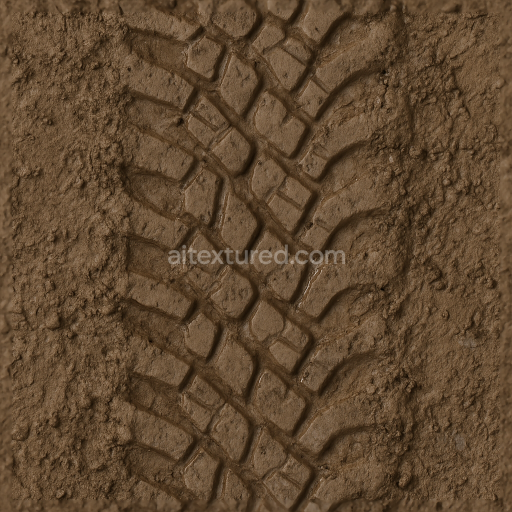
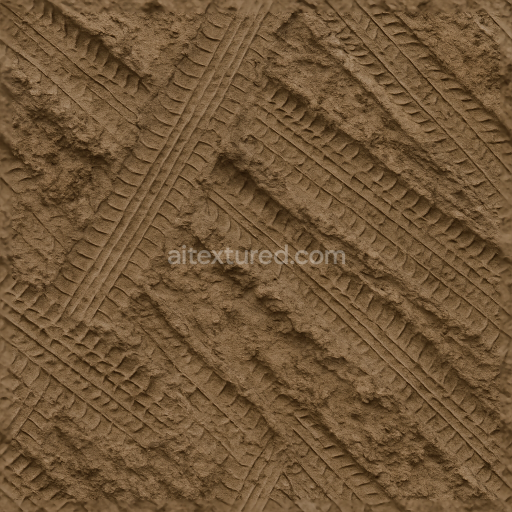
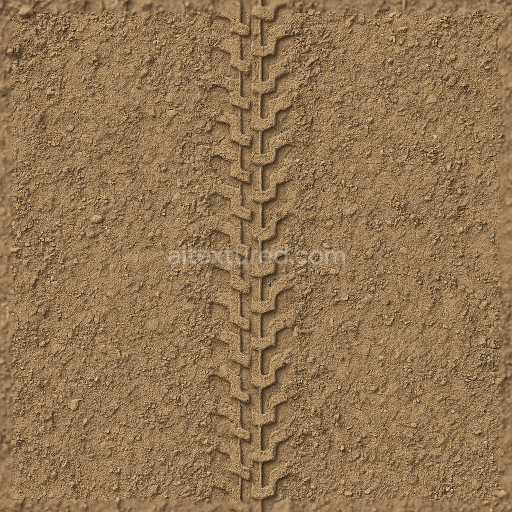
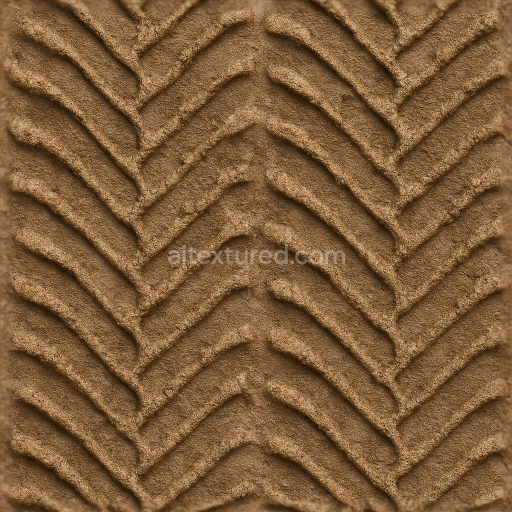
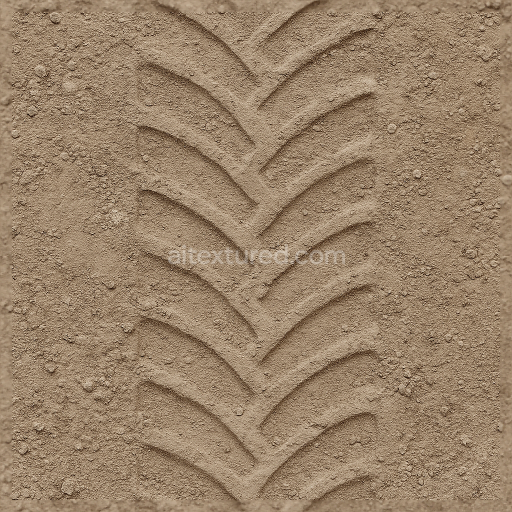
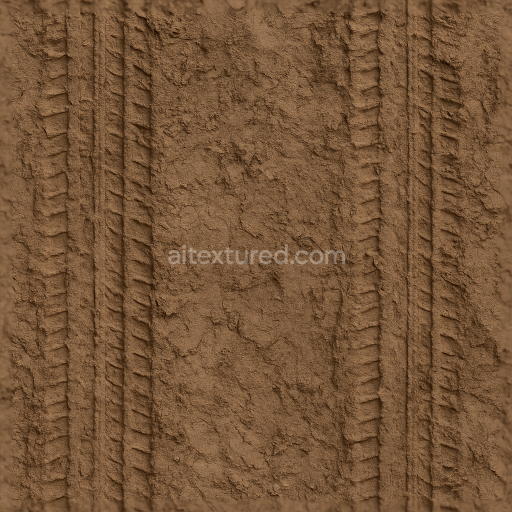
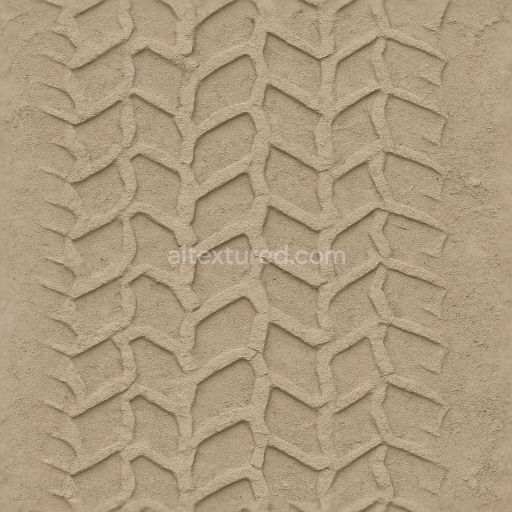
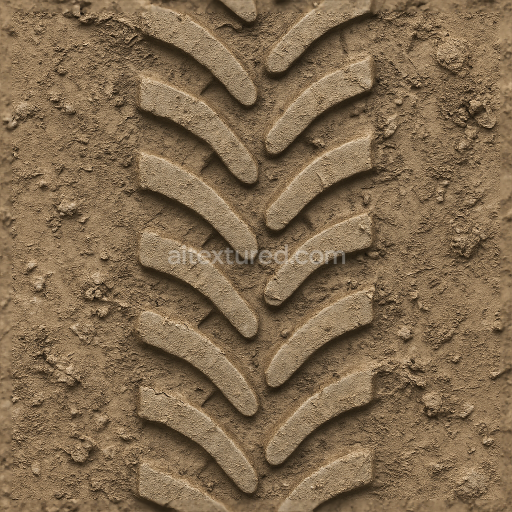
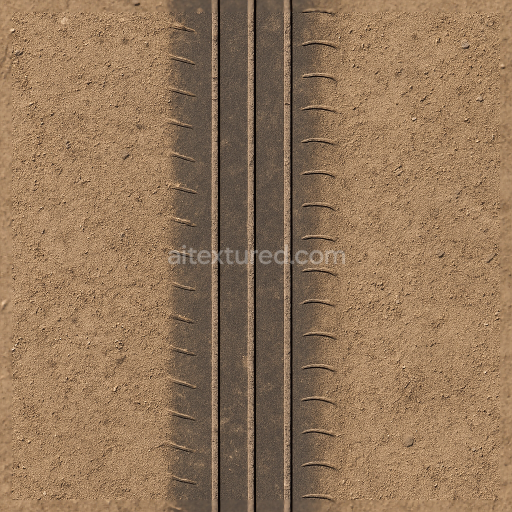
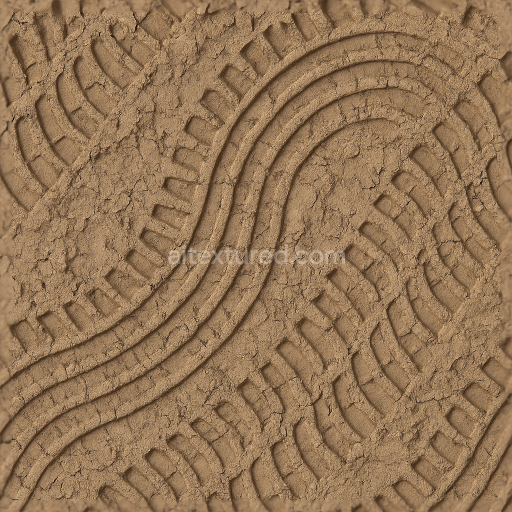
This seamless 3D texture captures the intricate details of slick tire tracks pressed into an asphalt surface enhanced by the presence of compacted soil and subtle soil imprints. The base material primarily consists of aged asphalt a composite of bituminous binders mixed with mineral aggregates such as crushed stone and sand which forms a dense yet slightly porous substrate. Over time repeated contact with slick tires compacts the soil particles embedded within the asphalt’s microstructure creating a unique linear pattern that echoes the tread design. This pattern manifests as a series of parallel elongated grooves with crisp edges and occasional soil displacement reflecting the manual imprint of tire contact under pressure.
Structurally the texture exhibits a linear tread pattern characterized by alternating raised and recessed bands simulating the geometry of slick tire rubber pressing into the ground. The asphalt’s surface finish is matte with a mildly weathered appearance showing faint abrasions and subtle micro-roughness where the binder has eroded. Pigments within the asphalt include dark charcoal tones blended with earthy browns from soil deposits creating a naturalistic color gradient that enhances depth perception. The compacted soil areas introduce a tighter grain pattern and slightly lighter hues differentiating them from the surrounding asphalt matrix. This interplay of materials and form is expertly captured across the PBR channels: the BaseColor (Albedo) conveys rich color variation; the Normal map defines fine surface undulations and tread depth; Roughness adjusts reflectivity to represent worn asphalt and matte soil; Metallic remains near zero as no metallic elements are present; Ambient Occlusion accentuates crevices within the tire track; and Height/Displacement maps provide realistic depth for geometry displacement in 3D environments.
Rendered at an 8K resolution this texture offers exceptional detail fidelity suitable for high-end applications in Blender Unreal Engine and Unity. Its seamless tileability ensures that the linear tire track pattern can be repeated indefinitely without visible seams making it ideal for urban street scenes highways or off-road surfaces in automotive visualization or simulation projects. The texture’s neutral lighting setup facilitates easy integration into various lighting environments and helps maintain consistent appearance across different rendering engines.
For practical use it is advisable to adjust the UV scale carefully to maintain the natural proportions of the tire tread relative to the scene’s ground plane. Additionally fine-tuning the roughness map can help simulate varying weather conditions from freshly pressed slick tires with lower roughness to aged tracks where the asphalt appears dry and more reflective. Combining the height map with normal blending techniques can further enhance the realism of the tire impressions by providing subtle yet convincing surface relief without excessive polygonal detail.
Import the texture maps into Blender with sRGB color space for albedo/base color and Non-Color for normal, roughness, metallic, AO, height, and ORM maps. Connect normal maps through a Normal Map node, then adjust UV scale with a Mapping node so the material repeats naturally on your model.
For the full step-by-step setup, see How to Use Seamless Textures in Blender. Browse related material examples in wood, concrete, and metal.
Yes. This texture is designed as a seamless tileable PBR material, so it can repeat across large surfaces without visible borders.
You can download PNG/WEBP versions and use 1K, 2K, 4K and 8K download options when available on the page.
Yes. The download options and engine-mapped ZIP workflow are designed for Blender, Unreal Engine, Unity Standard, URP and HDRP material pipelines.
Yes. The texture is available under the AITextured free commercial license. Review the license page for redistribution and AI-training restrictions.


Build, preview, and export seamless PBR materials. Generate full map sets from a single image, inspect them in a real-time WebGL viewer, and re-package maps for Unreal, Unity, and Blender—directly in your browser.
AI text-to-texture: type a prompt and get a seamless, tileable base image ready for PBR workflows (great starting point for materials).
Create a full PBR set (Normal, Roughness, AO, Metallic, etc.) from a single image. Seamless and tiling-friendly.
Instant WebGL viewer: inspect materials on a sphere, plane, and cube. Check tiling and lighting in real time.
Re-packages maps per engine: Unreal (BaseColor + ORM), Unity (Mask/MetallicSmoothness), Blender (separate channels).
PNG ↔ JPG ↔ SVG: fast convert, SVG rasterize, embed/trace options, quality & background controls.