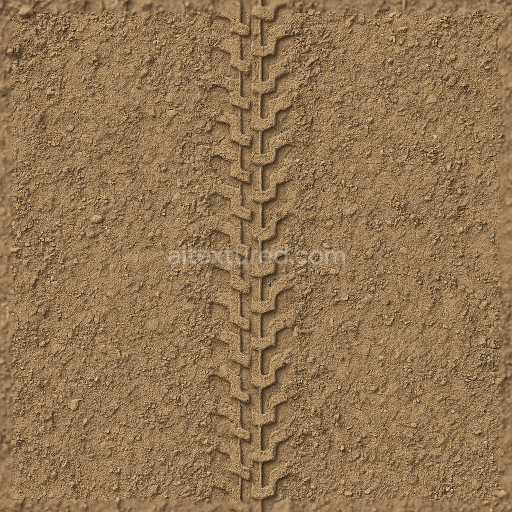
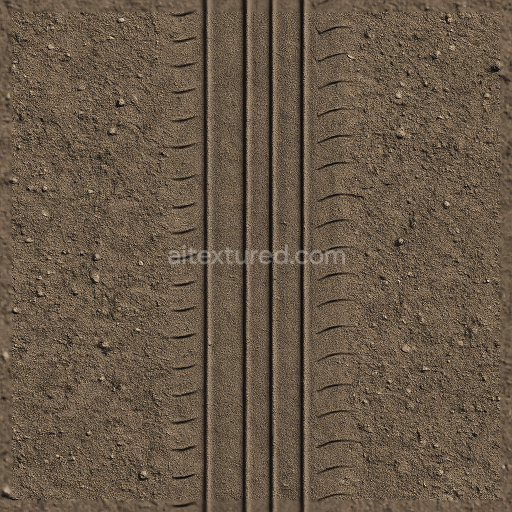
Bike Tire Print On Forest Trail With Shallow Tread And Soil Imprint Effects
Seamless texture (tileable) · PNG, WEBP, PBR ZIP. License: AITextured Free Commercial License (FCL) v1.1. Free personal and commercial use. Raw resale, standalone redistribution, mirroring/scraping, competing asset packs, and AI/ML training are not allowed without written permission. Attribution is not required, but appreciated..

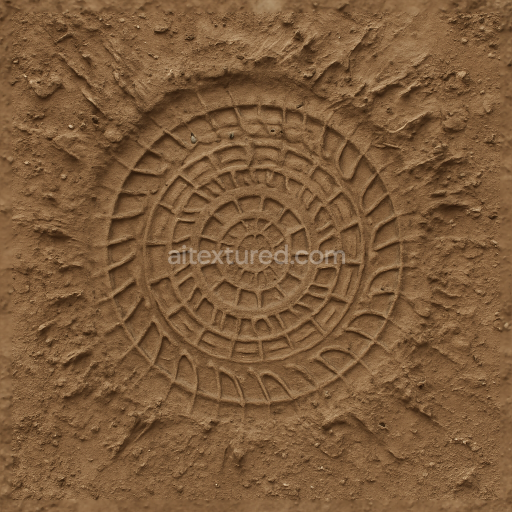
| ID | seamless-3d-texture-pbr-8k-flat-tire-print-on-dry-sand-with-shallow-tread-and-loose-gravel-soil-imprint |
|---|---|
| Category | Tire prints |
| Formats | PNG, WEBP, PBR ZIP |
| Size | 1k (1024x1024px), 2k (2048x2048px), 4k (4096x4096px), 8k (8192x8192px) |
| Color | sRGB |
| Tileable | Yes |
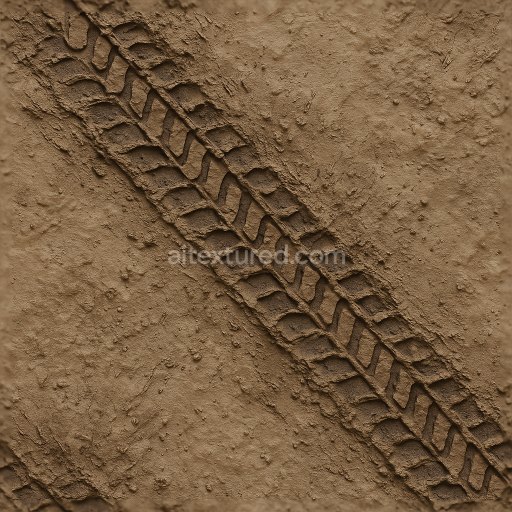
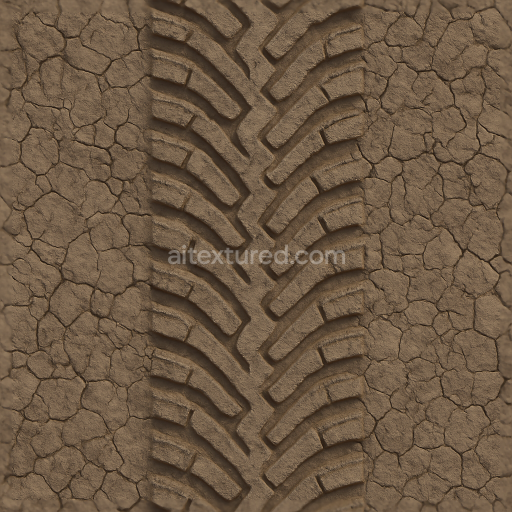
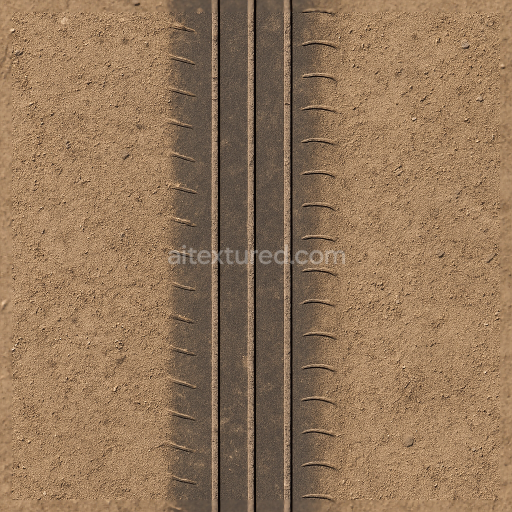
This seamless 8K PBR texture captures a flat tire print embossed on a dry sandy substrate intermixed with loose gravel and fine soil particles. The base material is predominantly a compacted dry sand surface characterized by its granular composition of quartz and feldspar grains bonded loosely with minimal moisture content. This sandy ground is interspersed with small gravel fragments providing a heterogeneous texture that reflects natural terrain variations. The imprint itself reveals a shallow tread pattern indicative of a manual or lightly loaded tire which compresses the topsoil and gravel without disturbing deeper substrate layers. The overall form is a repeating pattern of tire track depressions creating a tiled surface suitable for expansive environment coverage without visible seams.
The composition of this texture involves multiple layers that contribute to its realistic appearance when applied in 3D scenes. The dry sand acts as the primary substrate with high porosity allowing for subtle shadows within the tread impressions and loose gravel cavities. The gravel pieces serve as aggregates that break the monotony of the sand adding micro-variation in roughness and height. The soil imprint exhibits slight compaction reducing porosity locally and increasing surface roughness contrast. There are no metallic components; the surface finish is matte and naturally weathered showing minor erosion and dust accumulation that soften edges of the tire tread marks. Coloration is derived from natural earth pigments ranging from pale beige sands to muted gray-browns of the gravel and soil captured precisely in the BaseColor (Albedo) channel.
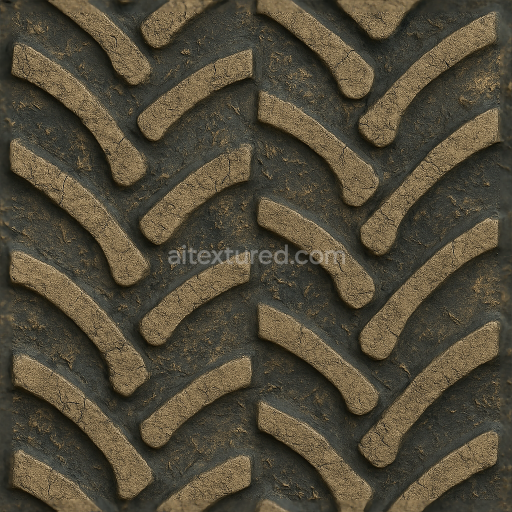
From a PBR mapping perspective the BaseColor provides detailed diffuse coloration with subtle tonal shifts between sand and gravel. The Normal map defines the shallow tread geometry and the granular surface irregularities enhancing the perception of depth and physical form. Roughness values vary across the surface with smoother compressed soil areas within the tread imprint contrasting against the coarse loose gravel patches delivering realistic reflectance behavior under varied lighting. The Metallic channel remains uniformly zero consistent with non-metallic earth materials. Ambient Occlusion highlights crevices and recessed tire impressions adding shadow depth for enhanced realism. Height and Displacement maps accurately reproduce the elevation changes from the flat sandy surface to the marginally indented tire tracks and raised gravel fragments supporting detailed parallax and displacement effects.
Optimized for use in Blender Unreal Engine and Unity this texture’s 8K resolution ensures high fidelity even in close-up views or large terrain applications. Its seamless tiling capability simplifies UV mapping workflows enabling effortless repetition across extensive ground planes without visible joins. When integrating this texture into 3D projects it is advisable to fine-tune the roughness channel to balance reflectivity based on specific lighting conditions and material blending. Additionally combining height displacement with normal map detail can significantly improve the tactile realism of the shallow tread pattern especially when using parallax occlusion mapping or tessellation features.
Import the texture maps into Blender with sRGB color space for albedo/base color and Non-Color for normal, roughness, metallic, AO, height, and ORM maps. Connect normal maps through a Normal Map node, then adjust UV scale with a Mapping node so the material repeats naturally on your model.
For the full step-by-step setup, see How to Use Seamless Textures in Blender. Browse related material examples in wood, concrete, and metal.
Yes. This texture is designed as a seamless tileable PBR material, so it can repeat across large surfaces without visible borders.
You can download PNG/WEBP versions and use 1K, 2K, 4K and 8K download options when available on the page.
Yes. The download options and engine-mapped ZIP workflow are designed for Blender, Unreal Engine, Unity Standard, URP and HDRP material pipelines.
Yes. The texture is available under the AITextured free commercial license. Review the license page for redistribution and AI-training restrictions.

Build, preview, and export seamless PBR materials. Generate full map sets from a single image, inspect them in a real-time WebGL viewer, and re-package maps for Unreal, Unity, and Blender—directly in your browser.
AI text-to-texture: type a prompt and get a seamless, tileable base image ready for PBR workflows (great starting point for materials).
Create a full PBR set (Normal, Roughness, AO, Metallic, etc.) from a single image. Seamless and tiling-friendly.
Instant WebGL viewer: inspect materials on a sphere, plane, and cube. Check tiling and lighting in real time.
Re-packages maps per engine: Unreal (BaseColor + ORM), Unity (Mask/MetallicSmoothness), Blender (separate channels).
PNG ↔ JPG ↔ SVG: fast convert, SVG rasterize, embed/trace options, quality & background controls.