
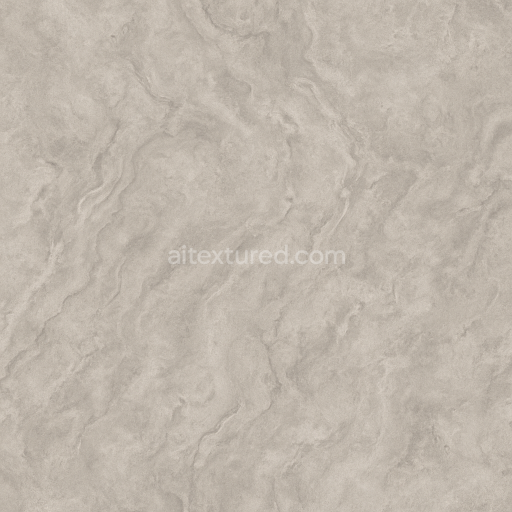
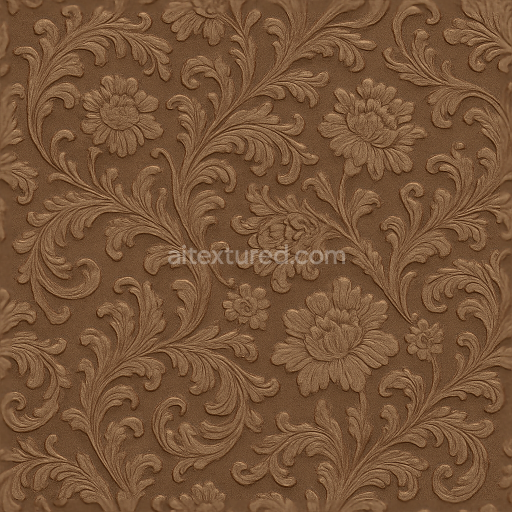
Wallpaper With Rustic Wood Grain And Roughcast Plaster Finish
Seamless texture (tileable) · PNG, WEBP, PBR ZIP. License: AITextured Free Commercial License (FCL) v1.1. Free personal and commercial use. Raw resale, standalone redistribution, mirroring/scraping, competing asset packs, and AI/ML training are not allowed without written permission. Attribution is not required, but appreciated..

| ID | seamless-3d-texture-pbr-8k-art-deco-medallion-wallpaper-with-textured-plaster-finish-and-metallic-accents |
|---|---|
| Category | Wallpaper |
| Formats | PNG, WEBP, PBR ZIP |
| Size | 1k (1024x1024px), 2k (2048x2048px), 4k (4096x4096px), 8k (8192x8192px) |
| Color | sRGB |
| Tileable | Yes |
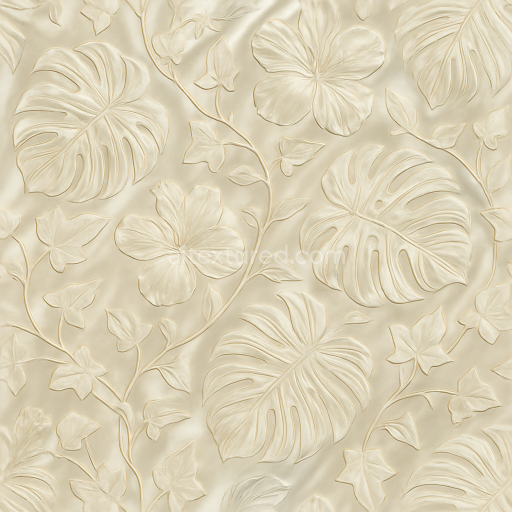
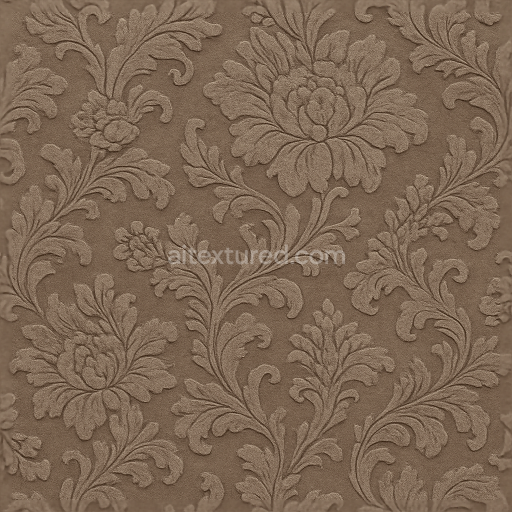
This wallpaper texture features a seamless 3D art deco medallion pattern rendered at an ultra-high 8K resolution designed to replicate an ornate plaster surface enriched with metallic accents. The base material is a finely crafted plaster substrate composed primarily of calcium carbonate and fine aggregates that provide subtle grain and natural porosity. The plaster’s microstructure is captured through detailed normal and height maps which emphasize the delicate relief of the medallion motifs and the textured background. The distinctive medallion forms exhibit a raised embossed geometry with softly rounded edges that contribute to an elegant tactile quality. This geometric repetition creates a rhythmic classic pattern that is both visually engaging and structurally coherent ideal for large-scale architectural visualizations.
The surface finish mimics a slightly rough plaster with a matte base enhanced by scattered metallic foil elements in gold and silver tones. These metallic accents are represented through the metallic and roughness PBR channels where metallic areas have low roughness to simulate subtle specular highlights and reflective qualities contrasting against the predominantly matte plaster. The base color (albedo) layer features muted off-white and cream hues for the plaster overlaid with warm lustrous metallic pigments that introduce luxury without overwhelming the design. Ambient occlusion maps deepen the crevices around the medallions enhancing the depth perception and material realism. The height/displacement channel effectively conveys the relief height differences allowing for convincing parallax or tessellation implementations in real-time engines.
This texture is engineered for compatibility with major 3D platforms such as Blender Unreal Engine and Unity providing a versatile asset for interior visualization projects or high-end virtual environments. The 8K resolution ensures intricate details remain crisp even on large surfaces making it suitable for close-up camera angles and immersive scenes. The seamless UV layout facilitates uninterrupted tiling allowing the ornate medallion pattern to extend infinitely without visible seams or distortion which is essential for expansive wall treatments or wallpaper simulations.
For practical usage it is recommended to adjust the UV scale to maintain the balance between pattern visibility and overall wall coverage preventing the medallions from appearing disproportionately large or small. When implementing the roughness map slight tuning can help achieve the desired interplay between the plaster’s matte texture and the metallic highlights ensuring neither element dominates visually. Additionally blending the height map with normal maps in shader setups can enhance the perceived depth and tactile feel without excessive geometry subdivision optimizing performance in real-time applications.
Import the texture maps into Blender with sRGB color space for albedo/base color and Non-Color for normal, roughness, metallic, AO, height, and ORM maps. Connect normal maps through a Normal Map node, then adjust UV scale with a Mapping node so the material repeats naturally on your model.
For the full step-by-step setup, see How to Use Seamless Textures in Blender. Browse related material examples in wood, concrete, and metal.
Yes. This texture is designed as a seamless tileable PBR material, so it can repeat across large surfaces without visible borders.
You can download PNG/WEBP versions and use 1K, 2K, 4K and 8K download options when available on the page.
Yes. The download options and engine-mapped ZIP workflow are designed for Blender, Unreal Engine, Unity Standard, URP and HDRP material pipelines.
Yes. The texture is available under the AITextured free commercial license. Review the license page for redistribution and AI-training restrictions.


Generate, preview, and export seamless PBR materials for Blender, Unity, and Unreal Engine—directly in your browser.
AI text-to-texture: type a prompt and get a seamless, tileable base image ready for PBR workflows (great starting point for materials).
Create a full PBR set (Normal, Roughness, AO, Metallic, etc.) from a single image. Seamless and tiling-friendly.
Instant WebGL viewer: inspect materials on a sphere, plane, and cube. Check tiling and lighting in real time.
Re-packages maps per engine: Unreal (BaseColor + ORM), Unity (Mask/MetallicSmoothness), Blender (separate channels).
PNG ↔ JPG ↔ SVG: fast convert, SVG rasterize, embed/trace options, quality & background controls.