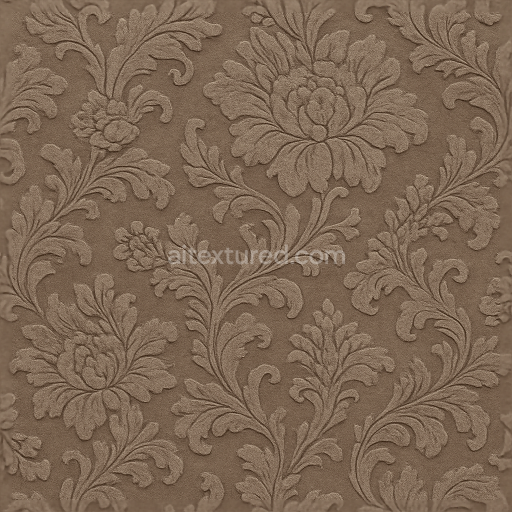
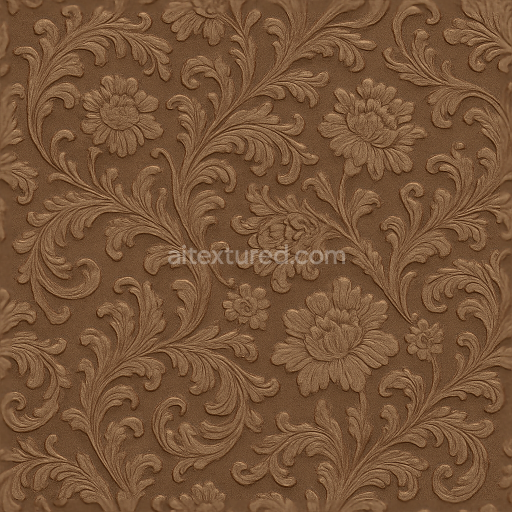
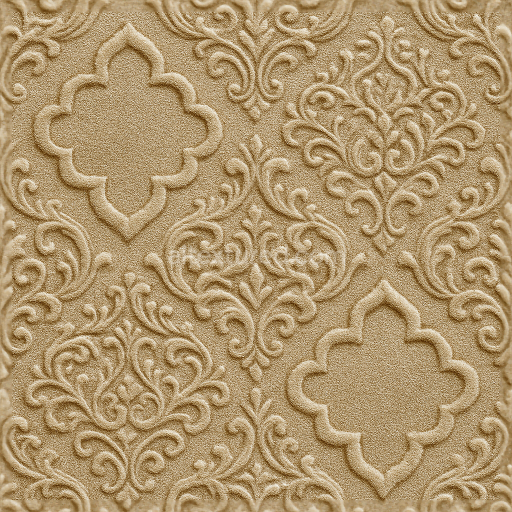
Floral Damask Wallpaper With Intricate Embossed Velvet Finish
Seamless texture (tileable) · PNG, WEBP, PBR ZIP. License: AITextured Free Commercial License (FCL) v1.1. Free personal and commercial use. Raw resale, standalone redistribution, mirroring/scraping, competing asset packs, and AI/ML training are not allowed without written permission. Attribution is not required, but appreciated..

| ID | seamless-3d-texture-pbr-8k-mediterranean-floral-wallpaper-with-textured-linen-weave-and-satin-glossy-highlights |
|---|---|
| Category | Wallpaper |
| Formats | PNG, WEBP, PBR ZIP |
| Size | 1k (1024x1024px), 2k (2048x2048px), 4k (4096x4096px), 8k (8192x8192px) |
| Color | sRGB |
| Tileable | Yes |
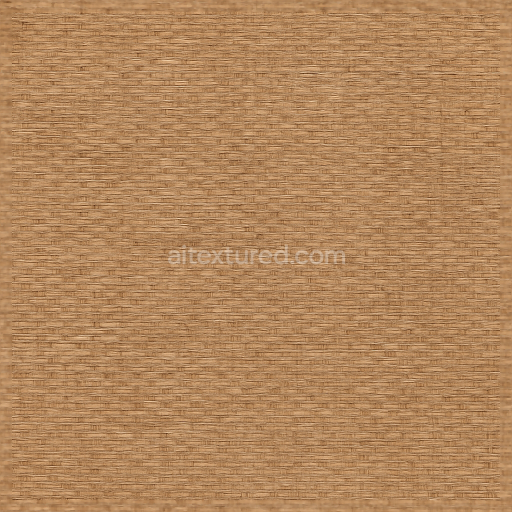
This seamless 3D texture represents a Mediterranean-inspired floral wallpaper rendered in ultra-high 8K resolution ideal for physically based rendering (PBR) workflows in Blender Unreal Engine and Unity. The material composition is carefully crafted to mimic a woven linen substrate featuring a natural textile fiber base that provides subtle surface irregularities and a tactile woven pattern. The underlying linen weave forms the geometric structure composed of interlaced yarns that create a grid-like relief with varying thread thickness and density contributing to the texture’s characteristic depth and porosity. This base is combined with a durable adhesive binder that ensures cohesion of the fibers and maintains the fabric’s structural integrity while allowing for slight surface flexibility typical of high-quality wallpapers.
The wallpaper’s surface finish integrates satin glossy highlights strategically applied over the floral motifs creating a refined contrast between the matte linen weave and the softly reflective petals and leaves. These satin highlights simulate a smooth polished coating with low roughness values in the PBR roughness channel enabling subtle specular reflections that respond realistically to dynamic lighting. The floral elements themselves are rendered with carefully calibrated base color pigments that draw from a Mediterranean palette—warm terracotta reds deep olive greens and soft alabaster whites—applied via high-precision colorants that maintain vibrancy without overpowering the linen’s natural tone. The normal and height maps capture intricate fiber intersections and the raised floral embroidery effect giving the surface a convincing three-dimensionality that enhances realism when viewed at close range or oblique angles.
In terms of PBR channel mapping the BaseColor map encodes the detailed coloration of both the linen substrate and the floral design while the Normal map emphasizes the woven texture and delicate floral embossing. The Roughness map varies smoothly between the coarse matte linen and the satin-coated floral areas controlling the micro-surface reflectivity to simulate natural light scattering on fabric and glossy paint. The Metallic channel is kept minimal or zero reflecting the non-metallic nature of the textile and coating materials. Ambient Occlusion enhances shadowing within the weave intersections and floral recesses adding depth and contrast while the Height/Displacement map offers subtle elevation differences for enhanced parallax effects or displacement mapping enhancing the tactile quality of the woven pattern and floral relief.
This 8K seamless texture is optimized for efficient use in real-time engines and offline renderers alike maintaining high fidelity even on large surfaces without visible tiling or pixelation. For practical application it is recommended to carefully adjust the UV scale to balance detail visibility with performance and to fine-tune the roughness values to suit different lighting conditions—reducing roughness enhances the satin gloss effect while increasing it emphasizes the fabric’s matte qualities. Additionally blending height and normal maps can improve the perception of depth without excessive geometry which is beneficial for performance-sensitive projects requiring realistic wallpaper materials with intricate textile and floral details.
Import the texture maps into Blender with sRGB color space for albedo/base color and Non-Color for normal, roughness, metallic, AO, height, and ORM maps. Connect normal maps through a Normal Map node, then adjust UV scale with a Mapping node so the material repeats naturally on your model.
For the full step-by-step setup, see How to Use Seamless Textures in Blender. Browse related material examples in wood, concrete, and metal.
Yes. This texture is designed as a seamless tileable PBR material, so it can repeat across large surfaces without visible borders.
You can download PNG/WEBP versions and use 1K, 2K, 4K and 8K download options when available on the page.
Yes. The download options and engine-mapped ZIP workflow are designed for Blender, Unreal Engine, Unity Standard, URP and HDRP material pipelines.
Yes. The texture is available under the AITextured free commercial license. Review the license page for redistribution and AI-training restrictions.


Generate, preview, and export seamless PBR materials for Blender, Unity, and Unreal Engine—directly in your browser.
AI text-to-texture: type a prompt and get a seamless, tileable base image ready for PBR workflows (great starting point for materials).
Create a full PBR set (Normal, Roughness, AO, Metallic, etc.) from a single image. Seamless and tiling-friendly.
Instant WebGL viewer: inspect materials on a sphere, plane, and cube. Check tiling and lighting in real time.
Re-packages maps per engine: Unreal (BaseColor + ORM), Unity (Mask/MetallicSmoothness), Blender (separate channels).
PNG ↔ JPG ↔ SVG: fast convert, SVG rasterize, embed/trace options, quality & background controls.