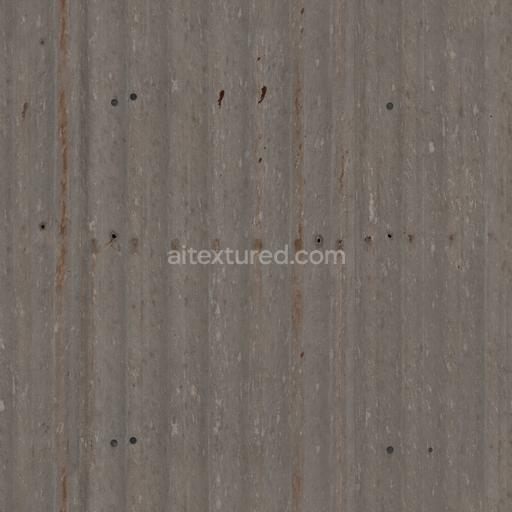
Asbestos Sheet - Sheet Asbestos Corrugated Dirty Fireresistant
Seamless texture (tileable) · PNG, WEBP, PBR ZIP. License: AITextured Free Commercial License (FCL) v1.1. Free personal and commercial use. Raw resale, standalone redistribution, mirroring/scraping, competing asset packs, and AI/ML training are not allowed without written permission. Attribution is not required, but appreciated..
| ID | seamless-3d-texture-pbr-8k-chevron-houndstooth-wallpaper-with-textured-woven-flannel-finish-in-muted-colors |
|---|---|
| Category | Wallpaper |
| Formats | PNG, WEBP, PBR ZIP |
| Size | 1k (1024x1024px), 2k (2048x2048px), 4k (4096x4096px), 8k (8192x8192px) |
| Color | sRGB |
| Tileable | Yes |
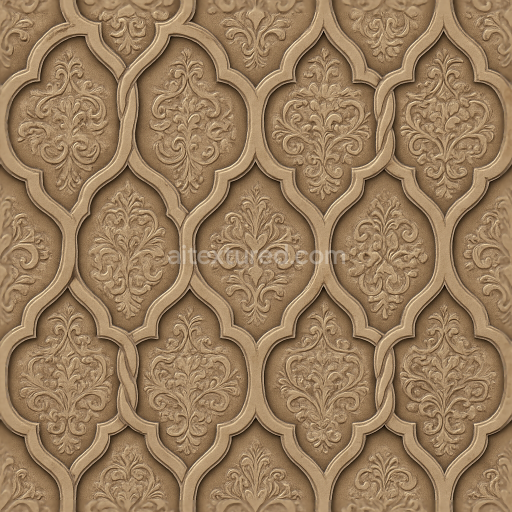
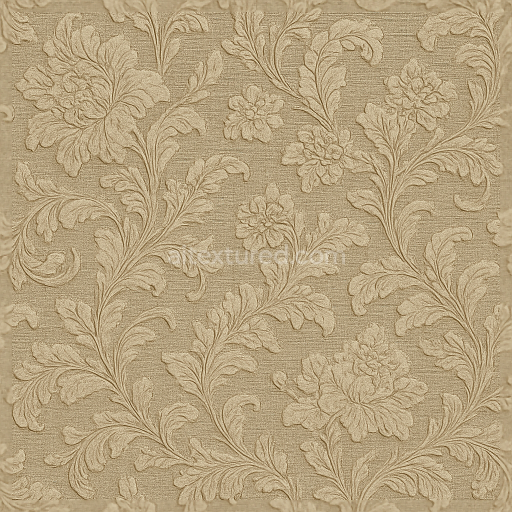
This wallpaper texture showcases a seamless 3D pattern expertly crafted in 8K resolution combining the angular precision of a chevron motif with the intricate interlocking geometry of houndstooth. The base material simulates a woven flannel fabric characterized by tightly interlaced fibers that create a tactile surface with subtle depth and softness. The substrate mimics a natural textile weave composed of fine wool or cotton fibers bound together with a flexible adhesive matrix giving the material a lightly porous structure that enhances realism. The surface finish reflects a matte slightly brushed flannel texture avoiding glossiness to emphasize the fabric’s cozy rustic character and subtle fiber irregularities.
From a PBR perspective the BaseColor (Albedo) channel reproduces muted earthy tones with gentle variations to mimic dyed textile threads resulting in a harmonious palette ideal for classic and rustic interiors. The Normal map captures the woven flannel’s raised fibers and the sharp ridges of the chevron and houndstooth patterns adding convincing micro-detail that responds dynamically to lighting. The Roughness map maintains a medium-high value across the surface simulating the soft fibrous scattering of light typical of flannel fabric while the absence of metallic properties is confirmed by a zero Metallic channel consistent with non-metallic textile materials. Ambient Occlusion enhances the perception of depth within the weave intersections and pattern crevices. Height or Displacement maps provide subtle relief to accentuate the fabric’s textured form without overwhelming the overall softness.
This high-resolution texture is optimized for seamless tiling ensuring that the complex geometric forms of chevron and houndstooth flow uninterrupted over large wall surfaces perfect for detailed close-ups or expansive scenes. Its fidelity and PBR accuracy make it fully compatible with major 3D software engines like Blender Unreal Engine and Unity supporting realistic rendering workflows that require precise lighting and material interaction. The combination of pattern geometry and fabric texture invites creative application in interior visualization game environments and architectural renders.
For practical use adjusting the UV scale to moderate sizes will preserve the balance between pattern visibility and texture detail preventing the flannel weave from appearing overly repetitive or stretched. Additionally fine-tuning roughness values can help adapt the surface to different lighting conditions—lowering roughness slightly adds subtle sheen to simulate newer fabric while increasing it enhances a worn matte effect. When using height or parallax mapping alongside normals blending their influence carefully will maintain the delicate tactile quality without introducing harsh distortions ensuring the wallpaper’s form remains true to its woven flannel inspiration.
Import the texture maps into Blender with sRGB color space for albedo/base color and Non-Color for normal, roughness, metallic, AO, height, and ORM maps. Connect normal maps through a Normal Map node, then adjust UV scale with a Mapping node so the material repeats naturally on your model.
For the full step-by-step setup, see How to Use Seamless Textures in Blender. Browse related material examples in wood, concrete, and metal.
Yes. This texture is designed as a seamless tileable PBR material, so it can repeat across large surfaces without visible borders.
You can download PNG/WEBP versions and use 1K, 2K, 4K and 8K download options when available on the page.
Yes. The download options and engine-mapped ZIP workflow are designed for Blender, Unreal Engine, Unity Standard, URP and HDRP material pipelines.
Yes. The texture is available under the AITextured free commercial license. Review the license page for redistribution and AI-training restrictions.


Generate, preview, and export seamless PBR materials for Blender, Unity, and Unreal Engine—directly in your browser.
AI text-to-texture: type a prompt and get a seamless, tileable base image ready for PBR workflows (great starting point for materials).
Create a full PBR set (Normal, Roughness, AO, Metallic, etc.) from a single image. Seamless and tiling-friendly.
Instant WebGL viewer: inspect materials on a sphere, plane, and cube. Check tiling and lighting in real time.
Re-packages maps per engine: Unreal (BaseColor + ORM), Unity (Mask/MetallicSmoothness), Blender (separate channels).
PNG ↔ JPG ↔ SVG: fast convert, SVG rasterize, embed/trace options, quality & background controls.