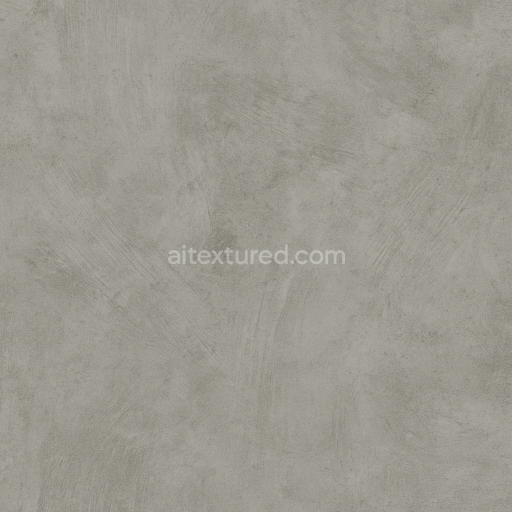
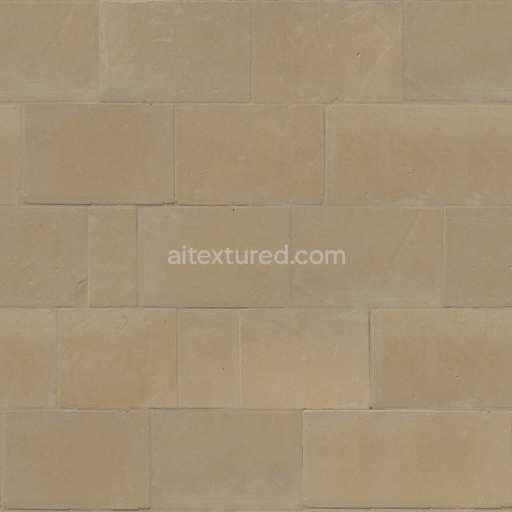
Minimalist Modern Wallpaper With Matte Concrete Finish And Subtle Brush Strokes
Seamless texture (tileable) · PNG, WEBP, PBR ZIP. License: AITextured Free Commercial License (FCL) v1.1. Free personal and commercial use. Raw resale, standalone redistribution, mirroring/scraping, competing asset packs, and AI/ML training are not allowed without written permission. Attribution is not required, but appreciated..

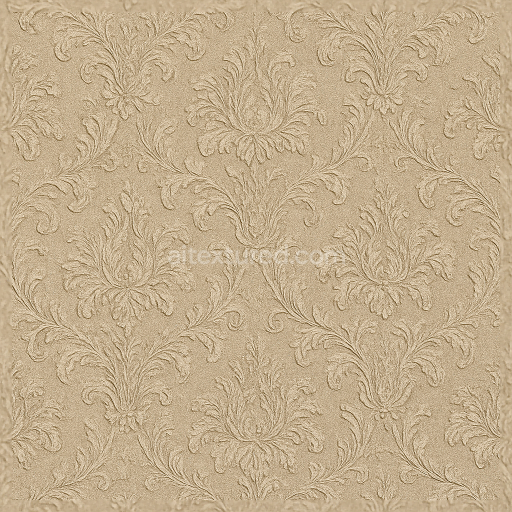
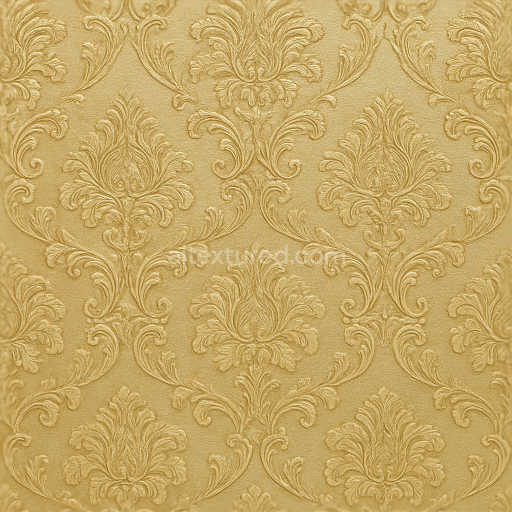
| ID | seamless-3d-texture-pbr-8k-distressed-plaster-wallpaper-with-abstract-pattern |
|---|---|
| Category | Wallpaper |
| Formats | PNG, WEBP, PBR ZIP |
| Size | 1k (1024x1024px), 2k (2048x2048px), 4k (4096x4096px), 8k (8192x8192px) |
| Color | sRGB |
| Tileable | Yes |
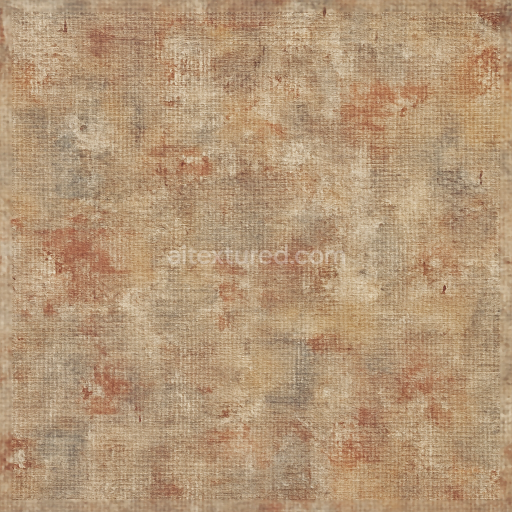
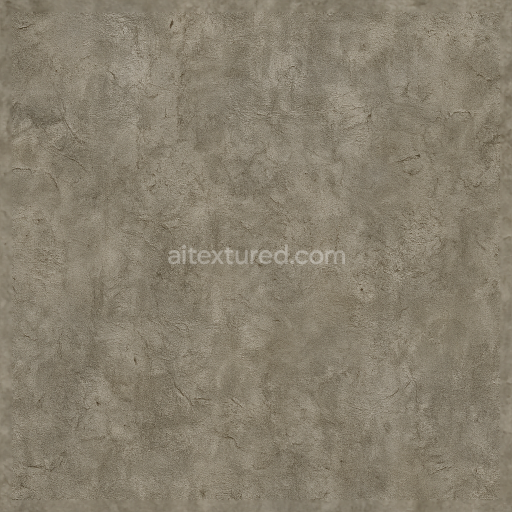
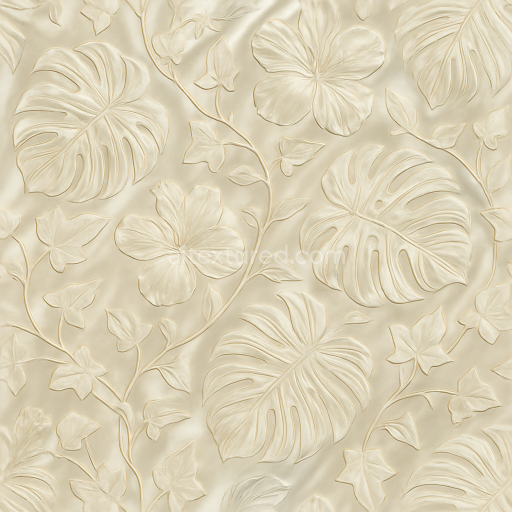
This seamless 3D texture represents a distressed plaster wallpaper characterized by an abstract irregular pattern that evokes the tactile complexity of aged weathered wall surfaces. The primary material base is a traditional lime or gypsum plaster substrate known for its slightly porous fibrous composition which provides a natural unevenness and subtle depth. Embedded within this plaster are fine aggregates and mineral fillers that contribute to the granular texture and slight variations in density. The distressed effect emerges through simulated cracks peeling layers and sporadic erosion mimicking real-world wear caused by moisture time and environmental exposure. The abstract pattern is formed by layered applications of plaster with varying thicknesses and tonal shifts creating a dynamic interplay of raised and recessed areas that enhance the texture’s three-dimensional feel.
From a material composition standpoint the plaster is bonded with natural adhesives and possibly organic binders which lend a matt slightly rough surface finish that interacts realistically with light. The color palette is muted and earthy dominated by off-whites soft greys and subtle beige undertones reflecting the faded pigments typically found in aged plaster walls. These pigments appear unevenly distributed due to weathering and material degradation adding visual interest and authenticity. The texture’s porosity is evident in the fine pits and micro-cracks that scatter light diffusely emphasizing the roughness and contributing to a pronounced tactile quality. The abstract motifs overlay this base with irregular shapes and subtle relief enhancing the artistic character without overpowering the natural material feel.
Technically this texture is crafted with photorealistic Physically Based Rendering (PBR) workflows at an 8K resolution ensuring exceptional detail and clarity suitable for close-up inspection in 3D environments. The BaseColor (Albedo) map captures the nuanced color variations and pigment distribution while the Normal map defines the micro-geometry of cracks peeling edges and surface undulations delivering realistic light interaction and shading. The Roughness map controls the surface reflectivity balancing the matte plaster with occasional glossier patches where paint remnants or smoother plaster areas exist. The Metallic map remains neutral as plaster is inherently non-metallic. Ambient Occlusion enhances shadowing within crevices and beneath raised abstract shapes increasing depth perception. Height or Displacement maps provide additional geometry detail emphasizing the relief and worn edges characteristic of distressed plaster.
This texture is fully optimized for seamless tiling allowing it to cover extensive surfaces without visible repetition or seams making it ideal for architectural visualization game environments or virtual production. It is compatible with popular engines and software such as Blender Unreal Engine and Unity supporting high-fidelity rendering pipelines. For practical application it is recommended to adjust the UV scale carefully to maintain the balance between detail and pattern repetition especially on large wall surfaces. Additionally fine-tuning the Roughness channel can help achieve the desired balance between matte plaster areas and subtle gloss from residual paint or polished sections. Combining the Height and Normal maps through parallax or displacement techniques can further enhance the perception of depth bringing the abstract distressed plaster wallpaper to life in any 3D scene.
Import the texture maps into Blender with sRGB color space for albedo/base color and Non-Color for normal, roughness, metallic, AO, height, and ORM maps. Connect normal maps through a Normal Map node, then adjust UV scale with a Mapping node so the material repeats naturally on your model.
For the full step-by-step setup, see How to Use Seamless Textures in Blender. Browse related material examples in wood, concrete, and metal.
Yes. This texture is designed as a seamless tileable PBR material, so it can repeat across large surfaces without visible borders.
You can download PNG/WEBP versions and use 1K, 2K, 4K and 8K download options when available on the page.
Yes. The download options and engine-mapped ZIP workflow are designed for Blender, Unreal Engine, Unity Standard, URP and HDRP material pipelines.
Yes. The texture is available under the AITextured free commercial license. Review the license page for redistribution and AI-training restrictions.


Generate, preview, and export seamless PBR materials for Blender, Unity, and Unreal Engine—directly in your browser.
AI text-to-texture: type a prompt and get a seamless, tileable base image ready for PBR workflows (great starting point for materials).
Create a full PBR set (Normal, Roughness, AO, Metallic, etc.) from a single image. Seamless and tiling-friendly.
Instant WebGL viewer: inspect materials on a sphere, plane, and cube. Check tiling and lighting in real time.
Re-packages maps per engine: Unreal (BaseColor + ORM), Unity (Mask/MetallicSmoothness), Blender (separate channels).
PNG ↔ JPG ↔ SVG: fast convert, SVG rasterize, embed/trace options, quality & background controls.