
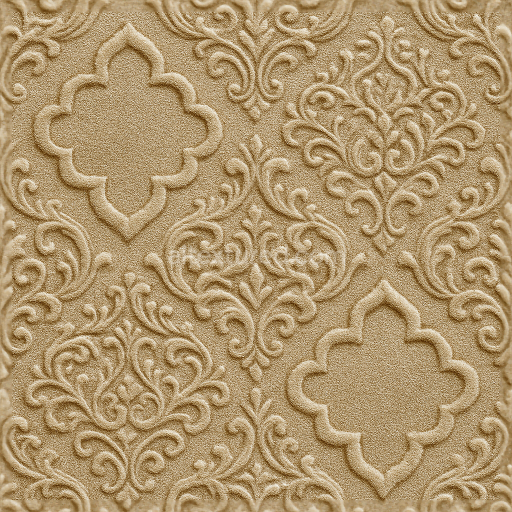
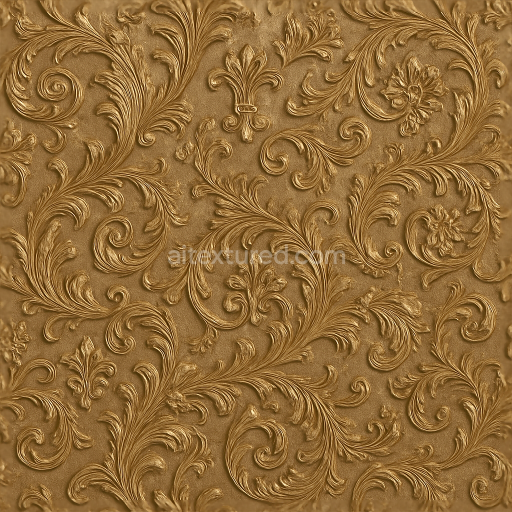
Ornate Brocade Wallpaper With Velvet Finish
Seamless texture (tileable) · PNG, WEBP, PBR ZIP. License: AITextured Free Commercial License (FCL) v1.1. Free personal and commercial use. Raw resale, standalone redistribution, mirroring/scraping, competing asset packs, and AI/ML training are not allowed without written permission. Attribution is not required, but appreciated..

| ID | seamless-3d-texture-pbr-8k-wallpaper-with-scandinavian-woven-grasscloth-and-linen-weave |
|---|---|
| Category | Wallpaper |
| Formats | PNG, WEBP, PBR ZIP |
| Size | 1k (1024x1024px), 2k (2048x2048px), 4k (4096x4096px), 8k (8192x8192px) |
| Color | sRGB |
| Tileable | Yes |
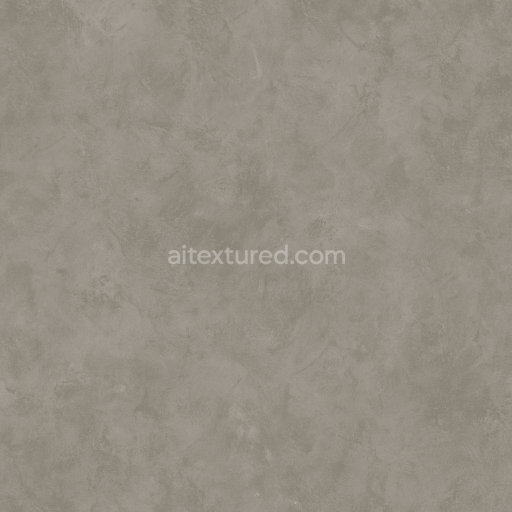
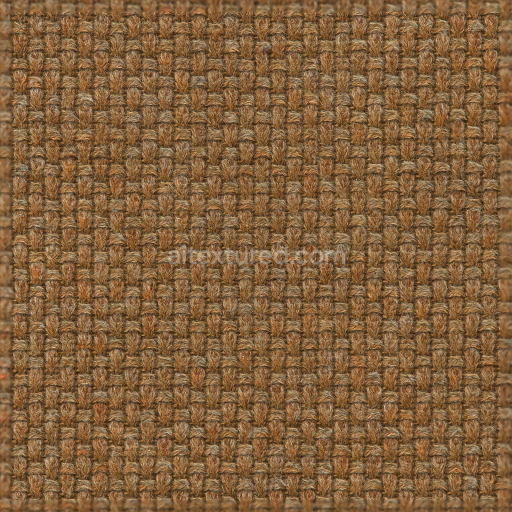
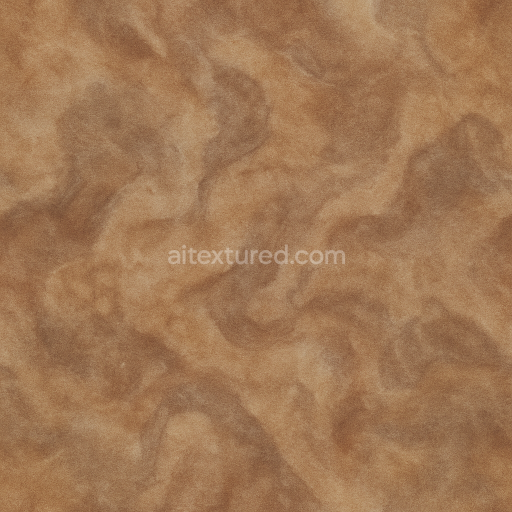
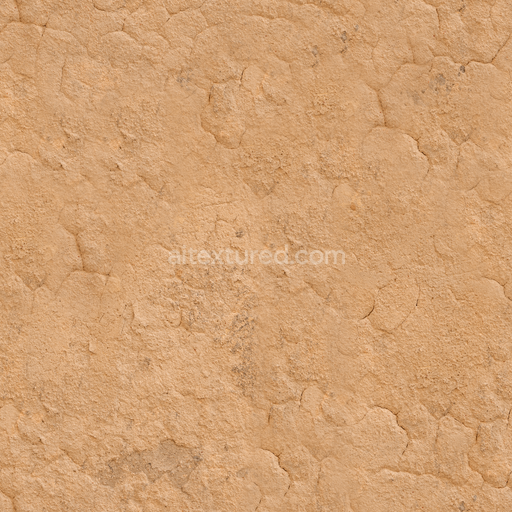
This seamless 3D texture wallpaper features a sophisticated Scandinavian-inspired design that harmoniously blends woven grasscloth and linen weave materials. The base substrate mimics natural grass fibers intricately interlaced with fine linen threads creating a tactile surface characterized by subtle ridges and valleys. The interplay of these two organic fibers results in a geometric pattern reminiscent of a traditional woven textile with a consistent yet irregular weave that adds visual depth and authenticity. The texture’s surface finish is matte with a softly brushed appearance highlighting the inherent porosity and fibrous structure of the materials while maintaining a natural uncoated look.
The composition reflects a layered construction where natural plant-based fibers form the primary aggregate bound by a subtle invisible adhesive matrix that allows the grain and texture of the fibers to remain prominent. This adhesive acts as a low-gloss binder preventing excessive sheen and preserving the wallpaper’s earthy aesthetic. Pigments are muted and neutral dominated by warm beige and soft off-white tones echoing the gentle hues of untreated linen and dried grasscloth. The porous nature of the fiber surface contributes to slight variations in light absorption and scattering enhancing the realistic depth and shadow play across the wallpaper’s face.
In the PBR workflow the BaseColor (Albedo) channel accurately reproduces the nuanced coloration of intertwined grass and linen fibers without artificial gloss. The Normal map captures the intricate weave geometry emphasizing raised threads and subtle fabric undulations to simulate the tactile irregularities of handwoven material. Roughness is set relatively high to emulate the matte fibrous surface preventing unwanted reflections and reinforcing the naturalistic appearance. The Metallic channel remains near zero consistent with non-metallic organic materials. Ambient Occlusion enhances crevices between individual fibers adding shadow depth while the Height/Displacement map is finely tuned to accentuate the three-dimensional relief of the weave without creating harsh edges.
Rendered at an exceptional 8K resolution this texture ensures crisp detail retention even on large-scale surfaces making it ideal for close-up visualizations in Blender Unreal Engine and Unity. Its seamless tileability allows for versatile application across walls of varying sizes without visible repetition. For optimal results it is recommended to calibrate UV scaling carefully to preserve the natural scale of the woven pattern; avoid excessive tiling that might distort fiber proportions. Adjusting roughness can also help tailor the material’s tactile feel to different lighting environments while blending the height and normal maps subtly can enhance the perception of depth without compromising performance in real-time engines.
Import the texture maps into Blender with sRGB color space for albedo/base color and Non-Color for normal, roughness, metallic, AO, height, and ORM maps. Connect normal maps through a Normal Map node, then adjust UV scale with a Mapping node so the material repeats naturally on your model.
For the full step-by-step setup, see How to Use Seamless Textures in Blender. Browse related material examples in wood, concrete, and metal.
Yes. This texture is designed as a seamless tileable PBR material, so it can repeat across large surfaces without visible borders.
You can download PNG/WEBP versions and use 1K, 2K, 4K and 8K download options when available on the page.
Yes. The download options and engine-mapped ZIP workflow are designed for Blender, Unreal Engine, Unity Standard, URP and HDRP material pipelines.
Yes. The texture is available under the AITextured free commercial license. Review the license page for redistribution and AI-training restrictions.


Generate, preview, and export seamless PBR materials for Blender, Unity, and Unreal Engine—directly in your browser.
AI text-to-texture: type a prompt and get a seamless, tileable base image ready for PBR workflows (great starting point for materials).
Create a full PBR set (Normal, Roughness, AO, Metallic, etc.) from a single image. Seamless and tiling-friendly.
Instant WebGL viewer: inspect materials on a sphere, plane, and cube. Check tiling and lighting in real time.
Re-packages maps per engine: Unreal (BaseColor + ORM), Unity (Mask/MetallicSmoothness), Blender (separate channels).
PNG ↔ JPG ↔ SVG: fast convert, SVG rasterize, embed/trace options, quality & background controls.