
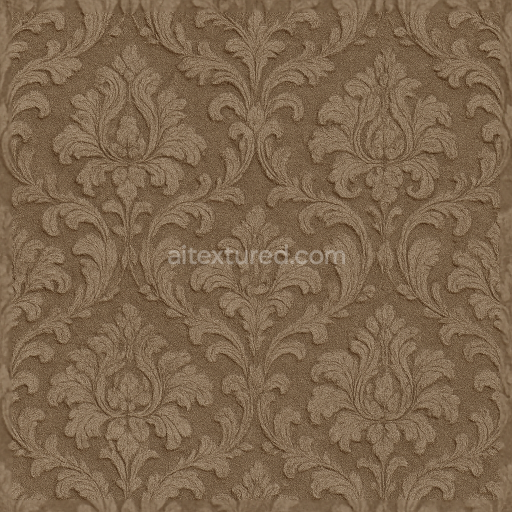
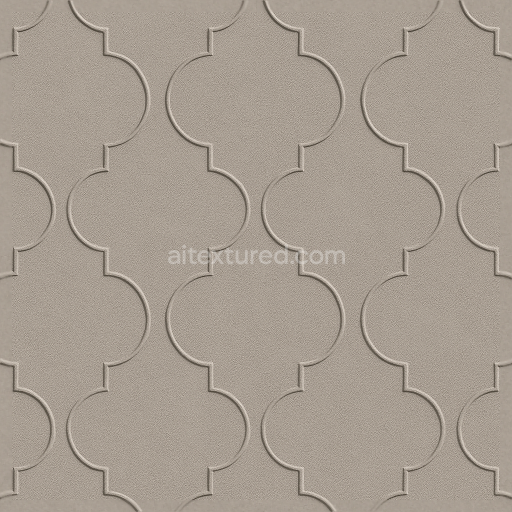
Wallpaper With Luxurious Damask Floral Embossed Velvet
Seamless texture (tileable) · PNG, WEBP, PBR ZIP. License: AITextured Free Commercial License (FCL) v1.1. Free personal and commercial use. Raw resale, standalone redistribution, mirroring/scraping, competing asset packs, and AI/ML training are not allowed without written permission. Attribution is not required, but appreciated..

| ID | seamless-3d-texture-pbr-8k-wallpaper-with-retro-ombre-gradient-and-speckled-brush-stroke-finish |
|---|---|
| Category | Wallpaper |
| Formats | PNG, WEBP, PBR ZIP |
| Size | 1k (1024x1024px), 2k (2048x2048px), 4k (4096x4096px), 8k (8192x8192px) |
| Color | sRGB |
| Tileable | Yes |
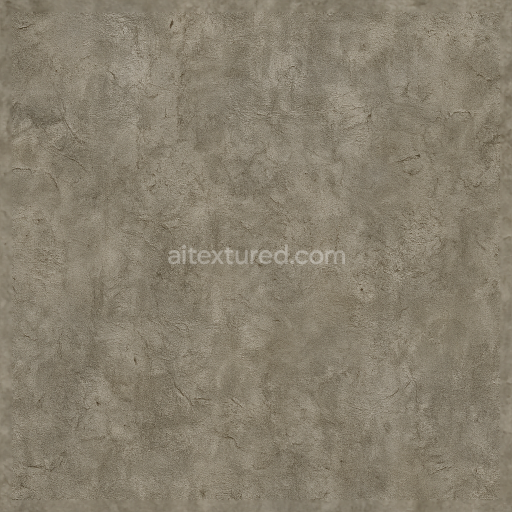
This wallpaper texture features a seamless 3D pattern inspired by retro ombre gradients enhanced with a speckled brush stroke finish that evokes a handcrafted aesthetic. The base material resembles a finely woven vinyl substrate chosen for its durability and smooth yet slightly textured surface ideal for wall coverings. Embedded within this substrate are subtle fiber inclusions that add a tactile depth while a matte binder ensures moderate porosity allowing the brush stroke details to appear soft but defined. The overall form mimics a continuous gradient band flowing horizontally with layered brush strokes creating a rhythmic painterly effect that appears both organic and digitally precise.
From a materials perspective the composition includes a vinyl-polymer base mixed with pigment suspensions that produce the distinctive ombre gradient transitioning smoothly between muted retro hues. The speckled brush strokes are digitally simulated aggregates of fine grain particles scattered irregularly to break uniformity and introduce naturalistic surface variation. The surface finish is semi-matte with subtle roughness replicating the uneven texture of hand-applied paint while avoiding excessive glossiness to maintain visual softness. This finish is achieved through a combination of roughness and normal map channels which provide micro-surface irregularities and depth to the brush strokes enhancing the sense of materiality under varied lighting.
In terms of PBR channels the BaseColor (Albedo) map carries the complex gradient and speckling coloration accurately representing the diffuse reflection of the vinyl and pigments. The Normal map encodes the fine relief of brush strokes and fiber texture giving the wallpaper a convincing 3D tactile quality. The Roughness map balances the semi-matte finish with slight variations to mimic painted surfaces while the Metallic map remains near zero reflecting the non-metallic nature of the material. Ambient Occlusion highlights subtle crevices and overlaps in the brush strokes adding depth perception and the Height/Displacement map emphasizes the layered brush pattern suitable for parallax or displacement effects to enhance realism in 3D environments.
Rendered at an 8K resolution this texture is optimized for high-fidelity applications in Blender Unreal Engine and Unity ensuring crisp detail and seamless tiling across large wall surfaces. For best results it is advisable to adjust the UV scale to maintain the natural size of brush stroke details relative to the scene avoiding overly repetitive patterns. Additionally fine-tuning the roughness channel can help adapt the wallpaper’s appearance to different lighting setups from softer indoor ambient light to more directional accent lighting. When using displacement or parallax effects blending with the normal map subtly preserves the fine brush stroke texture without creating overly sharp geometry.
Import the texture maps into Blender with sRGB color space for albedo/base color and Non-Color for normal, roughness, metallic, AO, height, and ORM maps. Connect normal maps through a Normal Map node, then adjust UV scale with a Mapping node so the material repeats naturally on your model.
For the full step-by-step setup, see How to Use Seamless Textures in Blender. Browse related material examples in wood, concrete, and metal.
Yes. This texture is designed as a seamless tileable PBR material, so it can repeat across large surfaces without visible borders.
You can download PNG/WEBP versions and use 1K, 2K, 4K and 8K download options when available on the page.
Yes. The download options and engine-mapped ZIP workflow are designed for Blender, Unreal Engine, Unity Standard, URP and HDRP material pipelines.
Yes. The texture is available under the AITextured free commercial license. Review the license page for redistribution and AI-training restrictions.


Generate, preview, and export seamless PBR materials for Blender, Unity, and Unreal Engine—directly in your browser.
AI text-to-texture: type a prompt and get a seamless, tileable base image ready for PBR workflows (great starting point for materials).
Create a full PBR set (Normal, Roughness, AO, Metallic, etc.) from a single image. Seamless and tiling-friendly.
Instant WebGL viewer: inspect materials on a sphere, plane, and cube. Check tiling and lighting in real time.
Re-packages maps per engine: Unreal (BaseColor + ORM), Unity (Mask/MetallicSmoothness), Blender (separate channels).
PNG ↔ JPG ↔ SVG: fast convert, SVG rasterize, embed/trace options, quality & background controls.