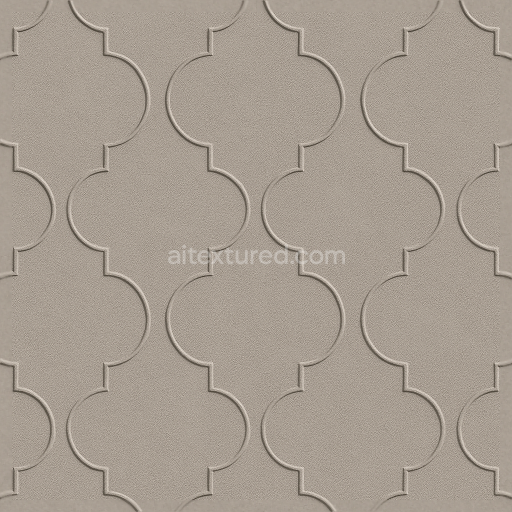
Minimalist Quatrefoil Wallpaper With Matte Finish
Seamless texture (tileable) · PNG, WEBP, PBR ZIP. License: AITextured Free Commercial License (FCL) v1.1. Free personal and commercial use. Raw resale, standalone redistribution, mirroring/scraping, competing asset packs, and AI/ML training are not allowed without written permission. Attribution is not required, but appreciated..

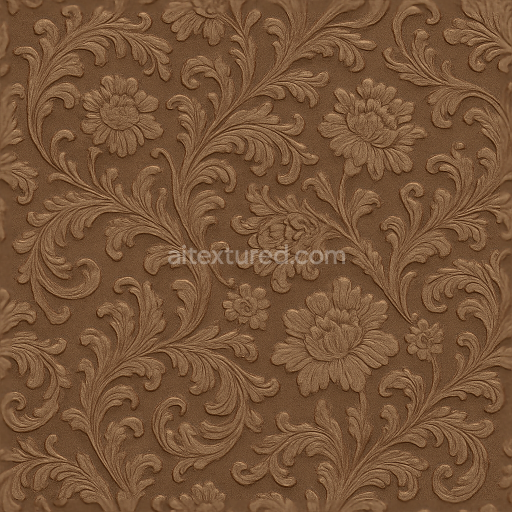
| ID | seamless-3d-texture-pbr-8k-vintage-paisley-classic-wallpaper-with-satin-glossy-ornate-finish |
|---|---|
| Category | Wallpaper |
| Formats | PNG, WEBP, PBR ZIP |
| Size | 1k (1024x1024px), 2k (2048x2048px), 4k (4096x4096px), 8k (8192x8192px) |
| Color | sRGB |
| Tileable | Yes |
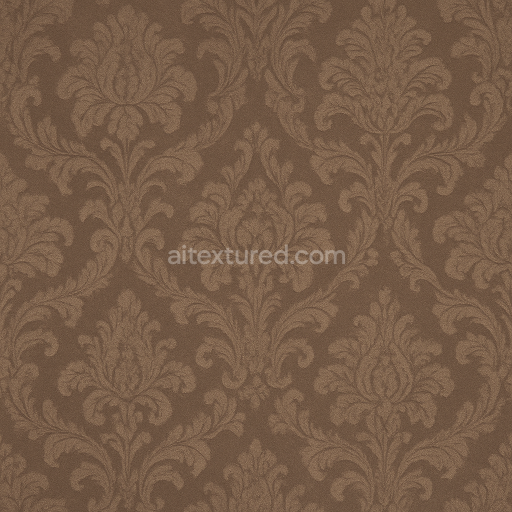
This seamless 3D texture presents a meticulously crafted vintage paisley wallpaper pattern designed with an ornate classic floral motif that evokes a timeless elegance. The base material simulates a fine woven fabric substrate typical of heritage wallpapers composed of densely interlaced fibers that provide subtle depth and tactile variation. The texture’s composition suggests a cellulose fiber blend with a slight embossing effect enhanced by a satin glossy coating that enriches the material’s reflective qualities without overwhelming the intricate details. This satin finish mimics a smooth polished surface that accentuates the ornate paisley forms while maintaining a moderate specular response ideal for capturing the interplay of light on a softly lustrous surface.
From a physical composition standpoint the wallpaper texture incorporates a pigmented binder layer infused with muted earth tones and classic cream hues replicating traditional pigment dispersal in vintage wall coverings. The base color (Albedo) channel delivers these warm aged colors with subtle variations to emphasize the floral and paisley design while the normal map intricately defines the raised embossing and fabric weave providing realistic surface relief. The roughness channel balances the satin gloss—low enough to allow gentle highlights but high enough to diffuse harsh reflections—conveying the tactile softness of the fabric. Ambient occlusion enhances shadowing in crevices of the ornate pattern lending depth and dimensionality while the height/displacement map accurately simulates the paper’s embossed relief allowing for convincing parallax effects in real-time engines.
This texture is rendered at an ultra-high 8K resolution ensuring exceptional clarity and fidelity of fine details such as delicate floral veins and intricate paisley curls. It is fully optimized for physically based rendering workflows and is compatible with Blender Unreal Engine and Unity supporting realistic material setups and advanced lighting scenarios. The metallic channel is kept minimal or null reflecting the non-metallic nature of wallpaper materials focusing instead on fabric-like qualities and soft light interaction typical of satin finishes.
For practical application it is recommended to carefully adjust the UV scale to maintain the pattern’s classic proportions without distortion preserving the elegance of the paisley design. Additionally fine-tuning the roughness value can help tailor the glossiness to suit different lighting conditions—from softer ambient interiors to more directional illumination. Incorporating subtle blending of normal and height maps can enhance surface depth without causing excessive displacement artifacts ensuring the wallpaper texture remains visually compelling and performance-friendly across various platforms.
Import the texture maps into Blender with sRGB color space for albedo/base color and Non-Color for normal, roughness, metallic, AO, height, and ORM maps. Connect normal maps through a Normal Map node, then adjust UV scale with a Mapping node so the material repeats naturally on your model.
For the full step-by-step setup, see How to Use Seamless Textures in Blender. Browse related material examples in wood, concrete, and metal.
Yes. This texture is designed as a seamless tileable PBR material, so it can repeat across large surfaces without visible borders.
You can download PNG/WEBP versions and use 1K, 2K, 4K and 8K download options when available on the page.
Yes. The download options and engine-mapped ZIP workflow are designed for Blender, Unreal Engine, Unity Standard, URP and HDRP material pipelines.
Yes. The texture is available under the AITextured free commercial license. Review the license page for redistribution and AI-training restrictions.


Generate, preview, and export seamless PBR materials for Blender, Unity, and Unreal Engine—directly in your browser.
AI text-to-texture: type a prompt and get a seamless, tileable base image ready for PBR workflows (great starting point for materials).
Create a full PBR set (Normal, Roughness, AO, Metallic, etc.) from a single image. Seamless and tiling-friendly.
Instant WebGL viewer: inspect materials on a sphere, plane, and cube. Check tiling and lighting in real time.
Re-packages maps per engine: Unreal (BaseColor + ORM), Unity (Mask/MetallicSmoothness), Blender (separate channels).
PNG ↔ JPG ↔ SVG: fast convert, SVG rasterize, embed/trace options, quality & background controls.