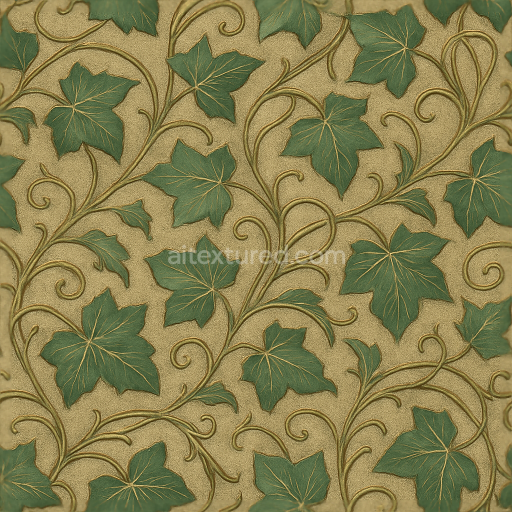
Tropical Botanical Leaves Wallpaper With Glossy Silk And Textured Velvet Finish
Seamless texture (tileable) · PNG, WEBP, PBR ZIP. License: AITextured Free Commercial License (FCL) v1.1. Free personal and commercial use. Raw resale, standalone redistribution, mirroring/scraping, competing asset packs, and AI/ML training are not allowed without written permission. Attribution is not required, but appreciated..

| ID | seamless-3d-texture-pbr-8k-wallpaper-with-baroque-damask-velvet-subtle-gradient |
|---|---|
| Category | Wallpaper |
| Formats | PNG, WEBP, PBR ZIP |
| Size | 1k (1024x1024px), 2k (2048x2048px), 4k (4096x4096px), 8k (8192x8192px) |
| Color | sRGB |
| Tileable | Yes |
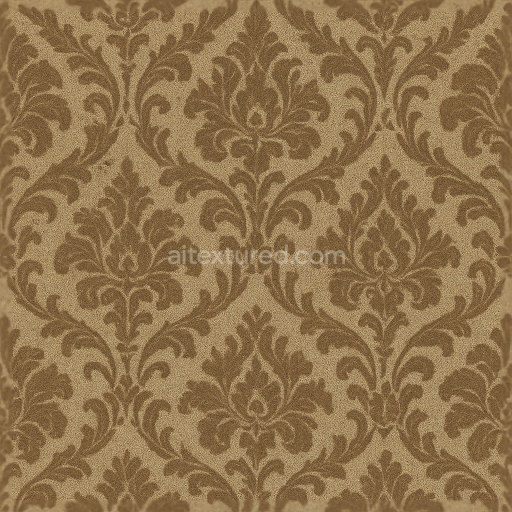
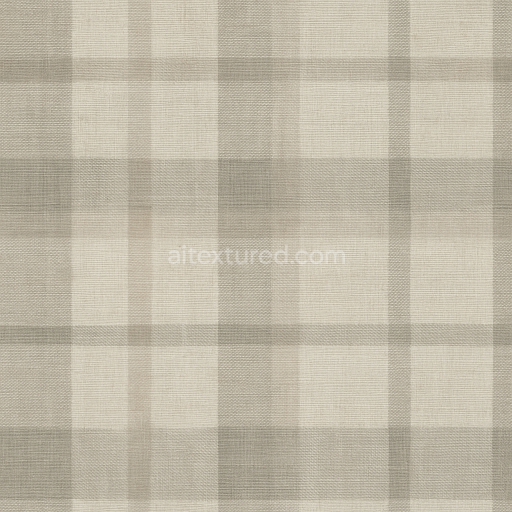
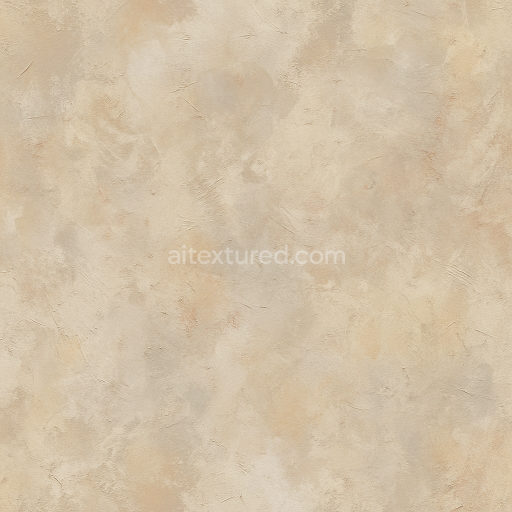
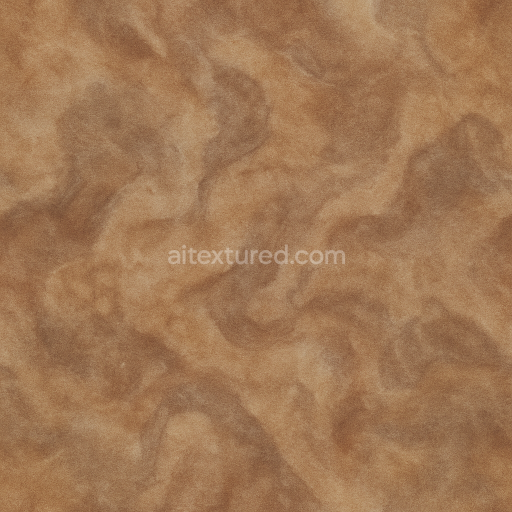
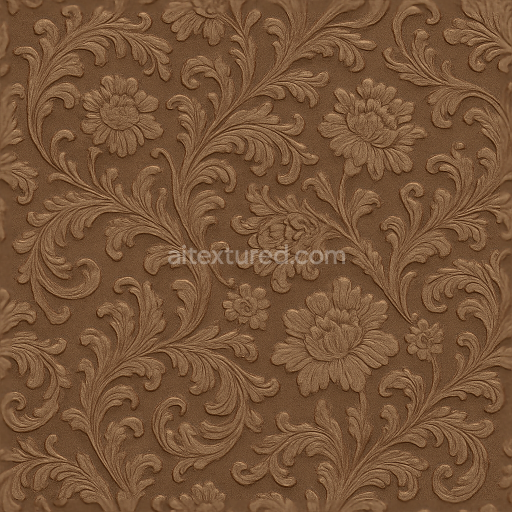
This seamless 3D texture presents a classic baroque damask wallpaper pattern characterized by intricate symmetrical floral and scroll motifs rendered with a rich velvet surface. The base material simulates a woven textile substrate composed of fine densely packed fibers that create a soft yet tactile fabric appearance. The underlying weave structure is visible through subtle variations in thread thickness and direction contributing to the realistic textile effect. The wallpaper’s surface finish is matte enhancing the velvet-like softness and minimizing reflections which adds to the authenticity of the material's tactile quality.
The composition suggests a traditional wallpaper construction with a fabric-based substrate impregnated with binders that mimic textile adhesives ensuring the pattern appears embossed and dimensional. Pigments are tone-on-tone carefully layered to produce a subtle gradient across the damask motifs smoothly transitioning between slightly varying shades to emphasize the depth and curvature of the raised velvet forms. The PBR texture channels are thoughtfully designed: the BaseColor (Albedo) captures the muted elegant color palette with subtle tonal shifts; the Normal map defines the delicate relief and fabric weave details; Roughness controls the matte velvet softness preventing glossiness; Metallic is kept at zero to reflect the non-metallic textile nature while Ambient Occlusion adds shadow depth in the folds and crevices of the damask pattern. Height/Displacement maps provide additional surface elevation for realistic parallax effects when applied in 3D environments.
Rendered at an exceptional 8K resolution this texture is optimized for high-fidelity visualizations in Blender Unreal Engine and Unity ensuring sharp detail retention even at close-up views. The high resolution allows for precise representation of the intricate baroque damask shapes and the subtle gradient transitions essential for producing convincing classic or elegant interior scenes. The texture’s seamless nature ensures it can tile without visible borders making it suitable for large-scale wall coverings or architectural visualizations.
When applying this wallpaper texture it is recommended to adjust the UV scale to maintain the proportion and clarity of the damask pattern without distortion. Additionally fine-tuning the roughness parameter can help balance the velvet softness with room lighting conditions preventing the surface from appearing either too flat or unnaturally glossy. For enhanced realism blending height or parallax maps with normal maps can simulate the tactile depth of the woven velvet more effectively especially in interactive or real-time rendering setups.
Import the texture maps into Blender with sRGB color space for albedo/base color and Non-Color for normal, roughness, metallic, AO, height, and ORM maps. Connect normal maps through a Normal Map node, then adjust UV scale with a Mapping node so the material repeats naturally on your model.
For the full step-by-step setup, see How to Use Seamless Textures in Blender. Browse related material examples in wood, concrete, and metal.
Yes. This texture is designed as a seamless tileable PBR material, so it can repeat across large surfaces without visible borders.
You can download PNG/WEBP versions and use 1K, 2K, 4K and 8K download options when available on the page.
Yes. The download options and engine-mapped ZIP workflow are designed for Blender, Unreal Engine, Unity Standard, URP and HDRP material pipelines.
Yes. The texture is available under the AITextured free commercial license. Review the license page for redistribution and AI-training restrictions.


Generate, preview, and export seamless PBR materials for Blender, Unity, and Unreal Engine—directly in your browser.
AI text-to-texture: type a prompt and get a seamless, tileable base image ready for PBR workflows (great starting point for materials).
Create a full PBR set (Normal, Roughness, AO, Metallic, etc.) from a single image. Seamless and tiling-friendly.
Instant WebGL viewer: inspect materials on a sphere, plane, and cube. Check tiling and lighting in real time.
Re-packages maps per engine: Unreal (BaseColor + ORM), Unity (Mask/MetallicSmoothness), Blender (separate channels).
PNG ↔ JPG ↔ SVG: fast convert, SVG rasterize, embed/trace options, quality & background controls.