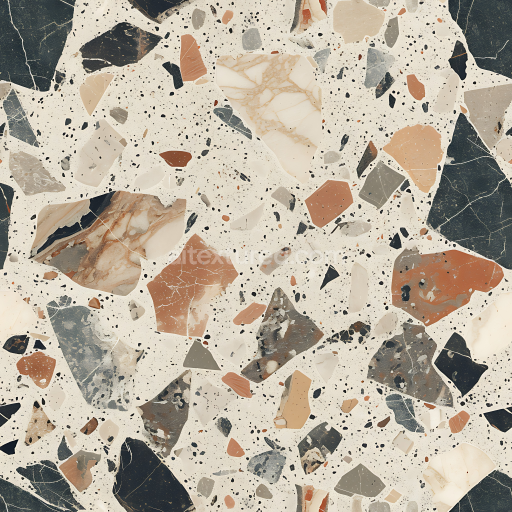
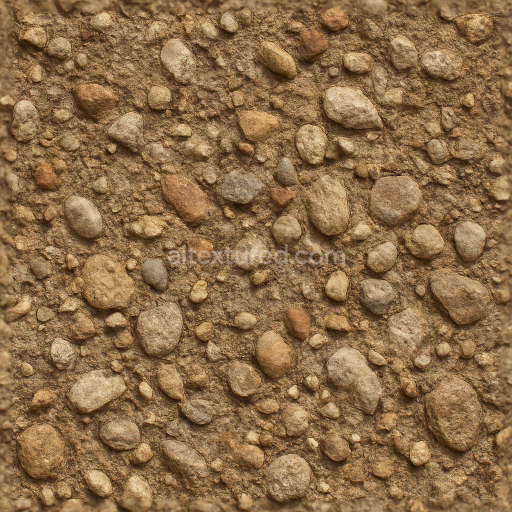
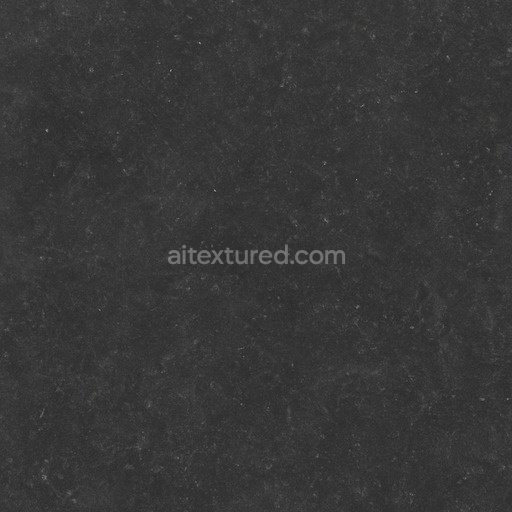
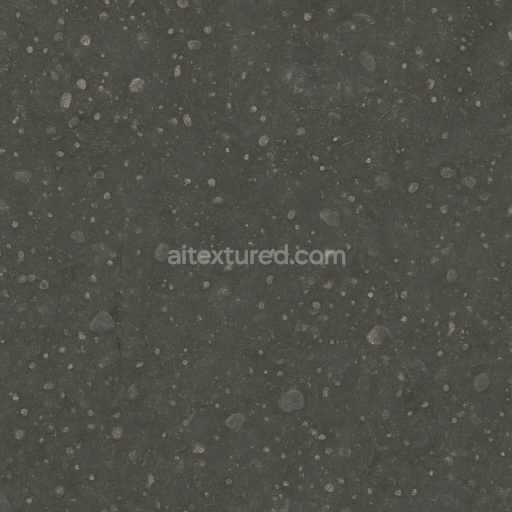
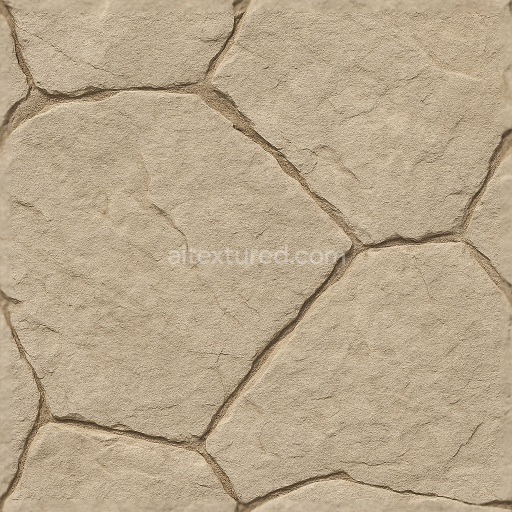
Terrazzo Stone PBR Texture Featuring Multicolored Rock Fragments
Seamless texture (tileable) · PNG, WEBP, PBR ZIP. License: AITextured Free Commercial License (FCL) v1.1. Free personal and commercial use. Raw resale, standalone redistribution, mirroring/scraping, competing asset packs, and AI/ML training are not allowed without written permission. Attribution is not required, but appreciated..

| ID | archviz-castle-medieval-old-rock-stone-substance |
|---|---|
| Category | Stone |
| Formats | PNG, WEBP, PBR ZIP |
| Size | 1k (1024x1024px), 2k (2048x2048px), 4k (4096x4096px), 8k (8192x8192px) |
| Color | sRGB |
| Tileable | Yes |
This Archviz Castle Medieval Old Rock Stone Substance texture is expertly designed as a seamless physically based rendering (PBR) material that authentically replicates the appearance of aged stone walls commonly found in historic medieval castles. The base substrate simulates a natural rock formation composed of fine-grained sediment and mineral-rich aggregates carefully arranged to showcase subtle variations in grain orientation. These variations reflect centuries of geological and environmental influences creating a realistic foundation for this old rock stone surface. Embedded within this substrate is a natural mineral binder resembling a cementation process combined with traces of organic matter which results in a rough matte finish. The texture features natural porosity and weathering effects including occasional smoother patches caused by erosion enhancing the tactile authenticity. Earth-toned pigments mineral oxides and subtle staining create a nuanced color palette that is faithfully preserved in the BaseColor (Albedo) channel enhancing visual depth and the characteristic age of medieval stone walls.
Each PBR channel is meticulously crafted to maximize realism and seamless integration with modern rendering engines such as Blender Unreal Engine and Unity. The Normal map captures intricate surface details replicating the stone’s grain and subtle irregularities that contribute to lifelike light interaction and shadowing. The Roughness map accurately conveys the worn uneven finish of the rock stone balancing matte and slightly polished areas to simulate varying degrees of weathering. The Metallic channel remains at zero emphasizing the non-metallic natural composition of the stone. Ambient Occlusion highlights crevices and recessed areas adding dimensionality and contrast while the Height/Displacement map provides precise surface relief ideal for tessellation and parallax effects in close-up visualizations. Available in resolutions up to 8K this texture ensures crisp detail on large surfaces without visible tiling making it an ideal choice for high-fidelity architectural visualization and game environments featuring castle walls and medieval stone structures.
For optimal results it is recommended to adjust the UV scale carefully to maintain the natural subtlety of the grain and porosity preventing repetitive patterns on extensive stone surfaces. Additionally fine-tuning the Roughness values can help simulate different weathering stages—lower roughness for smoother wind-polished stone areas and higher roughness for more rugged eroded surfaces. This versatile PBR stone substance texture delivers a highly realistic and physically accurate material solution enhancing the visual fidelity of old rock stone walls in medieval castles and historic architecture scenes with consistent color and material response across diverse lighting conditions.
Import the texture maps into Blender with sRGB color space for albedo/base color and Non-Color for normal, roughness, metallic, AO, height, and ORM maps. Connect normal maps through a Normal Map node, then adjust UV scale with a Mapping node so the material repeats naturally on your model.
For the full step-by-step setup, see How to Use Seamless Textures in Blender. Browse related material examples in wood, concrete, and metal.
Yes. This texture is designed as a seamless tileable PBR material, so it can repeat across large surfaces without visible borders.
You can download PNG/WEBP versions and use 1K, 2K, 4K and 8K download options when available on the page.
Yes. The download options and engine-mapped ZIP workflow are designed for Blender, Unreal Engine, Unity Standard, URP and HDRP material pipelines.
Yes. The texture is available under the AITextured free commercial license. Review the license page for redistribution and AI-training restrictions.


Build, preview, and export seamless PBR materials. Generate full map sets from a single image, inspect them in a real-time WebGL viewer, and re-package maps for Unreal, Unity, and Blender—directly in your browser.
AI text-to-texture: type a prompt and get a seamless, tileable base image ready for PBR workflows (great starting point for materials).
Create a full PBR set (Normal, Roughness, AO, Metallic, etc.) from a single image. Seamless and tiling-friendly.
Instant WebGL viewer: inspect materials on a sphere, plane, and cube. Check tiling and lighting in real time.
Re-packages maps per engine: Unreal (BaseColor + ORM), Unity (Mask/MetallicSmoothness), Blender (separate channels).
PNG ↔ JPG ↔ SVG: fast convert, SVG rasterize, embed/trace options, quality & background controls.