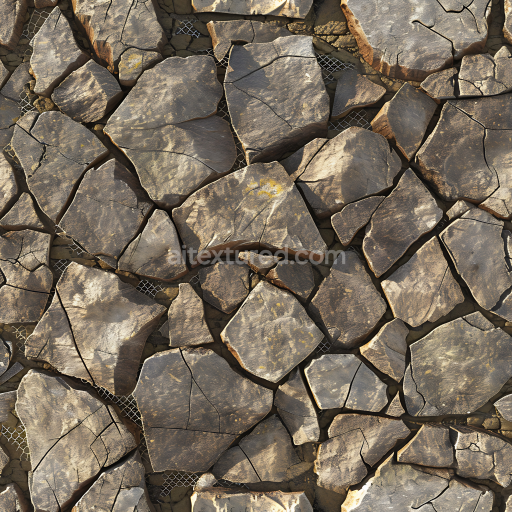
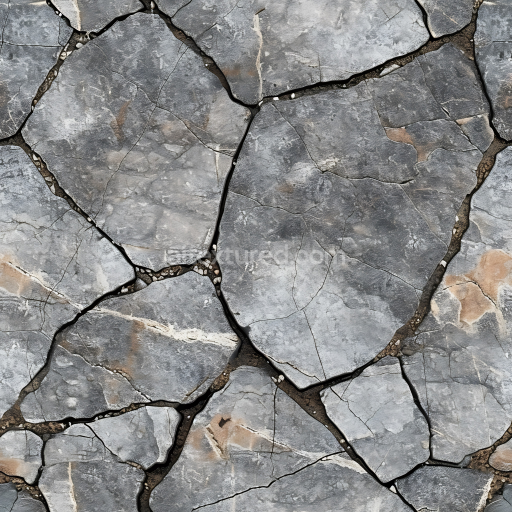
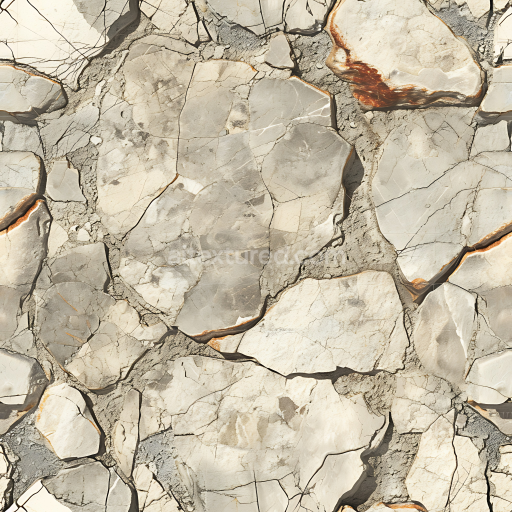
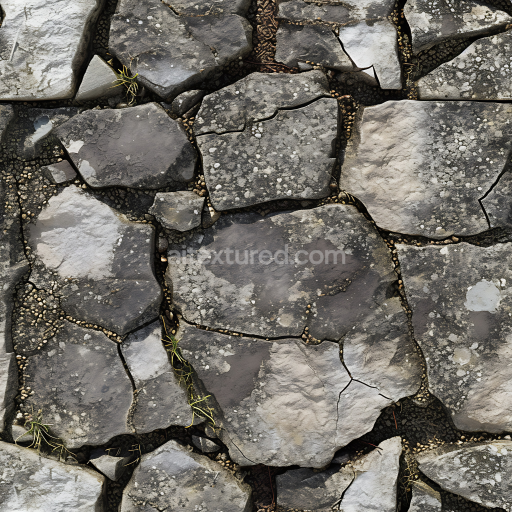
Cracked Stone Ground PBR Texture with Rough, Weathered Surfaces
Seamless texture (tileable) · PNG, WEBP, PBR ZIP. License: AITextured Free Commercial License (FCL) v1.1. Free personal and commercial use. Raw resale, standalone redistribution, mirroring/scraping, competing asset packs, and AI/ML training are not allowed without written permission. Attribution is not required, but appreciated..

| ID | seamless-3d-texture-pbr-8k-crystalized-feldspar-stone-surface-with-sparkling-mineral-deposits |
|---|---|
| Category | Stone |
| Formats | PNG, WEBP, PBR ZIP |
| Size | 1k (1024x1024px), 2k (2048x2048px), 4k (4096x4096px), 8k (8192x8192px) |
| Color | sRGB |
| Tileable | Yes |
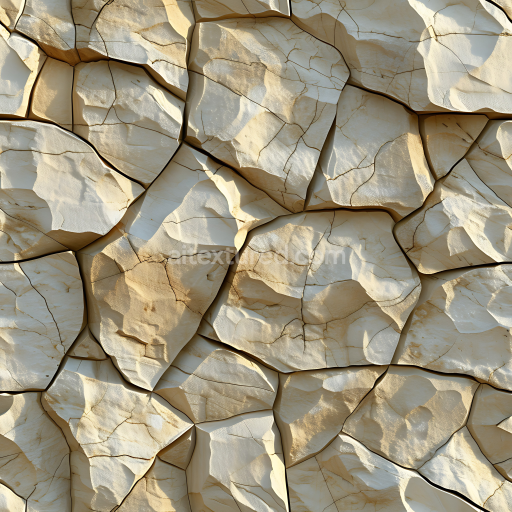
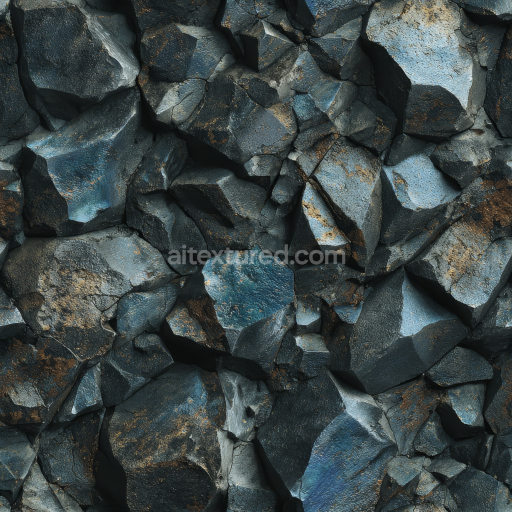
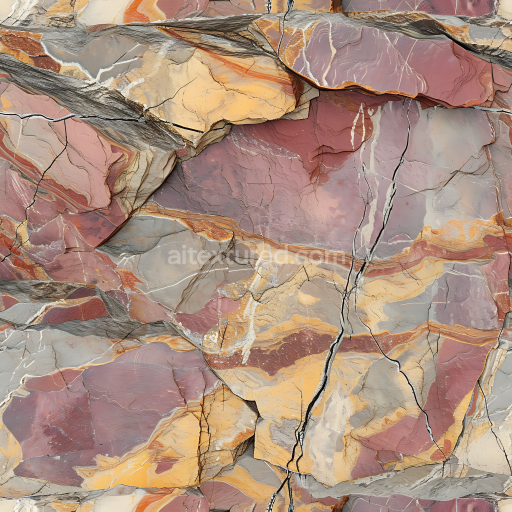
This seamless 3D texture presents a high-resolution 8K photorealistic crystalized feldspar stone surface characterized by intricate mineral grains and sparkling deposits. The base material is a natural feldspar-rich stone substrate composed primarily of interlocking crystalline grains that create a coarse granular structure. Embedded within the feldspar matrix are smaller mineral inclusions and crystal flakes that catch and reflect light producing subtle glints and depth variations. The stone’s surface displays a complex pattern of fine cracks irregular flakes and scattered dust particles revealing natural weathering and microfractures typical of exposed geological formations.
Geometrically the texture exhibits a veined and fractured pattern with a naturalistic arrangement of stone pores and fissures. The stone grains vary in size and shape forming an organic mosaic without any repetitive tiling artifacts thanks to the seamless design. The surface finish simulates a lightly polished effect balancing roughness and smoothness to emphasize both the coarse mineral grains and the reflective crystal facets. Coloration is dominated by muted earth tones including soft grays and warm beige hues interspersed with subtle variations due to mineral impurities and dust accumulation contributing to realistic albedo variation in the BaseColor channel.
Within the PBR workflow this texture effectively maps detailed surface information across multiple channels. The BaseColor channel captures the natural pigmentation of feldspar and mineral deposits. The Normal map accentuates the microgeometry of stone flakes pores and cracks to enhance lighting interaction. Roughness is calibrated to reflect the mix of polished crystal faces and matte stone dust creating dynamic specular highlights. The Metallic channel remains minimal consistent with non-metallic stone minerals. Ambient Occlusion adds depth to crevices and fissures while Height and Displacement maps enable realistic surface relief for enhanced parallax and tessellation effects in 3D engines.
Optimized for use in Blender Unreal Engine and Unity this texture supports high-fidelity rendering and detailed close-up views without visible pixelation. For practical application adjusting the UV scale can help maintain natural grain size when applied to large geological models. Additionally fine-tuning roughness values allows control over how glossy or matte the stone appears under different lighting conditions. Blending the height map subtly with the normal map can further enhance surface depth perception making this texture suitable for realistic environments geological visualization or digital art projects requiring detailed mineral-rich stone surfaces.
Import the texture maps into Blender with sRGB color space for albedo/base color and Non-Color for normal, roughness, metallic, AO, height, and ORM maps. Connect normal maps through a Normal Map node, then adjust UV scale with a Mapping node so the material repeats naturally on your model.
For the full step-by-step setup, see How to Use Seamless Textures in Blender. Browse related material examples in wood, concrete, and metal.
Yes. This texture is designed as a seamless tileable PBR material, so it can repeat across large surfaces without visible borders.
You can download PNG/WEBP versions and use 1K, 2K, 4K and 8K download options when available on the page.
Yes. The download options and engine-mapped ZIP workflow are designed for Blender, Unreal Engine, Unity Standard, URP and HDRP material pipelines.
Yes. The texture is available under the AITextured free commercial license. Review the license page for redistribution and AI-training restrictions.


Build, preview, and export seamless PBR materials. Generate full map sets from a single image, inspect them in a real-time WebGL viewer, and re-package maps for Unreal, Unity, and Blender—directly in your browser.
AI text-to-texture: type a prompt and get a seamless, tileable base image ready for PBR workflows (great starting point for materials).
Create a full PBR set (Normal, Roughness, AO, Metallic, etc.) from a single image. Seamless and tiling-friendly.
Instant WebGL viewer: inspect materials on a sphere, plane, and cube. Check tiling and lighting in real time.
Re-packages maps per engine: Unreal (BaseColor + ORM), Unity (Mask/MetallicSmoothness), Blender (separate channels).
PNG ↔ JPG ↔ SVG: fast convert, SVG rasterize, embed/trace options, quality & background controls.