
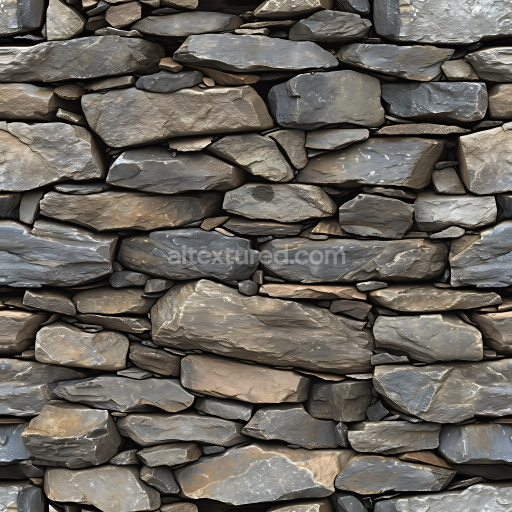
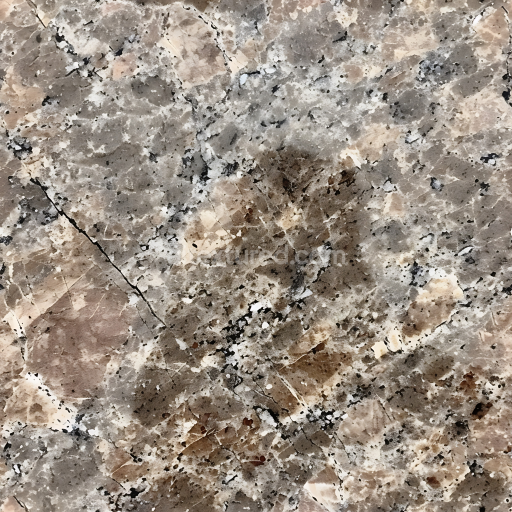
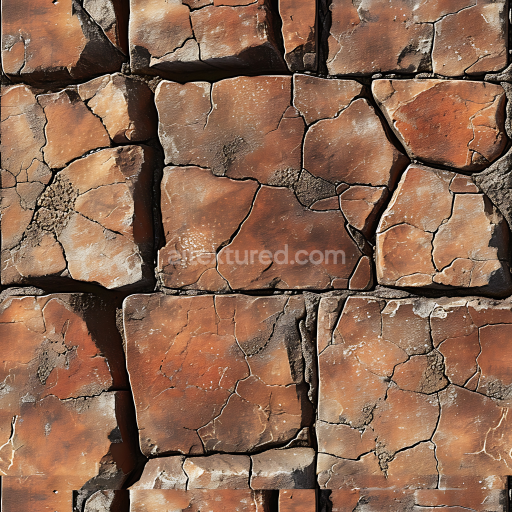
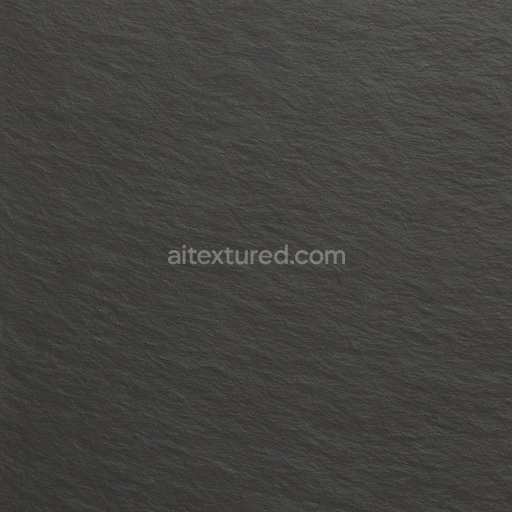
Stone Texture of Smooth River Rocks with Naturally Weathered Surfaces
Seamless texture (tileable) · PNG, WEBP, PBR ZIP. License: AITextured Free Commercial License (FCL) v1.1. Free personal and commercial use. Raw resale, standalone redistribution, mirroring/scraping, competing asset packs, and AI/ML training are not allowed without written permission. Attribution is not required, but appreciated..

| ID | weathered-slate-texture-seamless |
|---|---|
| Category | Stone |
| Formats | PNG, WEBP, PBR ZIP |
| Size | 1k (1024x1024px), 2k (2048x2048px), 4k (4096x4096px), 8k (8192x8192px) |
| Color | sRGB |
| Tileable | Yes |
The weathered slate texture seamless high resolution up to 8K presents an expertly crafted digital representation of natural slate stone designed to capture its inherent complexity and aged character with remarkable fidelity. This texture is based on a fine-grained metamorphic rock substrate predominantly composed of tightly interlocked quartz and mica minerals that provide both durability and a distinct layered structure. The surface exhibits subtle mineral layering and evidence of weather-induced erosion resulting in a naturally roughened finish shaped by years of environmental exposure. Muted color variations emerge from iron oxide stains and organic pigments lending the texture a realistic weathered patina with warm rusty undertones blending into a slate gray palette. These intricate details are faithfully rendered in the BaseColor/Albedo channel while the Normal map highlights the fine grain orientation and gentle surface irregularities typical of aged stone surfaces. The Roughness channel delivers a mostly matte finish punctuated by localized variations where natural polishing or wear occurs and the Metallic channel remains minimal consistent with the non-metallic nature of stone materials. Ambient Occlusion and Height/Displacement maps add depth and realism by accentuating porous textures and subtle crevices formed through prolonged weathering.
Designed for seamless tiling this tileable weathered slate texture seamless high resolution up to 8K integrates smoothly into contemporary 3D pipelines ensuring flawless surface transitions without visible repetition or artifacts. Its high resolution up to 8K guarantees exceptional detail retention even on expansive UV islands making it highly suitable for architectural visualization environment art and concept prototyping where authenticity and clarity are essential. The texture is optimized for immediate use in Blender Unity and Unreal Engine supporting efficient workflows with minimal technical adjustments required. This PBR material weathered slate texture seamless high resolution up to 8K offers advanced material realism perfectly suited for 3D preview scenarios where accurate surface representation is critical.
For practical application maintaining consistent texel density across your project assets is recommended to preserve the intricate detail and avoid texture stretching. Slight adjustments to the Roughness channel can simulate varying degrees of weathering or moisture on the slate surface enhancing the natural appearance of the stone textures. Utilizing the Height or Parallax maps can further boost dimensionality particularly effective for close-up renders or interactive 3D previews where enhanced surface relief and depth cues contribute to a more immersive experience. This comprehensive weathered slate texture seamless high resolution up to 8K thus stands as a reliable and versatile resource for digital artists and designers seeking high-quality realistic stone textures with natural weathering effects and excellent performance across leading digital content creation platforms.
Import the texture maps into Blender with sRGB color space for albedo/base color and Non-Color for normal, roughness, metallic, AO, height, and ORM maps. Connect normal maps through a Normal Map node, then adjust UV scale with a Mapping node so the material repeats naturally on your model.
For the full step-by-step setup, see How to Use Seamless Textures in Blender. Browse related material examples in wood, concrete, and metal.
Yes. This texture is designed as a seamless tileable PBR material, so it can repeat across large surfaces without visible borders.
You can download PNG/WEBP versions and use 1K, 2K, 4K and 8K download options when available on the page.
Yes. The download options and engine-mapped ZIP workflow are designed for Blender, Unreal Engine, Unity Standard, URP and HDRP material pipelines.
Yes. The texture is available under the AITextured free commercial license. Review the license page for redistribution and AI-training restrictions.

Build, preview, and export seamless PBR materials. Generate full map sets from a single image, inspect them in a real-time WebGL viewer, and re-package maps for Unreal, Unity, and Blender—directly in your browser.
AI text-to-texture: type a prompt and get a seamless, tileable base image ready for PBR workflows (great starting point for materials).
Create a full PBR set (Normal, Roughness, AO, Metallic, etc.) from a single image. Seamless and tiling-friendly.
Instant WebGL viewer: inspect materials on a sphere, plane, and cube. Check tiling and lighting in real time.
Re-packages maps per engine: Unreal (BaseColor + ORM), Unity (Mask/MetallicSmoothness), Blender (separate channels).
PNG ↔ JPG ↔ SVG: fast convert, SVG rasterize, embed/trace options, quality & background controls.