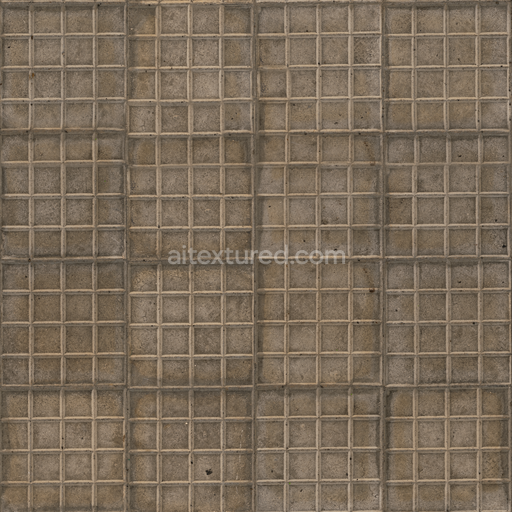
Grid Dirty Rough - Dirty Rough Uneven Uneven Urban Floor
Seamless texture (tileable) · PNG, WEBP, PBR ZIP. License: AITextured Free Commercial License (FCL) v1.1. Free personal and commercial use. Raw resale, standalone redistribution, mirroring/scraping, competing asset packs, and AI/ML training are not allowed without written permission. Attribution is not required, but appreciated..

| ID | stone-embedded-concrete-rough-weathered-wall-rock-concrete-stone |
|---|---|
| Category | Concrete |
| Formats | PNG, WEBP, PBR ZIP |
| Size | 1k (1024x1024px), 2k (2048x2048px), 4k (4096x4096px), 8k (8192x8192px) |
| Color | sRGB |
| Tileable | Yes |
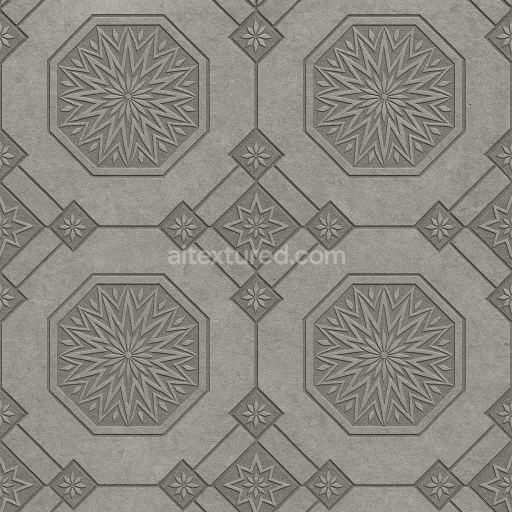
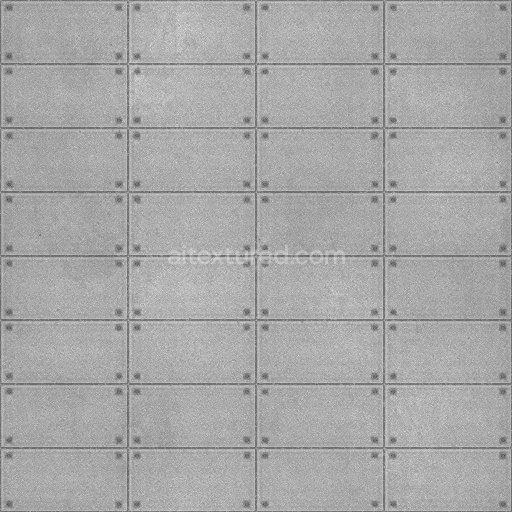
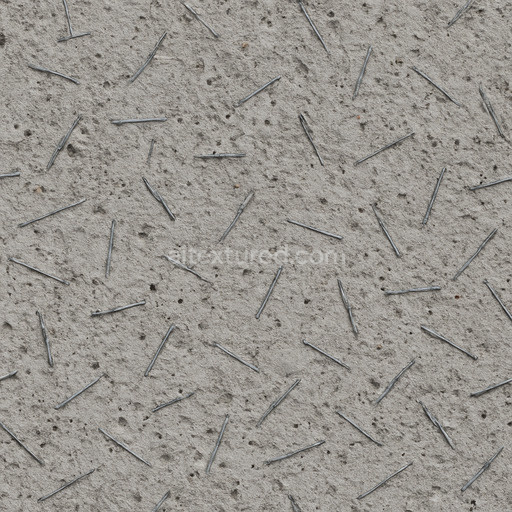
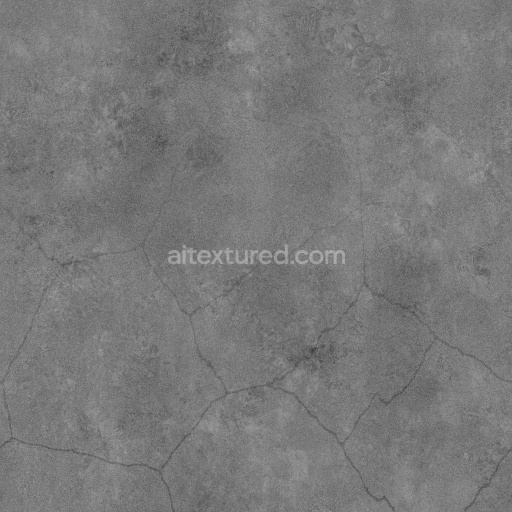
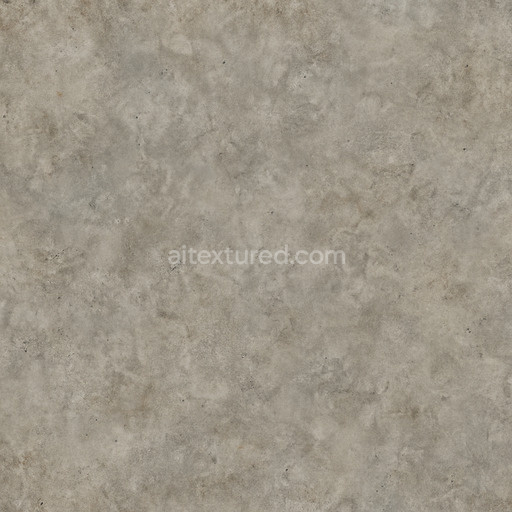
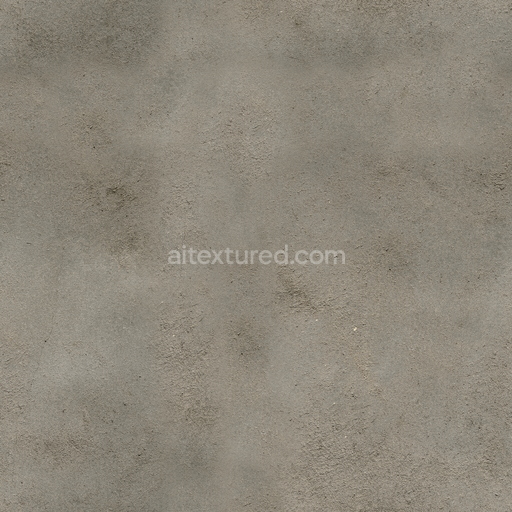
This stone embedded concrete texture presents a meticulously crafted weathered surface where natural rocks are firmly integrated within a coarse rough concrete matrix. The base substrate is composed of a mineral-rich cement binder that acts as a strong adhesive holding together a diverse assortment of stone aggregates varying from fine to medium grain sizes. This combination results in a naturally porous plaster concrete finish characteristic of outdoor man-made walls such as fortress walls castle facades dungeon interiors and rugged fort exteriors. The stonework is enhanced by subtle oxide layers and earthy pigments which impart muted hues of soft greys dusty browns and natural stone tones reflecting prolonged exposure to outdoor weathering and environmental effects that add authentic depth and visual complexity to the surface.
In terms of physically based rendering (PBR) this seamless 3D texture includes a full set of optimized maps to ensure photorealistic results across various digital content creation platforms. The Albedo (BaseColor) map accurately depicts the interplay between the cementitious binder and the embedded stones balancing light grey cement with dark richly colored rocks. The Normal map simulates intricate surface details such as micro-bumps crevices and rough stone edges adding depth and tactile realism without increasing polygon count. The Roughness map differentiates between the porous coarse cement binder and the smoother stone surfaces allowing for realistic light scattering and reflections. Ambient Occlusion enhances shadowing within crevices and porous areas reinforcing volumetric depth. The Height (Displacement) map captures subtle elevation differences that emphasize stone protrusions and surface relief which is essential for parallax effects and enhancing realism in modern rendering workflows.
Offered primarily in 4K resolution with an optional ultra-detailed 8K version this physically based tileable texture supports formats such as PNG and EXR and is fully compatible with Blender Unreal Engine and Unity. It conforms to the metal/rough workflow ensuring consistent reliable shading for realistic stone embedded concrete materials in exterior and interior scenes alike. Ideal for creating authentic stonework on fortress walls castle stone facades dungeon interiors and fort exteriors this material excels in delivering natural roughness weathered textures and the rugged charm of outdoor man-made plaster concrete surfaces.
For optimal results it is recommended to carefully adjust the UV scale to maintain the natural grain size of the stones and prevent visible repetition that can reduce realism. Additionally fine-tuning the roughness map allows adaptation to varying lighting conditions—from sunlit outdoor environments to dimly lit dungeon interiors—enhancing the authenticity of the stone embedded concrete surface. Applying subtle height-based parallax displacement further accentuates the relief and depth of the embedded rocks contributing to immersive and believable environments where stone embedded concrete plays a crucial visual role.
Import the texture maps into Blender with sRGB color space for albedo/base color and Non-Color for normal, roughness, metallic, AO, height, and ORM maps. Connect normal maps through a Normal Map node, then adjust UV scale with a Mapping node so the material repeats naturally on your model.
For the full step-by-step setup, see How to Use Seamless Textures in Blender. Browse related material examples in wood, concrete, and metal.
Yes. This texture is designed as a seamless tileable PBR material, so it can repeat across large surfaces without visible borders.
You can download PNG/WEBP versions and use 1K, 2K, 4K and 8K download options when available on the page.
Yes. The download options and engine-mapped ZIP workflow are designed for Blender, Unreal Engine, Unity Standard, URP and HDRP material pipelines.
Yes. The texture is available under the AITextured free commercial license. Review the license page for redistribution and AI-training restrictions.


Build, preview, and export seamless PBR materials. Generate full map sets from a single image, inspect them in a real-time WebGL viewer, and re-package maps for Unreal, Unity, and Blender—directly in your browser.
AI text-to-texture: type a prompt and get a seamless, tileable base image ready for PBR workflows (great starting point for materials).
Create a full PBR set (Normal, Roughness, AO, Metallic, etc.) from a single image. Seamless and tiling-friendly.
Instant WebGL viewer: inspect materials on a sphere, plane, and cube. Check tiling and lighting in real time.
Re-packages maps per engine: Unreal (BaseColor + ORM), Unity (Mask/MetallicSmoothness), Blender (separate channels).
PNG ↔ JPG ↔ SVG: fast convert, SVG rasterize, embed/trace options, quality & background controls.