Seamless 8K PBR 3D Texture of Festive Baubles Ornament Glass Surface
Seamless texture (tileable) · PNG, WEBP, PBR ZIP. License: AITextured Free Commercial License (FCL) v1.1. Free personal and commercial use. Raw resale, standalone redistribution, mirroring/scraping, competing asset packs, and AI/ML training are not allowed without written permission. Attribution is not required, but appreciated..

| ID | seamless-3d-texture-pbr-8k-christmas-candy-winter-berries-christmas-garland-red-baubles-green-baubles |
|---|---|
| Category | Merry christmas |
| Formats | PNG, WEBP, PBR ZIP |
| Size | 1k (1024x1024px), 2k (2048x2048px), 4k (4096x4096px), 8k (8192x8192px) |
| Color | sRGB |
| Tileable | Yes |
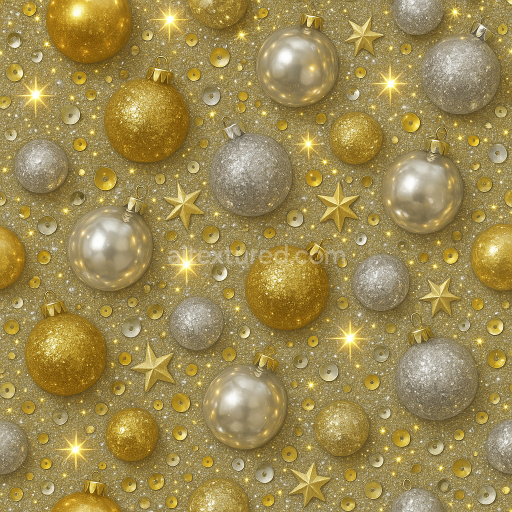
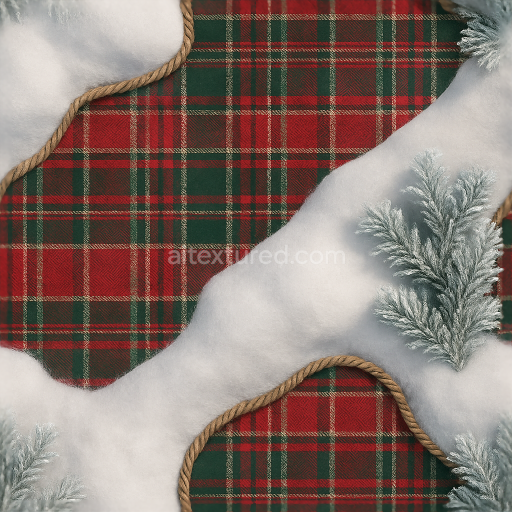
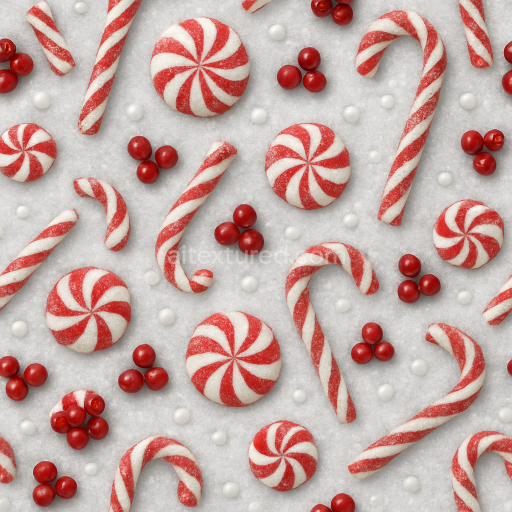
This seamless 3D PBR texture at 8K resolution intricately combines the rich materials and forms synonymous with festive Christmas decorations. The base substrate simulates a natural evergreen garland composed of densely packed pine needles rendered with fine fibrous detail. These needles exhibit subtle porosity and a slightly rough surface finish capturing the organic complexity of conifer foliage. Interwoven throughout the garland are vivid winter berries modeled as small spherical aggregates with a semi-glossy slightly textured skin surface that mimics natural fruit. The berries’ colors range from deep reds to muted purples created through layered pigments within the BaseColor (Albedo) map enhancing their photorealistic appearance.
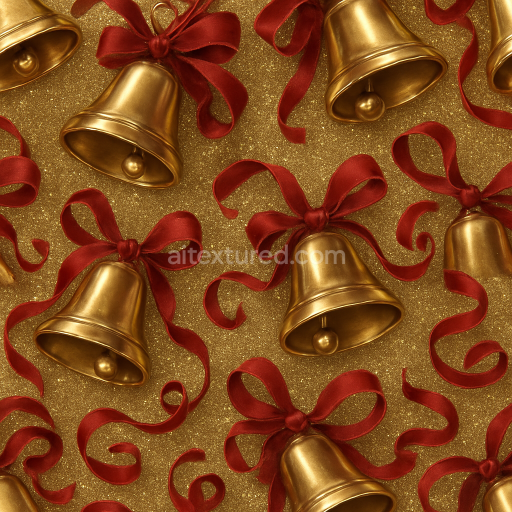
Complementing the natural elements the texture features polished glossy baubles in traditional holiday colors—shiny red and green spheres with a smooth reflective surface finish that contrasts effectively with the matte garland. These baubles are crafted from a metallic substrate with a highly reflective coating simulated through a low Roughness map value and a subtle Metallic channel influence to emphasize their reflective nature. The baubles’ curvature and fine highlights are accurately captured in the Normal and Height maps adding depth and realism without distortion when tiled seamlessly. The Ambient Occlusion channel enhances shadow details around the baubles and berries reinforcing the 3D effect and spatial relationships between elements.
The overall geometric pattern of this texture is a complex intertwined garland form which repeats seamlessly in both horizontal and vertical directions. The natural arrangement of pine needles clustered berries and spherical baubles creates a dynamic yet balanced composition. The Height/Displacement map is finely tuned to represent the subtle relief differences between the flat pine needles and the raised spherical forms of berries and baubles providing convincing parallax effects in supported rendering engines.
Designed for full compatibility with Blender Unreal Engine and Unity this texture supports detailed surface interactions across all PBR channels ensuring material realism under varied lighting conditions. For optimal usage it is recommended to adjust the UV scale to prevent repetition artifacts in large scenes and to fine-tune the Roughness map to balance reflectivity according to specific lighting environments. Additionally blending the Normal and Height maps delicately can enhance the perceived depth without overloading rendering performance making this texture ideal for high-fidelity holiday-themed assets and immersive digital environments.
Import the texture maps into Blender with sRGB color space for albedo/base color and Non-Color for normal, roughness, metallic, AO, height, and ORM maps. Connect normal maps through a Normal Map node, then adjust UV scale with a Mapping node so the material repeats naturally on your model.
For the full step-by-step setup, see How to Use Seamless Textures in Blender. Browse related material examples in wood, concrete, and metal.
Yes. This texture is designed as a seamless tileable PBR material, so it can repeat across large surfaces without visible borders.
You can download PNG/WEBP versions and use 1K, 2K, 4K and 8K download options when available on the page.
Yes. The download options and engine-mapped ZIP workflow are designed for Blender, Unreal Engine, Unity Standard, URP and HDRP material pipelines.
Yes. The texture is available under the AITextured free commercial license. Review the license page for redistribution and AI-training restrictions.


Build, preview, and export seamless PBR materials. Generate full map sets from a single image, inspect them in a real-time WebGL viewer, and re-package maps for Unreal, Unity, and Blender—directly in your browser.
AI text-to-texture: type a prompt and get a seamless, tileable base image ready for PBR workflows (great starting point for materials).
Create a full PBR set (Normal, Roughness, AO, Metallic, etc.) from a single image. Seamless and tiling-friendly.
Instant WebGL viewer: inspect materials on a sphere, plane, and cube. Check tiling and lighting in real time.
Re-packages maps per engine: Unreal (BaseColor + ORM), Unity (Mask/MetallicSmoothness), Blender (separate channels).
PNG ↔ JPG ↔ SVG: fast convert, SVG rasterize, embed/trace options, quality & background controls.