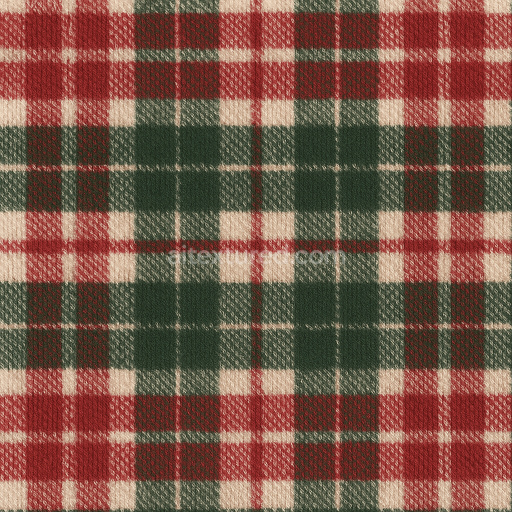
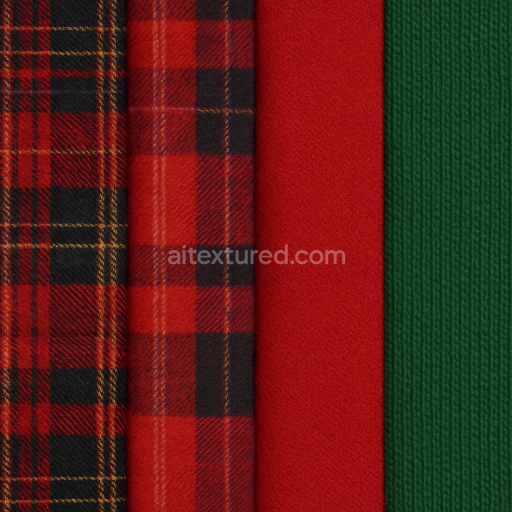
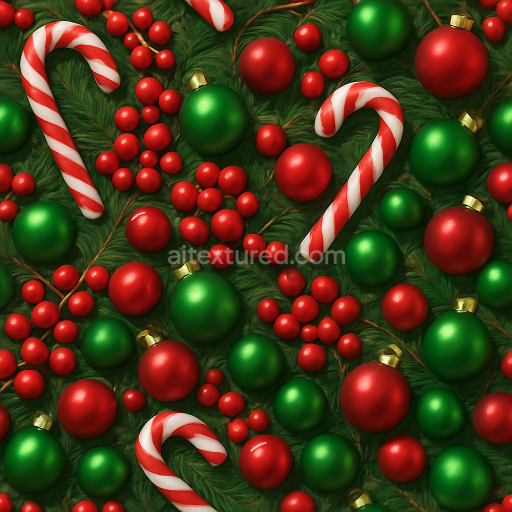
Plaid Fabric Cozy Knit Wool Holiday
Seamless texture (tileable) · PNG, WEBP, PBR ZIP. License: AITextured Free Commercial License (FCL) v1.1. Free personal and commercial use. Raw resale, standalone redistribution, mirroring/scraping, competing asset packs, and AI/ML training are not allowed without written permission. Attribution is not required, but appreciated..

| ID | seamless-3d-texture-pbr-8k-snowy-ground-frozen-lake-winter-frost-frost-texture-snow-drifts |
|---|---|
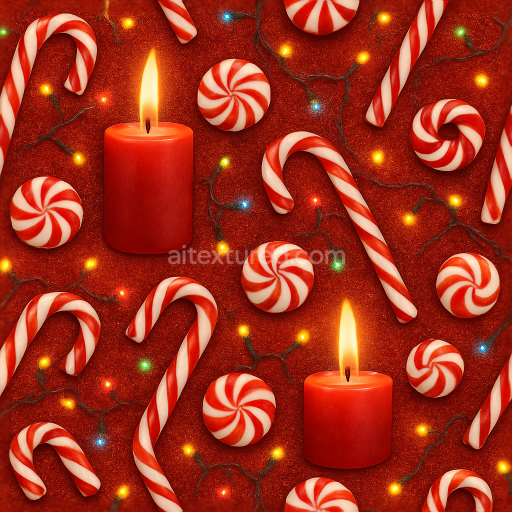
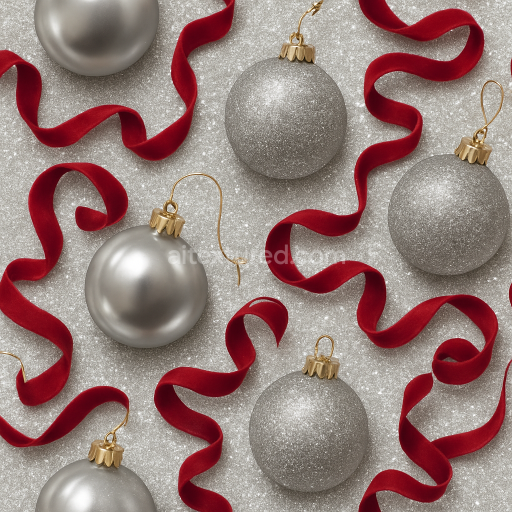
| Category | Merry christmas |
| Formats | PNG, WEBP, PBR ZIP |
| Size | 1k (1024x1024px), 2k (2048x2048px), 4k (4096x4096px), 8k (8192x8192px) |
| Color | sRGB |
| Tileable | Yes |
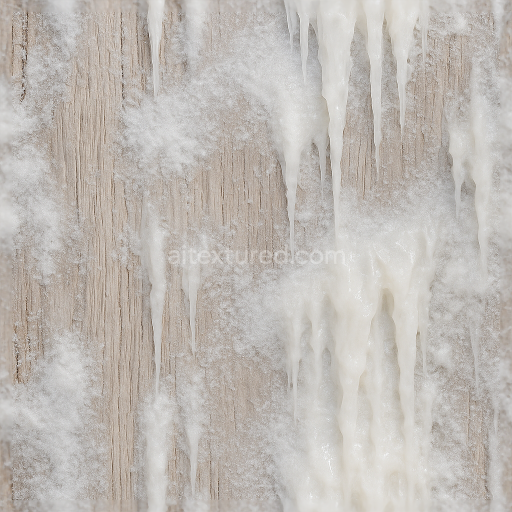
This seamless 3D texture replicates the intricate surface of a snowy ground merged with the frozen expanse of a lake capturing the subtle complexity of winter frost and delicate snow drifts. The underlying material emulates compacted ice and snow layers where a fine-grained substrate of frozen water crystals forms a solid yet porous base. This base is interspersed with delicate frost patterns created by thin ice needles and snowflakes settling on the surface. The texture’s geometric form is irregular yet continuous featuring softly undulating snow drifts and cracked ice patches that create a natural non-repetitive terrain suitable for seamless tiling. The surface finish is matte to semi-gloss reflecting light softly as real frost does in natural lighting conditions.
Compositionally the texture simulates a frozen substrate where ice crystals act as a natural binder holding together aggregated snow granules and frost formations. The snow drifts represent accumulations of loosely packed powdered snow with varied grain sizes contributing to localized roughness and depth variations. The frost texture mimics delicate crystalline growths enhancing surface detail through micro-geometry. Coloration remains predominantly in cool whites and pale blues with subtle translucency and light scattering effects that suggest fresh snow and ice purity. The overall porosity is low with tight interlocking ice granules but weathering effects such as frost etching and slight melt-refreeze patterns introduce realistic surface imperfections.
In PBR terms the BaseColor channel reflects the cold muted tones of snow and ice avoiding high saturation for realism. The Normal map encodes fine frost crystals and snowflake reliefs giving the surface tactile complexity and depth. Roughness values vary across the texture with smoother frozen lake patches contrasted by rougher powdery snow drifts to simulate varied light diffusion. The Metallic map is effectively zero as the material is non-metallic ice and snow. Ambient Occlusion enhances crevices and depressions in the snow drifts emphasizing depth and shadow interplay. Height and Displacement maps capture the subtle elevations of snow banks and frost ridges allowing for enhanced parallax effects.
Rendered in ultra-high 8K resolution this texture delivers exceptional detail and clarity making it ideal for close-up views in advanced rendering engines such as Blender Unreal Engine and Unity. Its seamless tiling ensures continuous coverage over large surfaces without noticeable repetition essential for natural outdoor winter scenes or holiday-themed environments. For optimal results it is advisable to adjust the UV scale moderately to prevent overly stretched snow patterns and to fine-tune roughness values to balance between crisp frost highlights and soft snow diffusion. Combining height displacement with normal map blending can further enhance the illusion of depth and intricacy in frost and snow drift formations.
Import the texture maps into Blender with sRGB color space for albedo/base color and Non-Color for normal, roughness, metallic, AO, height, and ORM maps. Connect normal maps through a Normal Map node, then adjust UV scale with a Mapping node so the material repeats naturally on your model.
For the full step-by-step setup, see How to Use Seamless Textures in Blender. Browse related material examples in wood, concrete, and metal.
Yes. This texture is designed as a seamless tileable PBR material, so it can repeat across large surfaces without visible borders.
You can download PNG/WEBP versions and use 1K, 2K, 4K and 8K download options when available on the page.
Yes. The download options and engine-mapped ZIP workflow are designed for Blender, Unreal Engine, Unity Standard, URP and HDRP material pipelines.
Yes. The texture is available under the AITextured free commercial license. Review the license page for redistribution and AI-training restrictions.


Build, preview, and export seamless PBR materials. Generate full map sets from a single image, inspect them in a real-time WebGL viewer, and re-package maps for Unreal, Unity, and Blender—directly in your browser.
AI text-to-texture: type a prompt and get a seamless, tileable base image ready for PBR workflows (great starting point for materials).
Create a full PBR set (Normal, Roughness, AO, Metallic, etc.) from a single image. Seamless and tiling-friendly.
Instant WebGL viewer: inspect materials on a sphere, plane, and cube. Check tiling and lighting in real time.
Re-packages maps per engine: Unreal (BaseColor + ORM), Unity (Mask/MetallicSmoothness), Blender (separate channels).
PNG ↔ JPG ↔ SVG: fast convert, SVG rasterize, embed/trace options, quality & background controls.