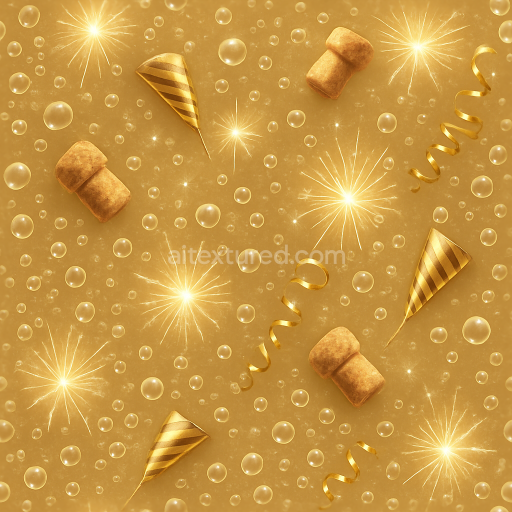
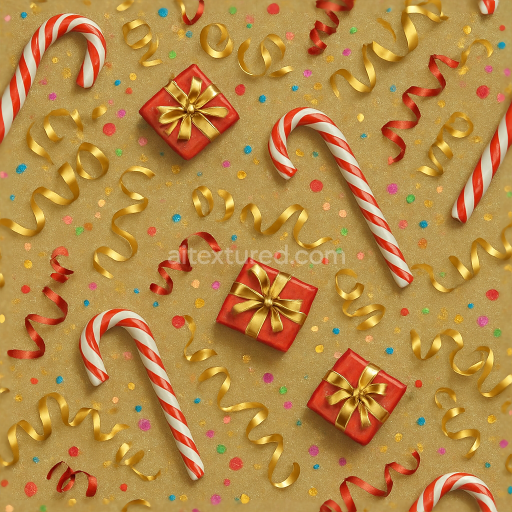
Champagne Bubbles Closeup Sparkling Celebration For New Year
Seamless texture (tileable) · PNG, WEBP, PBR ZIP. License: AITextured Free Commercial License (FCL) v1.1. Free personal and commercial use. Raw resale, standalone redistribution, mirroring/scraping, competing asset packs, and AI/ML training are not allowed without written permission. Attribution is not required, but appreciated..

| ID | seamless-3d-texture-pbr-8k-sparkling-sparklers-and-sparkler-light-party-confetti-for-new-year |
|---|---|
| Category | New Year |
| Formats | PNG, WEBP, PBR ZIP |
| Size | 1k (1024x1024px), 2k (2048x2048px), 4k (4096x4096px), 8k (8192x8192px) |
| Color | sRGB |
| Tileable | Yes |
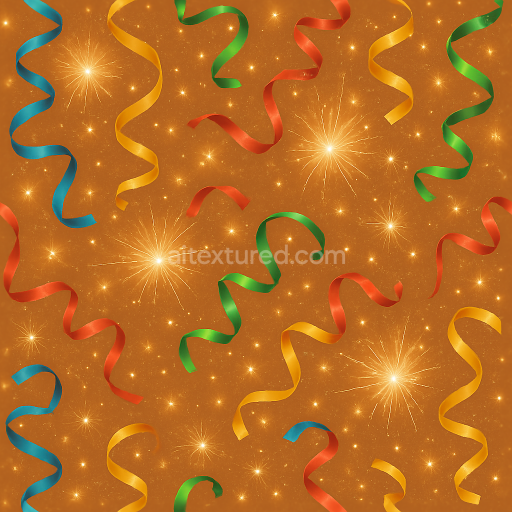
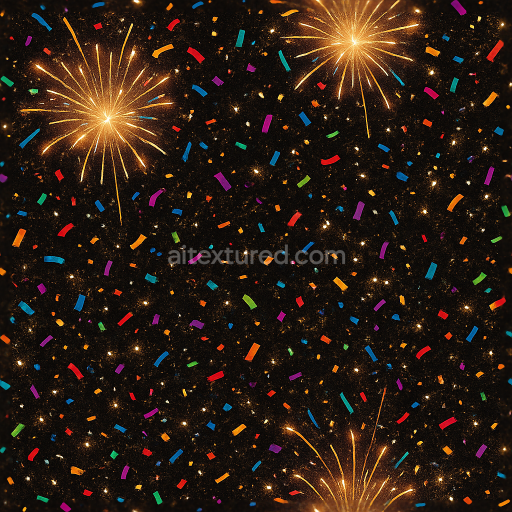
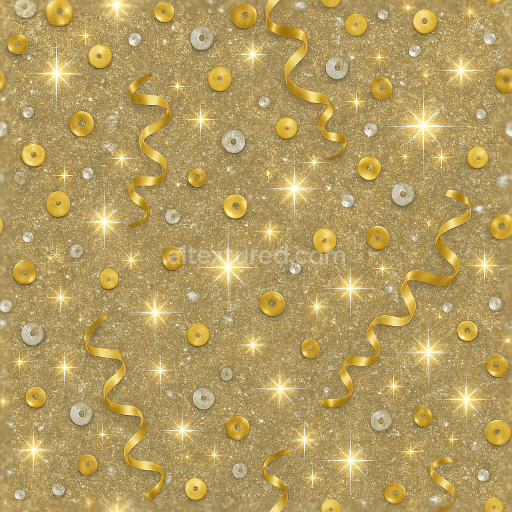
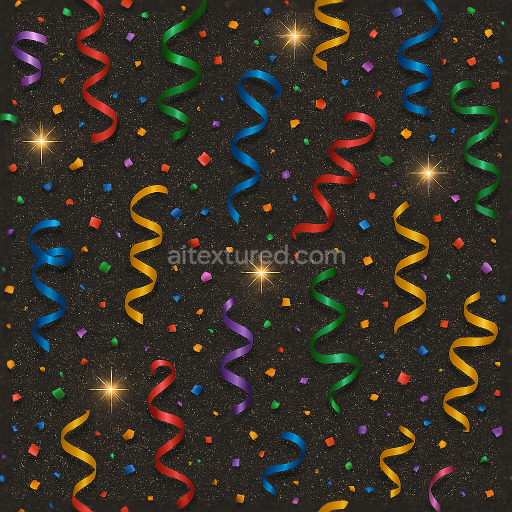
This seamless 3D texture presents a richly detailed composition of sparklers and party confetti designed for New Year celebrations, rendered at an impressive 8K resolution suitable for high-end visualization in Blender, Unreal Engine, and Unity. The base material mimics delicate metallic wire sparklers, characterized by slender cylindrical forms with fine crystalline deposits that generate the distinctive sparkle effect. The geometric pattern is complex yet naturally chaotic, comprising intertwined sparkler trails and scattered confetti pieces, creating a lively and dynamic surface that repeats seamlessly without visible borders.
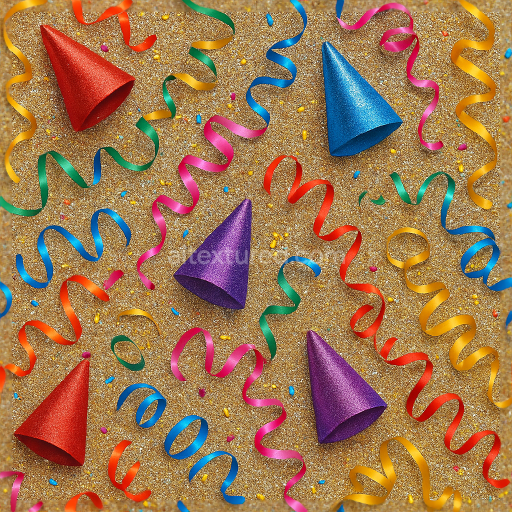
The substrate primarily consists of thin metal filaments, represented in the PBR texture by a metallic channel emphasizing their reflective properties and slight oxidation. These filaments are coated with a binder layer that simulates the combustible chemical compounds responsible for the sparkling bursts, portrayed through subtle variations in roughness and a slightly uneven surface finish. Tiny glittering aggregates resembling crystalline sparkler dust are embedded across the surface, introducing microfacet details and enhancing light scattering. The confetti elements are flat, irregular polygons with a smooth, semi-reflective coating, colored with vibrant pigments to add contrast and festivity.
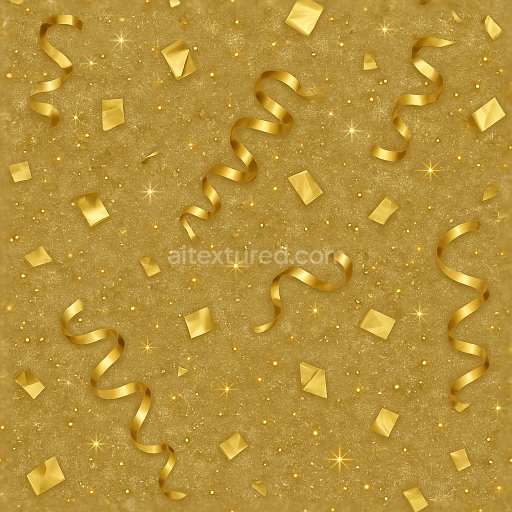
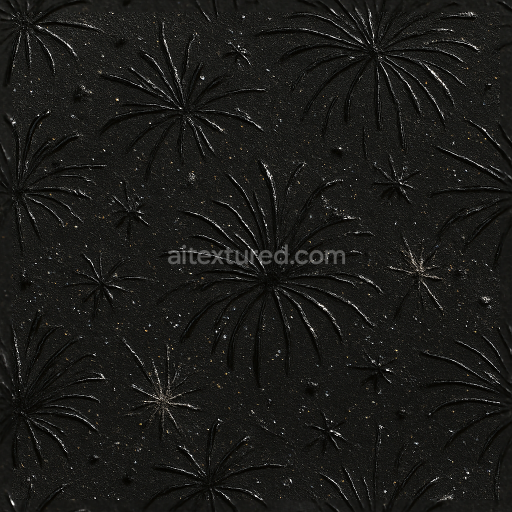
The texture’s PBR channels are carefully mapped to replicate this complex interplay of materials. The BaseColor channel features a palette of warm metallic silvers and golds interspersed with bright multicolored confetti fragments. The Normal map captures the fine ridges and bumps of the sparkler wire and the slight embossing of confetti edges, contributing to realistic light interaction. Roughness varies across the surface, with lower roughness on the metallic wires to simulate polished metal and higher roughness on the sparkler dust particles for diffuse reflection. The Metallic channel highlights the conductive properties of the wire, while Ambient Occlusion defines subtle shadowing in crevices between sparkler filaments and confetti layers. Height and Displacement maps add depth by accentuating the raised sparkler tips and the layered confetti, enhancing realism in close-up renders.
Due to its high resolution and detailed material definition, this texture performs exceptionally well in close-up shots and dynamic lighting conditions. A practical tip for optimal use is to adjust the UV scale to maintain the sharpness of sparkler details without distortion and to fine-tune roughness values to balance between shiny metal and matte confetti surfaces. Additionally, blending height and normal maps can enhance the perception of depth and surface irregularities, especially when rendered with parallax occlusion mapping in real-time engines.
Import the texture maps into Blender with sRGB color space for albedo/base color and Non-Color for normal, roughness, metallic, AO, height, and ORM maps. Connect normal maps through a Normal Map node, then adjust UV scale with a Mapping node so the material repeats naturally on your model.
For the full step-by-step setup, see How to Use Seamless Textures in Blender. Browse related material examples in wood, concrete, and metal.
Yes. This texture is designed as a seamless tileable PBR material, so it can repeat across large surfaces without visible borders.
You can download PNG/WEBP versions and use 1K, 2K, 4K and 8K download options when available on the page.
Yes. The download options and engine-mapped ZIP workflow are designed for Blender, Unreal Engine, Unity Standard, URP and HDRP material pipelines.
Yes. The texture is available under the AITextured free commercial license. Review the license page for redistribution and AI-training restrictions.


Build, preview, and export seamless PBR materials. Generate full map sets from a single image, inspect them in a real-time WebGL viewer, and re-package maps for Unreal, Unity, and Blender—directly in your browser.
AI text-to-texture: type a prompt and get a seamless, tileable base image ready for PBR workflows (great starting point for materials).
Create a full PBR set (Normal, Roughness, AO, Metallic, etc.) from a single image. Seamless and tiling-friendly.
Instant WebGL viewer: inspect materials on a sphere, plane, and cube. Check tiling and lighting in real time.
Re-packages maps per engine: Unreal (BaseColor + ORM), Unity (Mask/MetallicSmoothness), Blender (separate channels).
PNG ↔ JPG ↔ SVG: fast convert, SVG rasterize, embed/trace options, quality & background controls.