
Rust Stains Metal Corrosion Oxidation Distressed Weathered Surfaces Scratches
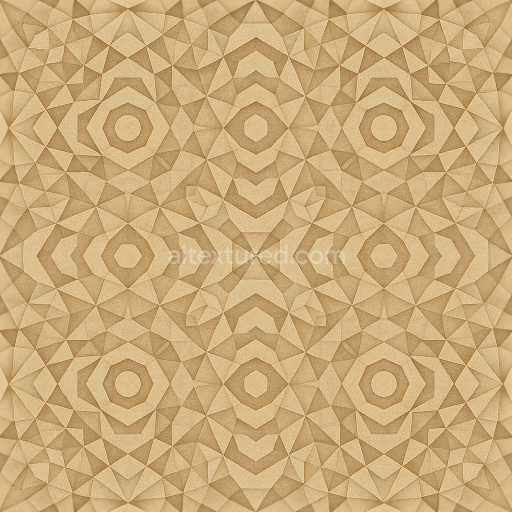
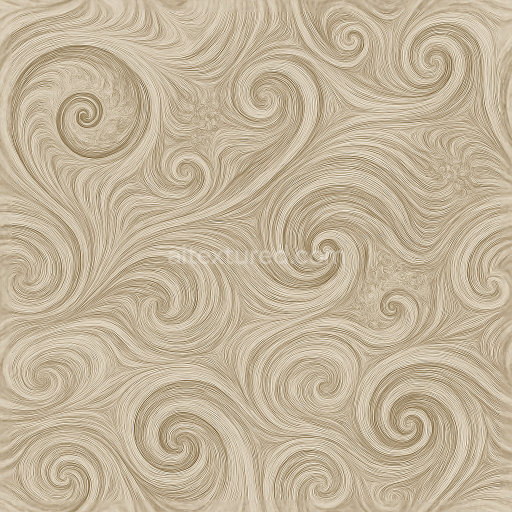
Seamless texture (tileable) · PNG, WEBP, PBR ZIP. License: AITextured Free Commercial License (FCL) v1.1. Free personal and commercial use. Raw resale, standalone redistribution, mirroring/scraping, competing asset packs, and AI/ML training are not allowed without written permission. Attribution is not required, but appreciated..
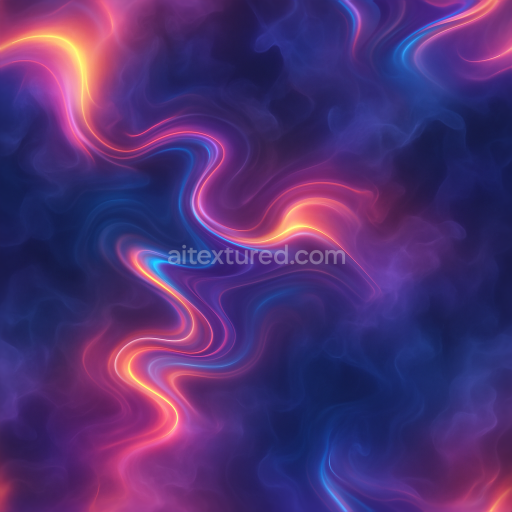
| ID | seamless-3d-texture-pbr-8k-gradient-mesh-diffused-light-soft-focus-bokeh-chromatic-aberration-pixel-sorting-light-leak-double-exposure |
|---|---|
| Category | Abstract |
| Formats | PNG, WEBP, PBR ZIP |
| Size | 1k (1024x1024px), 2k (2048x2048px), 4k (4096x4096px), 8k (8192x8192px) |
| Color | sRGB |
| Tileable | Yes |
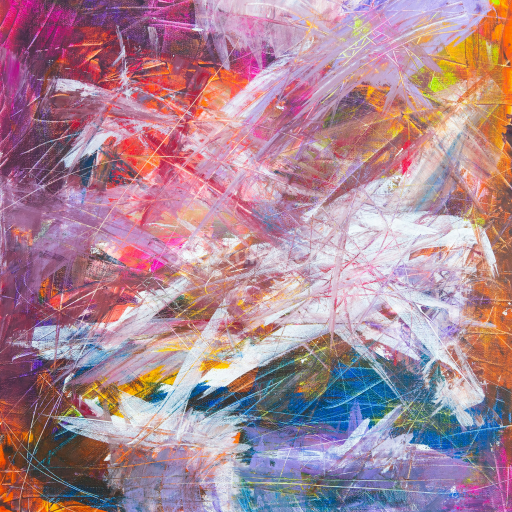
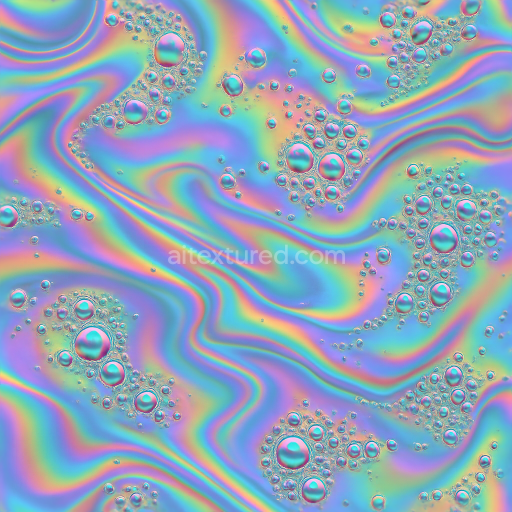
This seamless 3D texture is crafted to simulate a complex gradient mesh pattern that resembles a softly folded or undulating liquid metal surface. The base material evokes a high-tech composite substrate, combining a polished metallic alloy with subtle translucent polymer layers that introduce depth and light diffusion. Fine grain structures and delicate fiber-like inclusions are embedded beneath the surface, creating a nuanced interplay of reflectivity and translucency. The overall form is a continuous, fluid mesh with organic curves and overlapping layers, contributing to a dynamic visual flow suitable for futuristic or abstract digital environments.
The texture’s composition features a multi-layered substrate where the primary base is a smooth metallic matrix, represented in the PBR Metallic channel with moderate to high values to simulate metal’s inherent reflectivity. This is complemented by thin polymer binders and diffusive coatings that soften the highlights, mapped primarily through the Roughness channel to achieve a balanced, semi-gloss finish. The BaseColor (Albedo) channel captures the gradient mesh’s subtle color transitions, ranging from muted iridescent hues to deep neon glows, enhanced by embedded pigments that mimic chromatic aberration effects. Ambient Occlusion maps accentuate the mesh’s concave folds and layered intersections, adding realistic shadowing that enhances depth perception.
The Normal and Height maps work in tandem to reproduce the texture’s intricate topology, including pixel-sorted distortions and light leak patterns that simulate accidental double exposures. These height variations create soft undulations and vortex-like depressions, which can be further emphasized using parallax or displacement adjustments in rendering engines. The surface finish is carefully balanced to maintain a diffused light scattering effect with soft focus and bokeh highlights, supported by the Roughness channel's subtle gradations. This approach ensures the texture responds naturally to varied lighting conditions, ideal for photorealistic PBR workflows.
Rendered in 8K resolution, this texture is optimized for seamless tiling and is fully compatible with Blender, Unreal Engine, and Unity, ensuring high fidelity and scalability in complex 3D scenes. For practical use, it is recommended to adjust the UV scale to avoid repetitive patterns in large surfaces and to fine-tune roughness values to control the balance between metallic sheen and diffused glow, especially when simulating neon or light leak effects. Additionally, blending normal and height maps can enhance the perception of depth and fluidity without compromising performance.
Import the texture maps into Blender with sRGB color space for albedo/base color and Non-Color for normal, roughness, metallic, AO, height, and ORM maps. Connect normal maps through a Normal Map node, then adjust UV scale with a Mapping node so the material repeats naturally on your model.
For the full step-by-step setup, see How to Use Seamless Textures in Blender. Browse related material examples in wood, concrete, and metal.
Yes. This texture is designed as a seamless tileable PBR material, so it can repeat across large surfaces without visible borders.
You can download PNG/WEBP versions and use 1K, 2K, 4K and 8K download options when available on the page.
Yes. The download options and engine-mapped ZIP workflow are designed for Blender, Unreal Engine, Unity Standard, URP and HDRP material pipelines.
Yes. The texture is available under the AITextured free commercial license. Review the license page for redistribution and AI-training restrictions.


Build, preview, and export seamless PBR materials. Generate full map sets from a single image, inspect them in a real-time WebGL viewer, and re-package maps for Unreal, Unity, and Blender—directly in your browser.
AI text-to-texture: type a prompt and get a seamless, tileable base image ready for PBR workflows (great starting point for materials).
Create a full PBR set (Normal, Roughness, AO, Metallic, etc.) from a single image. Seamless and tiling-friendly.
Instant WebGL viewer: inspect materials on a sphere, plane, and cube. Check tiling and lighting in real time.
Re-packages maps per engine: Unreal (BaseColor + ORM), Unity (Mask/MetallicSmoothness), Blender (separate channels).
PNG ↔ JPG ↔ SVG: fast convert, SVG rasterize, embed/trace options, quality & background controls.