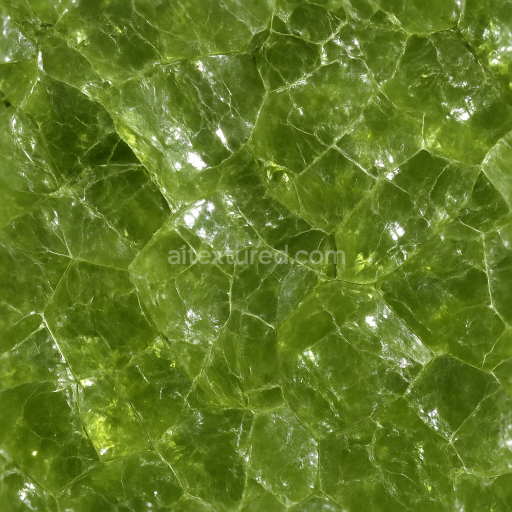
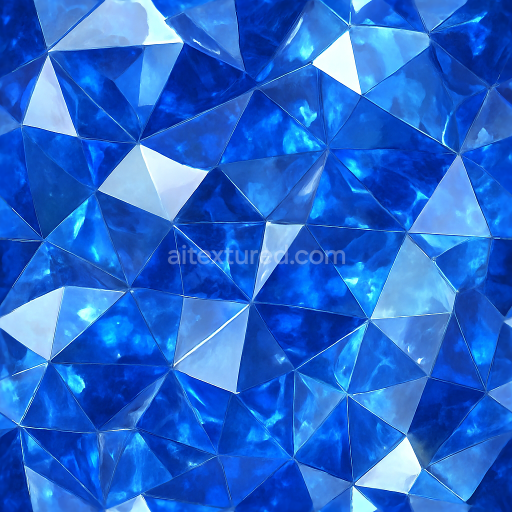
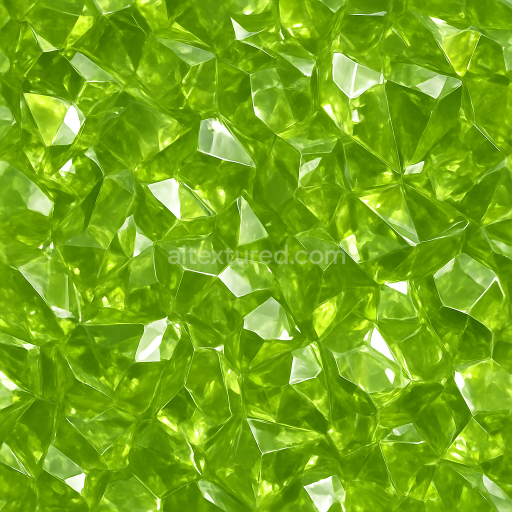
Peridot Rough Crystal With Fractures And Lustrous Finish
Seamless texture (tileable) · PNG, WEBP, PBR ZIP. License: AITextured Free Commercial License (FCL) v1.1. Free personal and commercial use. Raw resale, standalone redistribution, mirroring/scraping, competing asset packs, and AI/ML training are not allowed without written permission. Attribution is not required, but appreciated..

| ID | seamless-3d-texture-pbr-8k-topaz-rough-crystal-with-cleavage-planes-and-sparkle-highlights |
|---|---|
| Category | Crystals |
| Formats | PNG, WEBP, PBR ZIP |
| Size | 1k (1024x1024px), 2k (2048x2048px), 4k (4096x4096px), 8k (8192x8192px) |
| Color | sRGB |
| Tileable | Yes |
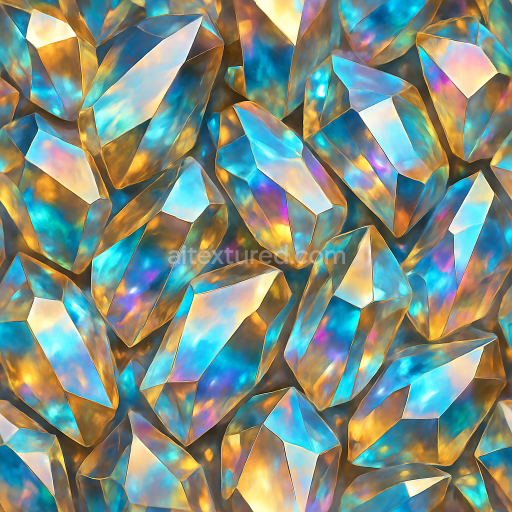
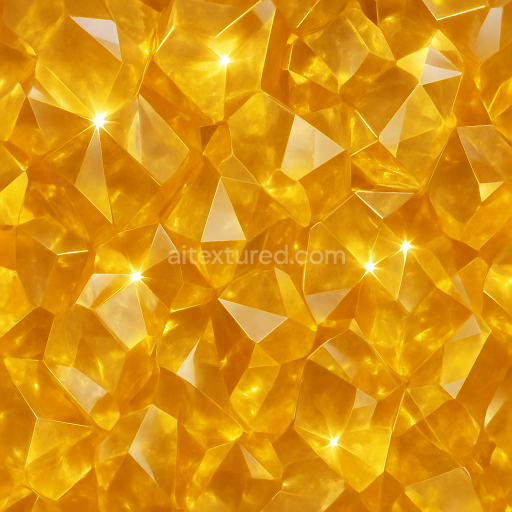
This seamless 3D texture captures the natural complexity of a rough topaz crystal, meticulously emphasizing its distinctive cleavage planes and radiant sparkle highlights. The underlying material simulates topaz’s crystalline substrate, characterized by a semi-transparent, glassy structure with subtle internal fractures and growth rings that define the gem’s geological formation. The texture’s form is irregular and faceted, replicating the angular geometry of naturally fractured crystals, while maintaining seamless tiling suitable for continuous surface coverage. This pattern showcases interconnected planar segments where natural cleavage occurs, interspersed with minute reflective facets that contribute to the texture’s lustrous finish.
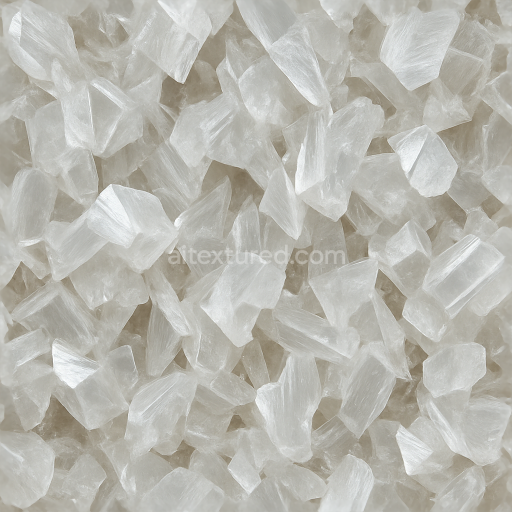
From a material composition perspective, the texture embodies the interplay between the crystalline base and the microscopic inclusions that influence its optical properties. The substrate is represented as a dense silicate mineral matrix with low porosity, resulting in a solid yet slightly translucent appearance. The rough, unpolished surface carries a tactile grain derived from the natural growth rings and minor etching, which is visually enhanced by the PBR channels. These channels include a BaseColor map featuring subtle variations of pale gold and light amber tones, a Normal map that recreates the fine ridges and cleavage offsets, and a Roughness map that balances glossy highlights with matte areas to simulate both smooth facets and rough fractures. The Metallic channel remains minimal, reflecting the non-metallic nature of topaz, while Ambient Occlusion accentuates depth in crevices and cleavage intersections. Height and Displacement maps are finely tuned to emphasize surface irregularities and crystal depth, enhancing photorealism at 8K resolution.
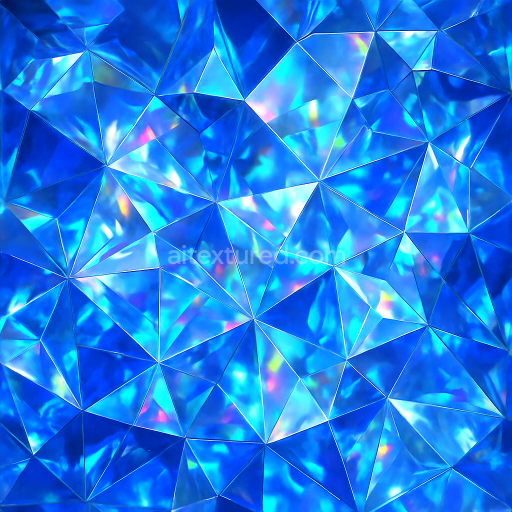
The texture’s surface finish is a natural gloss with a lustrous sheen, capturing the reflective qualities of unpolished topaz crystals exposed to light. Sparkle highlights are strategically embedded within the PBR workflow, contributing to specular reflections that shift dynamically with lighting angles, essential for realistic rendering in engines like Blender, Unreal Engine, and Unity. The seamless design ensures that the crystalline pattern can be tiled without visible seams, making it ideal for gemstone visualization, geological simulations, or any digital art project requiring authentic rough topaz surfaces with photorealistic detail at ultra-high resolution.
For best results, it is advisable to carefully adjust the UV scale to preserve the intricate cleavage detail when applied to larger surfaces. Additionally, fine-tuning the Roughness map can help balance between overly glossy and excessively matte appearances, depending on the desired environmental lighting. Integrating Height or Parallax mapping alongside the Normal map can further enhance the perceived depth of cleavage planes and crystal facets, delivering a more tactile and immersive material experience.
Import the texture maps into Blender with sRGB color space for albedo/base color and Non-Color for normal, roughness, metallic, AO, height, and ORM maps. Connect normal maps through a Normal Map node, then adjust UV scale with a Mapping node so the material repeats naturally on your model.
For the full step-by-step setup, see How to Use Seamless Textures in Blender. Browse related material examples in wood, concrete, and metal.
Yes. This texture is designed as a seamless tileable PBR material, so it can repeat across large surfaces without visible borders.
You can download PNG/WEBP versions and use 1K, 2K, 4K and 8K download options when available on the page.
Yes. The download options and engine-mapped ZIP workflow are designed for Blender, Unreal Engine, Unity Standard, URP and HDRP material pipelines.
Yes. The texture is available under the AITextured free commercial license. Review the license page for redistribution and AI-training restrictions.

Build, preview, and export seamless PBR materials. Generate full map sets from a single image, inspect them in a real-time WebGL viewer, and re-package maps for Unreal, Unity, and Blender—directly in your browser.
AI text-to-texture: type a prompt and get a seamless, tileable base image ready for PBR workflows (great starting point for materials).
Create a full PBR set (Normal, Roughness, AO, Metallic, etc.) from a single image. Seamless and tiling-friendly.
Instant WebGL viewer: inspect materials on a sphere, plane, and cube. Check tiling and lighting in real time.
Re-packages maps per engine: Unreal (BaseColor + ORM), Unity (Mask/MetallicSmoothness), Blender (separate channels).
PNG ↔ JPG ↔ SVG: fast convert, SVG rasterize, embed/trace options, quality & background controls.