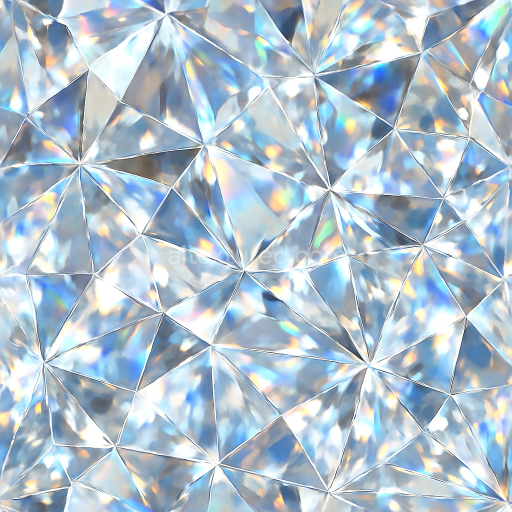
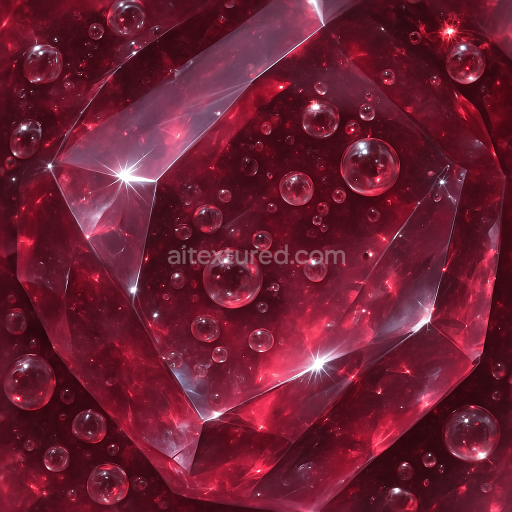
Zirconia Faceted Gem With Color Zoning And Adamantine Luster Effects
Seamless texture (tileable) · PNG, WEBP, PBR ZIP. License: AITextured Free Commercial License (FCL) v1.1. Free personal and commercial use. Raw resale, standalone redistribution, mirroring/scraping, competing asset packs, and AI/ML training are not allowed without written permission. Attribution is not required, but appreciated..

| ID | seamless-3d-texture-pbr-8k-quartz-crystal-cluster-with-prismatic-facets-and-sparkling-surface |
|---|---|
| Category | Crystals |
| Formats | PNG, WEBP, PBR ZIP |
| Size | 1k (1024x1024px), 2k (2048x2048px), 4k (4096x4096px), 8k (8192x8192px) |
| Color | sRGB |
| Tileable | Yes |
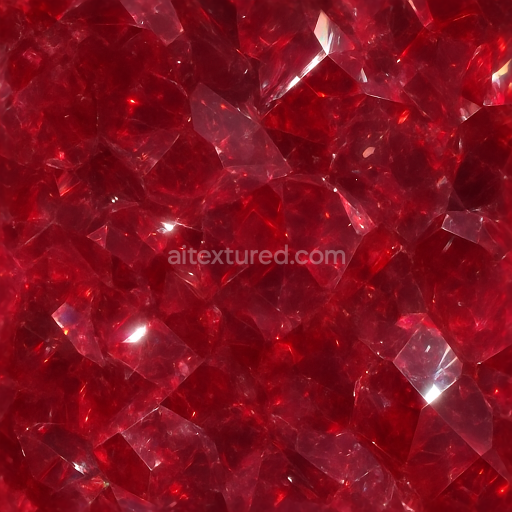
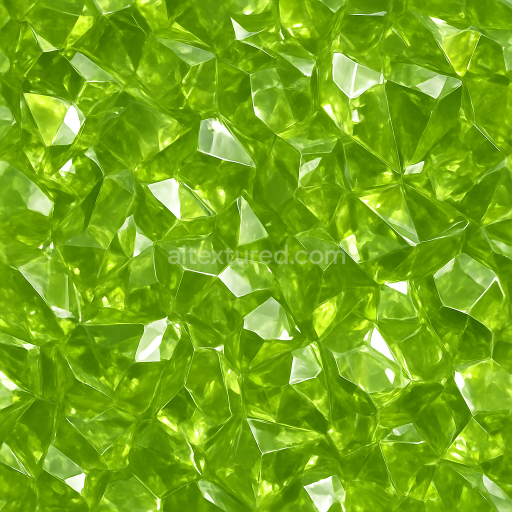
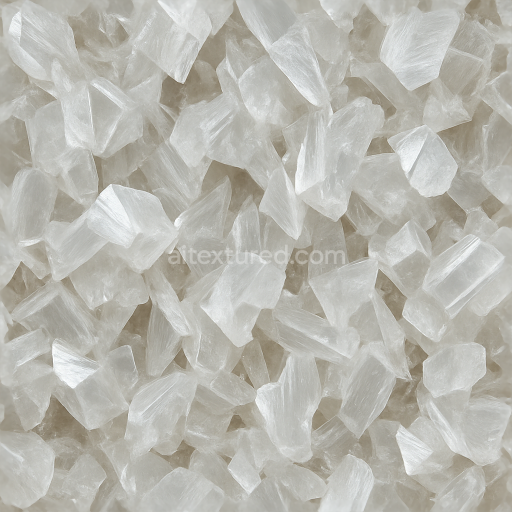
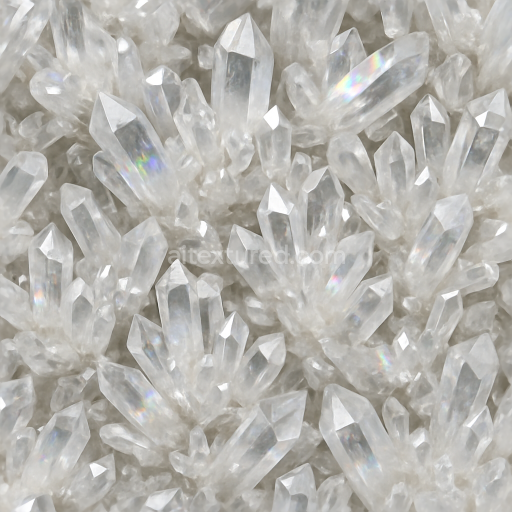
This seamless 3D texture presents an intricate quartz crystal cluster, meticulously crafted at an impressive 8K resolution to capture the fine details of natural crystalline formations. The material composition is primarily based on a translucent quartz substrate, characterized by its glassy and semi-transparent qualities. The texture replicates the prismatic facets typical of quartz, where angular crystal planes intersect to form a complex geometric pattern. These facets create a multi-directional reflective surface that disperses light into subtle spectral highlights, enhancing the sparkling effect. The overall form mimics a clustered aggregation of elongated hexagonal prisms, each exhibiting sharp edges and smooth, polished faces that contribute to the texture’s photorealism and depth.
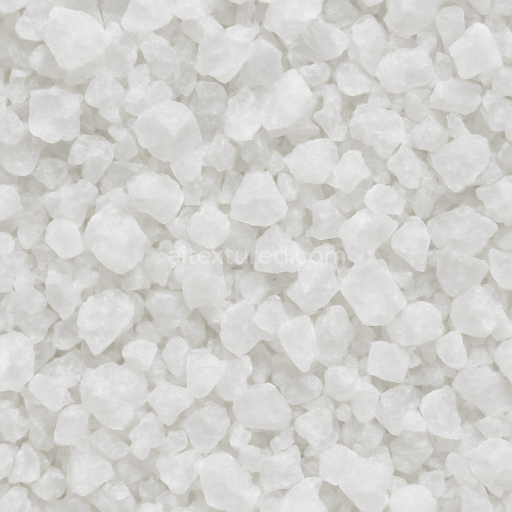
The PBR workflow is carefully mapped to reflect the physical attributes of quartz crystal clusters. The BaseColor (Albedo) channel features a mostly clear, slightly milky white tone with subtle veining and mineral inclusions, simulating natural impurities within the quartz. Normal and Height maps emphasize the raised and recessed facets, giving pronounced relief and depth to the cluster’s geometry. The Roughness channel is finely tuned to show a glossy, nearly mirror-like finish on the polished crystal surfaces, contrasted with small rough patches that simulate microscopic surface imperfections and weathering effects. Metallic values remain minimal, as quartz is a non-metallic mineral, while the Ambient Occlusion map enhances shadowing within crevices and between tightly packed crystals, reinforcing volume and dimensionality.
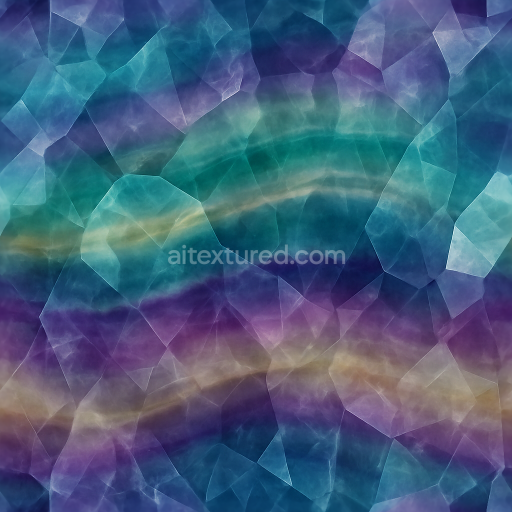
Surface detail is enhanced by carefully balancing the interplay between the height and normal maps, which together provide realistic parallax effects when viewed at oblique angles. This combination is particularly effective in real-time engines like Unreal Engine, Unity, and Blender’s Eevee and Cycles renderers, ensuring that the texture maintains its clarity and sparkle across different lighting conditions and camera perspectives. The seamless nature of the texture allows it to tile flawlessly, making it suitable for applications requiring continuous crystal surfaces, such as geological visualizations, architectural elements, or fantasy-themed assets.
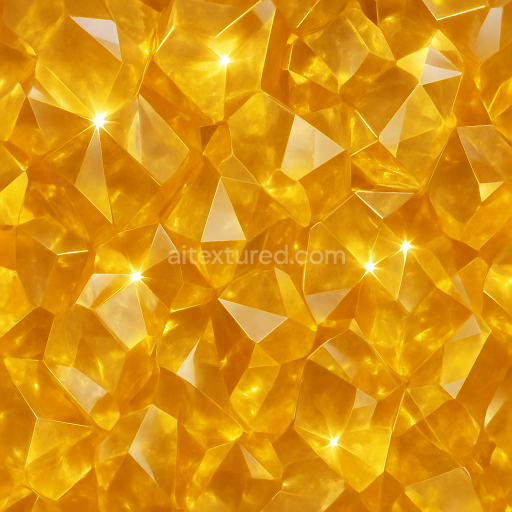
For optimal results, it is recommended to adjust the UV scale to emphasize the cluster’s facet details without causing repetition artifacts. Slightly reducing roughness values can enhance the sparkling highlights on the prismatic surfaces, while blending height and normal maps carefully can prevent exaggerated depth that might distort the realistic appearance. This texture is ideal for projects demanding a high-fidelity representation of quartz crystal clusters where material authenticity and intricate geometric form are paramount.
Import the texture maps into Blender with sRGB color space for albedo/base color and Non-Color for normal, roughness, metallic, AO, height, and ORM maps. Connect normal maps through a Normal Map node, then adjust UV scale with a Mapping node so the material repeats naturally on your model.
For the full step-by-step setup, see How to Use Seamless Textures in Blender. Browse related material examples in wood, concrete, and metal.
Yes. This texture is designed as a seamless tileable PBR material, so it can repeat across large surfaces without visible borders.
You can download PNG/WEBP versions and use 1K, 2K, 4K and 8K download options when available on the page.
Yes. The download options and engine-mapped ZIP workflow are designed for Blender, Unreal Engine, Unity Standard, URP and HDRP material pipelines.
Yes. The texture is available under the AITextured free commercial license. Review the license page for redistribution and AI-training restrictions.

Build, preview, and export seamless PBR materials. Generate full map sets from a single image, inspect them in a real-time WebGL viewer, and re-package maps for Unreal, Unity, and Blender—directly in your browser.
AI text-to-texture: type a prompt and get a seamless, tileable base image ready for PBR workflows (great starting point for materials).
Create a full PBR set (Normal, Roughness, AO, Metallic, etc.) from a single image. Seamless and tiling-friendly.
Instant WebGL viewer: inspect materials on a sphere, plane, and cube. Check tiling and lighting in real time.
Re-packages maps per engine: Unreal (BaseColor + ORM), Unity (Mask/MetallicSmoothness), Blender (separate channels).
PNG ↔ JPG ↔ SVG: fast convert, SVG rasterize, embed/trace options, quality & background controls.