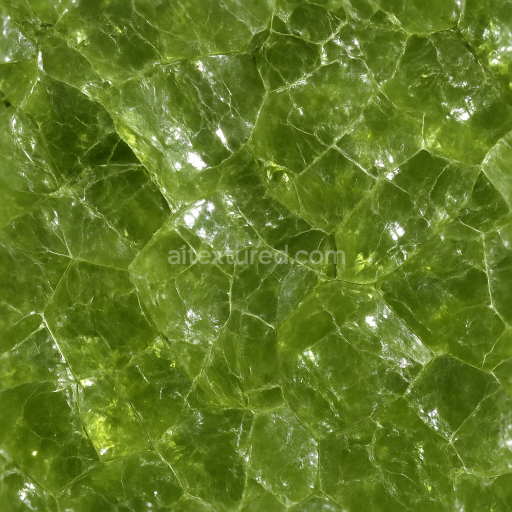
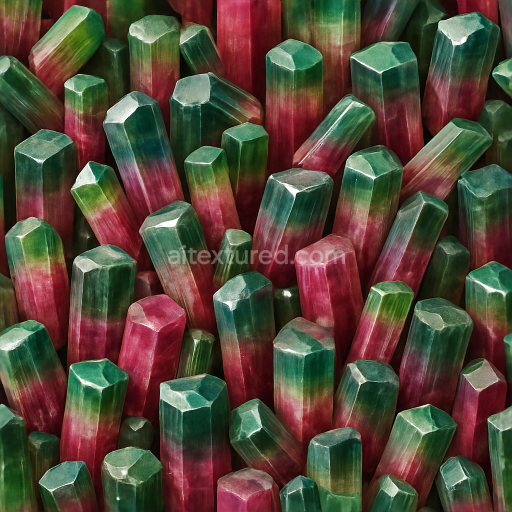
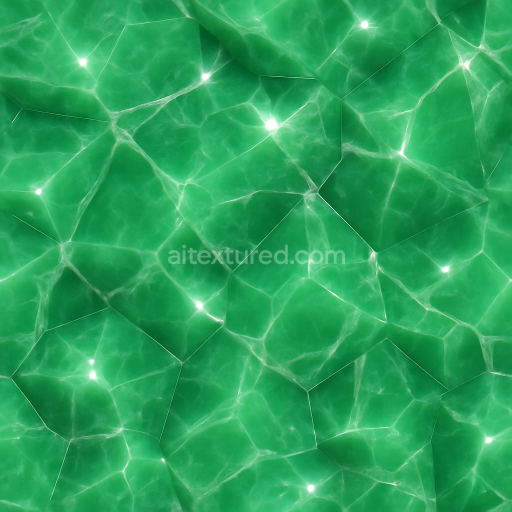
Peridot Rough Crystal With Fractures And Lustrous Finish
Seamless texture (tileable) · PNG, WEBP, PBR ZIP. License: AITextured Free Commercial License (FCL) v1.1. Free personal and commercial use. Raw resale, standalone redistribution, mirroring/scraping, competing asset packs, and AI/ML training are not allowed without written permission. Attribution is not required, but appreciated..

| ID | seamless-3d-texture-pbr-8k-diamond-faceted-gem-with-gemstone-facets-and-sparkle-highlights |
|---|---|
| Category | Crystals |
| Formats | PNG, WEBP, PBR ZIP |
| Size | 1k (1024x1024px), 2k (2048x2048px), 4k (4096x4096px), 8k (8192x8192px) |
| Color | sRGB |
| Tileable | Yes |
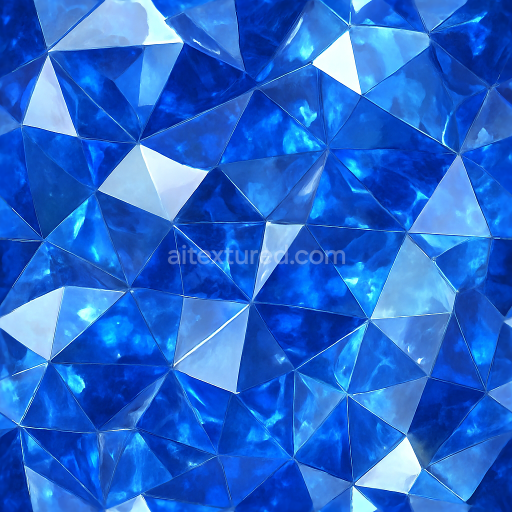
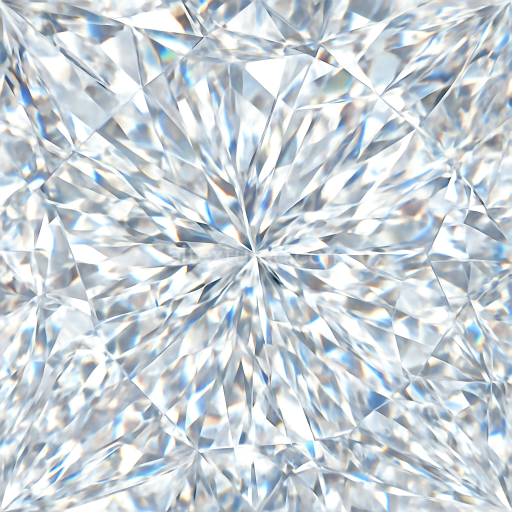
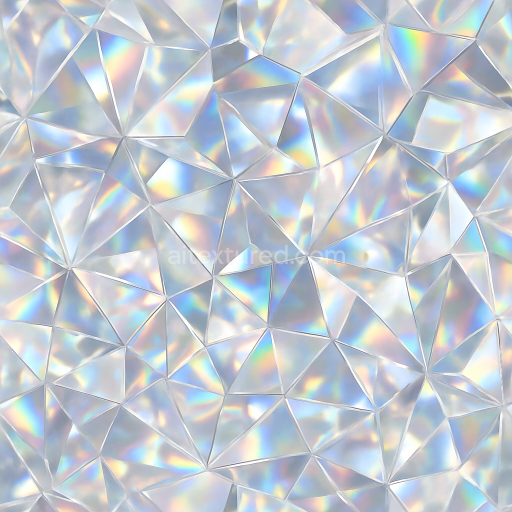
This seamless 3D texture showcases a meticulously crafted diamond faceted gem, designed to replicate the complex geometry and light interplay inherent to high-quality gemstones. The base material simulates a crystalline quartz substrate with an adamantine luster, characterized by an ultra-smooth, polished surface that enhances reflective properties. The geometric form consists of sharply defined, multi-angular facets arranged in a tessellated pattern, creating a continuous array of gemstone facets that capture and refract light with prismatic brilliance. Each facet's precision enables realistic light dispersion, producing vivid sparkle highlights that contribute to the texture’s lifelike appearance.
The composition emulates a naturally occurring diamond structure, where the substrate is a rigid, transparent crystal matrix. The texture’s physical attributes are conveyed through the PBR channels: the BaseColor (Albedo) map remains largely neutral and clear, with subtle variations to suggest internal inclusions and depth. The Normal map encodes the intricate facet geometry, providing surface detail that interacts dynamically with lighting. The Roughness map is finely tuned to reflect the polished finish, featuring low roughness values for sharp reflections interspersed with slightly higher values around micro-facets to simulate subtle surface imperfections. The Metallic channel is minimal, emphasizing the non-metallic nature of the gemstone, while Ambient Occlusion enhances the depth perception between facets. Height/Displacement maps add dimensionality, accentuating the elevated and recessed facets for enhanced parallax effects.
Rendered at an impressive 8K resolution, this texture ensures exceptional detail and clarity, suitable for high-fidelity applications in Blender, Unreal Engine, and Unity. The seamless nature of the texture allows for effortless tiling across complex 3D models without visible repetition, making it ideal for jewelry visualization, digital asset creation, and realistic gemstone surface replication. The lustrous finish and prismatic refraction effects simulated in the texture provide an authentic diamond appearance, crucial for photorealistic rendering projects requiring accurate light behavior and surface reflections.
For practical implementation, it is recommended to carefully adjust the UV scale to maintain facet proportion and prevent distortion, ensuring the gemstone’s geometric integrity. Additionally, fine-tuning the Roughness map allows customization of sparkle intensity, balancing between overly glossy and subtly diffused highlights. Incorporating the Height map alongside Normal maps can improve depth perception and parallax effects, enhancing realism during close-up renders or animations where light interaction plays a critical role.
Import the texture maps into Blender with sRGB color space for albedo/base color and Non-Color for normal, roughness, metallic, AO, height, and ORM maps. Connect normal maps through a Normal Map node, then adjust UV scale with a Mapping node so the material repeats naturally on your model.
For the full step-by-step setup, see How to Use Seamless Textures in Blender. Browse related material examples in wood, concrete, and metal.
Yes. This texture is designed as a seamless tileable PBR material, so it can repeat across large surfaces without visible borders.
You can download PNG/WEBP versions and use 1K, 2K, 4K and 8K download options when available on the page.
Yes. The download options and engine-mapped ZIP workflow are designed for Blender, Unreal Engine, Unity Standard, URP and HDRP material pipelines.
Yes. The texture is available under the AITextured free commercial license. Review the license page for redistribution and AI-training restrictions.

Build, preview, and export seamless PBR materials. Generate full map sets from a single image, inspect them in a real-time WebGL viewer, and re-package maps for Unreal, Unity, and Blender—directly in your browser.
AI text-to-texture: type a prompt and get a seamless, tileable base image ready for PBR workflows (great starting point for materials).
Create a full PBR set (Normal, Roughness, AO, Metallic, etc.) from a single image. Seamless and tiling-friendly.
Instant WebGL viewer: inspect materials on a sphere, plane, and cube. Check tiling and lighting in real time.
Re-packages maps per engine: Unreal (BaseColor + ORM), Unity (Mask/MetallicSmoothness), Blender (separate channels).
PNG ↔ JPG ↔ SVG: fast convert, SVG rasterize, embed/trace options, quality & background controls.