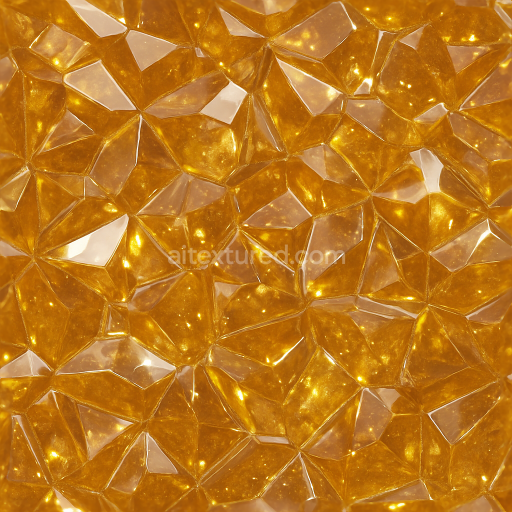
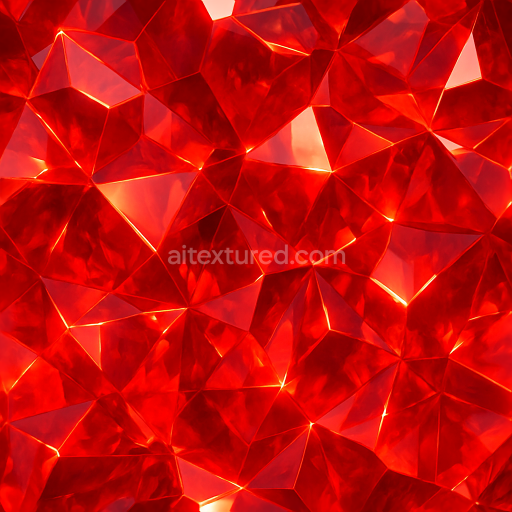
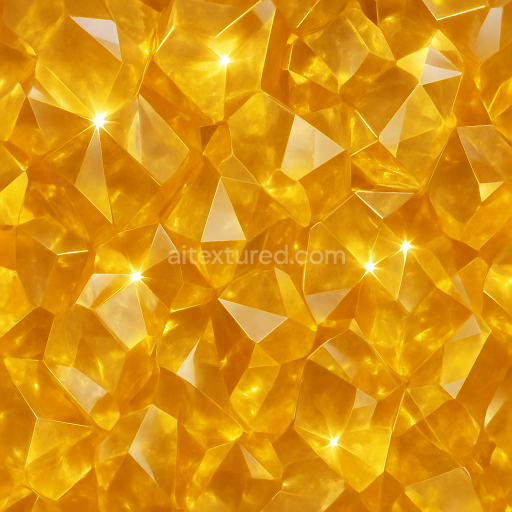
Amber Crystal Dust With Glowing Crystal Aura And Shiny Surface Reflective Finish
Seamless texture (tileable) · PNG, WEBP, PBR ZIP. License: AITextured Free Commercial License (FCL) v1.1. Free personal and commercial use. Raw resale, standalone redistribution, mirroring/scraping, competing asset packs, and AI/ML training are not allowed without written permission. Attribution is not required, but appreciated..

| ID | seamless-3d-texture-pbr-8k-ruby-polished-crystal-with-inclusions-and-adamantine-luster-finish |
|---|---|
| Category | Crystals |
| Formats | PNG, WEBP, PBR ZIP |
| Size | 1k (1024x1024px), 2k (2048x2048px), 4k (4096x4096px), 8k (8192x8192px) |
| Color | sRGB |
| Tileable | Yes |
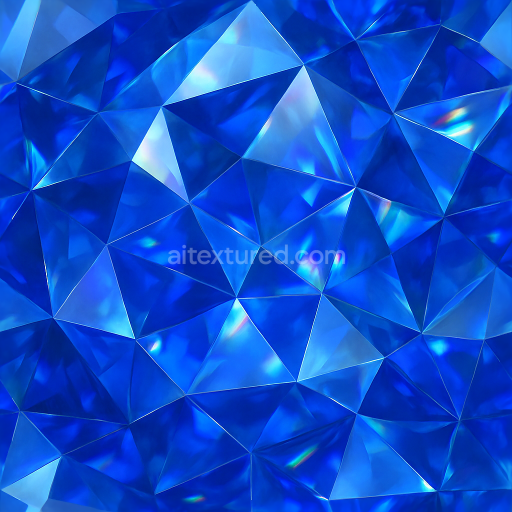
This seamless 3D texture represents a polished ruby crystal rendered in ultra-high 8K resolution, designed with physically based rendering (PBR) workflows in mind. The core material is a synthetic ruby substrate, composed primarily of aluminum oxide doped with chromium ions, which impart the characteristic deep red coloration. The texture reveals a complex crystalline form—an intricate lattice of tightly packed facets and angular planes that mimic natural ruby geometry. These facets create a tessellated pattern that is both regular and subtly varied, enabling seamless tiling without visible repetition. The surface exhibits a highly polished finish, maximizing reflectivity and emphasizing the adamantine luster characteristic of top-quality gemstones.
Embedded within the ruby substrate are detailed inclusions—minute mineral impurities and internal fractures—that add authenticity and depth to the texture. These inclusions are rendered as semi-transparent, slightly refractive microstructures that break up light transmission and contribute to the prismatic refraction effect. The texture’s PBR maps are carefully calibrated: the BaseColor (Albedo) channel captures the rich ruby red tones with slight variations near inclusions; the Normal map defines the subtle micro-faceting and crystalline geometry; Roughness is kept low overall to simulate the polished surface but varies locally around inclusions to reflect microscopic surface irregularities. The Metallic channel remains near zero since rubies are non-metallic, while Ambient Occlusion enhances shadowing within crevices and facets to boost depth perception. Height and Displacement maps reproduce the fine relief of the crystal lattice and inclusions, enabling realistic parallax and bump effects.
The adamantine luster finish is achieved through the interplay of the polished surface and the internal light scattering caused by inclusions. This results in sparkling highlights and dynamic reflections that shift with viewing angle, enhancing realism in 3D applications. The texture is fully optimized for seamless tiling, making it ideal for gemstone rendering in Blender, Unreal Engine, and Unity environments where high fidelity and photorealism are essential. The prismatic refraction and sparkle highlights are particularly well suited for close-up jewelry visualization, digital art, and realistic material studies.
For practical usage, it is recommended to adjust the UV scale to match the scale of the gemstone model accurately; too large or too small UV tiles can disrupt the seamless appearance or exaggerate the crystal grain. Additionally, fine-tuning the roughness map can help balance between overly glossy and realistically diffused reflections, especially if combining this texture with other layered materials. Blending height or parallax maps with normals can further enhance the perceived depth of inclusions and facets without increasing geometric complexity, ensuring efficient rendering performance.
Import the texture maps into Blender with sRGB color space for albedo/base color and Non-Color for normal, roughness, metallic, AO, height, and ORM maps. Connect normal maps through a Normal Map node, then adjust UV scale with a Mapping node so the material repeats naturally on your model.
For the full step-by-step setup, see How to Use Seamless Textures in Blender. Browse related material examples in wood, concrete, and metal.
Yes. This texture is designed as a seamless tileable PBR material, so it can repeat across large surfaces without visible borders.
You can download PNG/WEBP versions and use 1K, 2K, 4K and 8K download options when available on the page.
Yes. The download options and engine-mapped ZIP workflow are designed for Blender, Unreal Engine, Unity Standard, URP and HDRP material pipelines.
Yes. The texture is available under the AITextured free commercial license. Review the license page for redistribution and AI-training restrictions.

Build, preview, and export seamless PBR materials. Generate full map sets from a single image, inspect them in a real-time WebGL viewer, and re-package maps for Unreal, Unity, and Blender—directly in your browser.
AI text-to-texture: type a prompt and get a seamless, tileable base image ready for PBR workflows (great starting point for materials).
Create a full PBR set (Normal, Roughness, AO, Metallic, etc.) from a single image. Seamless and tiling-friendly.
Instant WebGL viewer: inspect materials on a sphere, plane, and cube. Check tiling and lighting in real time.
Re-packages maps per engine: Unreal (BaseColor + ORM), Unity (Mask/MetallicSmoothness), Blender (separate channels).
PNG ↔ JPG ↔ SVG: fast convert, SVG rasterize, embed/trace options, quality & background controls.